EasyManua.ls Logo

Sigma BC 1106 User Manual

Sigma BC 1106
24 pages
To Next Page IconTo Next Page
Page #1 background imageLoading...
Page #1 background image
GERMANY
BIKE COMPUTER
TOPLINE
BC 1106
SIGMA BIKE COMPUTER
BC 1106
WWW.SIGMASPORT.COM
WWW.SIGMASPORT.COM
SIGMA USA:
North America
1067 Kingsland Drive
Batavia, IL 60510, USA
Tel. +1-630-761-1106
Fax +1-630-761-1107
Toll Free: 888-744-6277
SIGMA EUROPA:
SIGMA Elektro GmbH
Dr.- Julius - Leber- Straße 15
D-67433 Neustadt a.d.W.
Tel. +49-(0)6321-9120-118
Fax +49-(0)6321-9120-34
SIGMA ASIA:
Asia, Australia, South America
7F-1, No. 193, Ta-Tun 6th Street,
Taichung City, Taiwan
Tel. +886-4-2475 3577
Fax +886-4-2475 3563
Printed in USA: 081160/1

Other manuals for Sigma BC 1106

Question and Answer IconNeed help?

Do you have a question about the Sigma BC 1106 and is the answer not in the manual?

Sigma BC 1106 Specifications

General IconGeneral
BrandSigma
ModelBC 1106
CategoryBicycle Accessories
LanguageEnglish

Summary

Bike Computer Installation

Step 1: Mounting Location

Mount the bike computer on the handlebar or stem.

Step 2: Stem Mount Configuration

Configure the computer for stem mounting.

Step 3: Connect Wiring Harness

Connect the computer wiring harness to the sensor.

Step 4: Prepare for Installation

Remove protective yellow tape before installation.

Step 5: Ensure Correct Orientation

Orient the computer so the SIGMA logo faces forward.

Step 6: Route the Sensor Cable

Route the computer cable securely along the bike frame.

Step 7: Final Cable Check

Verify the cable routing for optimal performance.

Step 8: Install Spoke Magnet

Install the magnet onto a spoke of the wheel.

Step 9: Magnet Sleeve Usage

Use the metal sleeve to secure the magnet; it is not the magnet.

Step 10: Adjust Magnet Position

Adjust magnet position towards wheel center for optimal spacing.

Step 11: Verify Wire Direction

Ensure the wire is correctly routed towards the rider.

Mode and Reset Operations

Resetting Display Functions

Reset specific functions like trip distance or speed to zero.

Navigating Display Modes

Cycle through various display modes using the MODE button.

Display Mode Navigation

Changing Displayed Information

Press MODE to cycle through TRIP DIST, AVG. SPEED, etc.

Hidden Functions While Riding

TOTAL ODO and TOTAL TIME are hidden during active riding.

Initial Setup and Settings

Entering Setup Mode

Press and hold the SET button for 3 seconds to access setup.

Second Bike Setup

Automatic Wheel Switching

Automatic switching between Wheel 1 and 2 with optional holder.

Language Configuration

Setting the Device Language

Select and confirm the preferred language for the display interface.

Speed Unit Configuration

Setting KMH or MPH

Choose between kilometers per hour (KMH) and miles per hour (MPH).

Wheel Size Configuration (Bike 1)

Entering Wheel Size for Bike 1

Input the correct wheel size parameter for the first bicycle.

Wheel Size Measurement

Determining Correct Wheel Size Value

Use provided charts or calculations to find the wheel size value.

Wheel Size Configuration (Bike 2)

Entering Wheel Size for Bike 2

Input the correct wheel size parameter for the second bicycle.

Time Setting

Adjusting the Clock

Set the current time, choosing between 24-hour and 12-hour formats.

Data Transfer

Entering Total Odometer Data

Input the total accumulated distance from a previous device.

Entering Total Time Data

Input the total accumulated time from a previous device.

Display Contrast Adjustment

Setting Screen Contrast Level

Adjust the display contrast from 1 (low) to 3 (high) for readability.

Resetting Device Functions

Resetting Individual Functions

Reset specific data like trip distance, time, or speed to zero.

Performing a Full Reset

Reset multiple functions simultaneously by holding the RESET button.

Speed Comparison Feature

Understanding the Pace Arrow

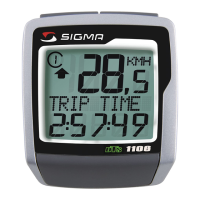
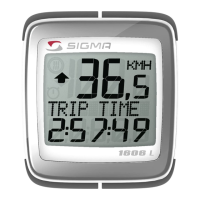
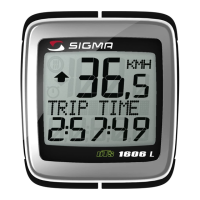
The pace arrow indicates if current speed is above, below, or equal to average speed.

General Information and Troubleshooting

Battery and Warranty Details

Information on battery type, replacement, and warranty terms.

Troubleshooting Common Issues

Solutions for display problems, MPH issues, and slow screen changes.

Related product manuals