Do you have a question about the Signature Hardware ALLISTON and is the answer not in the manual?
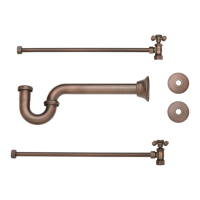
Prepare two 1/2" NPT fittings recessed 3/8" behind the finished wall, spaced 5½-7" apart.
Apply sealant/tape to nipples, screw into fittings, and tighten to extend 1-3/8" from the wall.
Screw decorative escutcheons onto pipe nipples and hand-tighten them against the wall.
Insert washers, apply sealant/tape to nipples, attach faucet, and tighten securely with a wrench.
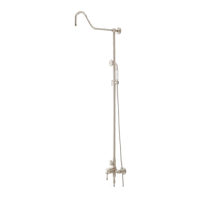
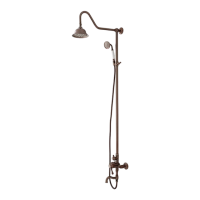
Hand-tighten the shower arm elbow to the top of the shower riser pipe.
Temporarily connect the riser pipe to the valve assembly without sealant for mounting plate installation.
Slide mounting plate onto riser, position on wall, level riser, and mark mounting holes.
Drill pilot holes, insert anchors, and attach the mounting bracket to the wall using screws.
Slide the decorative flange onto the mounting plate to cover the mounting hardware.
Reconnect riser to valve, slide support arm into mounting plate, apply sealant, and tighten.
Attach shower arm, shower head, and handheld shower using flexible hose and sealant.
Test the system for leaks, ensure water diversion to handheld works, and both functions operate correctly.
| Brand | Signature Hardware |
|---|---|
| Product Name | ALLISTON |
| Category | Bathroom Fixtures |
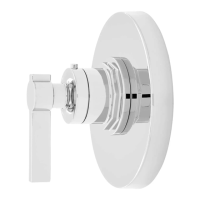
| Valve Included | Yes |
| ADA Compliant | Yes |
| Warranty | Limited Lifetime |
| Material | Brass |
| Finish | Polished Nickel |
| Number of Handles | Two |