AFTER SALES SUPPORT
1300 7 77 137
service@unclebills.com.au
MODEL: EA2258 PRODUCT CODE: 709435 07/2022
16
INSTRUCTIONS (CONT.)
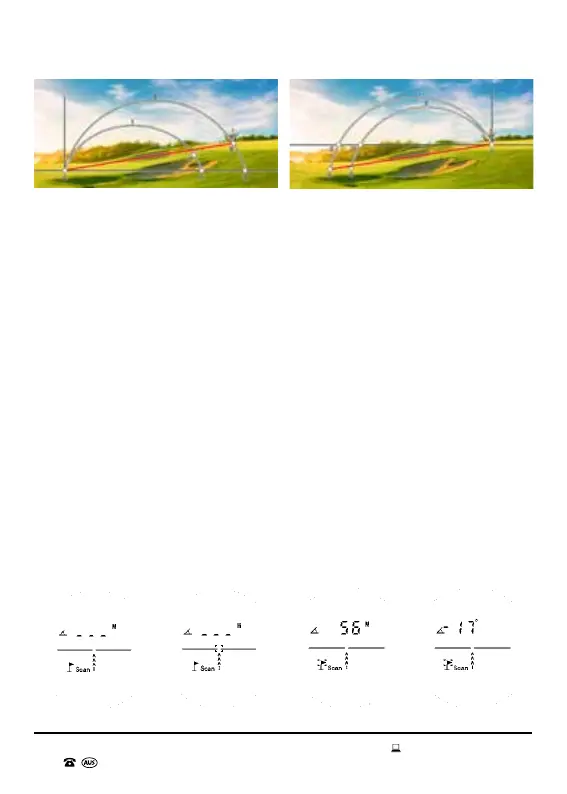
Fig. 5.1
Fig. 5.2
1. Put your dominant hand through the wrist strap and rmly grip the Laser
Range Finder. Bring the eyepiece to your eye and point the Laser Range
Finder at a distant object. If the object is not clear in your eld of vision, then
rotate the eyepiece of the Laser Range Finder until the object becomes clear.
2. Press down the OPEN button. The lens will display the last mode selected
when the Laser Range Finder shutdown. Keep pressing the MODE button
till you reach the Slope and Angle Measurement Mode (see Fig. 5.3). Aim the
Laser Range Finder at the desired object. Hold down the OPEN button and
the crosshairs will start ashing (see Fig. 5.4). Once the Laser Range Finder
nds a suitable reecting object in measuring distance, the measuring
distance will appear up above the crosshairs and a solid dotted box will
appear around the ag of the agpole (see Fig. 5.5). This means that the
slope distance and angle has been identied for the object and the value
has been locked. Gradually point the Laser Range Finder at different objects.
Once the Laser Range Finder detects a closer reecting object, it will then
replace the existing distance and angle values with the new values. You can
release the OPEN button once you are done with the measurements or the
Laser Range Finder will remain in Slope and Angle Measurement Mode for a
maximum period of 30 seconds at the most, it cannot keep scanning in this
mode for longer than this. After this time, the Laser Range Finder will stop
scanning and the crosshairs will stop ashing. The display will read the lowest
measured slope distance (see Fig. 5.5) recorded followed by the slope angle
(see Fig. 5.6) for that object. The distance and angle will keep switching back
and forth till the Laser Range Finder shuts down.
Fig. 5.3 Fig. 5.5 Fig. 5.6Fig. 5.4