9
GB
7. Installation
With its extensive accessories, there are nu-
merous options enabling you to react per-
fectly to almost any conceivable requirement
on a vacuum cleaner. In this section, we de-
scribe the assembly for the most frequent ap-
plications.
CAUTION:
~ During all assembly steps, the vacuum
cleaner must be switched off.
7.1 Engaging and disengag-
ing connections
There are two ways to mount and dismantle
parts.
The suction pipe|19, the floorhead|21, the
dust container|10, the filter covers|4 and
the battery|32 are inserted until they en-
gage audibly. Press the respective release
button to disengage the connections.
All other parts are pushed on and pulled off.
If necessary, slightly rotate the parts in oppo-
site directions.
7.2 Prior to every use
Prior to every use, the following parts must
be assembled:
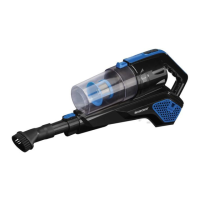
Filter unit
The filter unit consists of:
the filter carrier|7, the
metal filter|11 and the
paper filter|6.
•Always insert the
complete filter unit
into the dust contain-
er|10.
• Both small guide pins of the filter carri-
er|must fit accurately into the small
openings underneath the unlocking
mechanism|13 of the dust container.
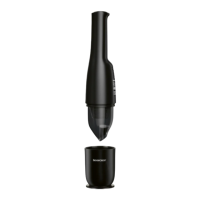
Dust container
Only use the dust con-
tainer|10 with the com-
plete filter unit.
• Place the dust con-
tainer|10 on the suc-
tion device|5.
• Hook the bottom end
on and then push
down the upper end
until it engages audi-
bly.
Battery
The vacuum cleaner
cannot be operated
without the charged bat-
tery mounted.
• Insert the battery|32
into the battery com-
partment|1 until it en-
gages audibly.
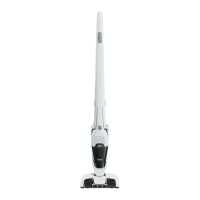
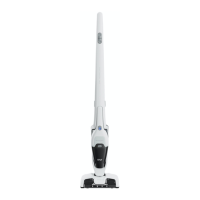
7.3 The suction pipe
The suction pipe|19 is
used as an extension.
All parts to be connect-
ed to the clear end of
the suction pipe can
also be plugged directly
into the opening|8 at
the suction device|5.
• Insert the suction
pipe|19 into the
opening|8 until it en-
gages.
 Loading...