11 GB
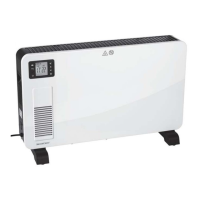
Installation (see fig. A–C)
Place the product upside down on a soft
underlay to avoid scratch on the surface,
power cord retainer
7
upper than
temperature control
3
(see fig. A).
Attach the U shape bolt
10
to the product
between first two fins with the threaded ends
pointing upward (see fig. A).
Place the U shape castor assembly
11
over the U shape bolt
10
with both wheels
pointing upward (see fig. B). Ensure both
threaded ends of U shape bolt
10
passing
through both holes on the U shape castor
assembly
11
.
Fasten wing nut
8
securely onto each
threaded end of U shape bolt
10
.
Repeat above steps on the rear side of the
product with the I shape castor assembly
9
and the U shape bolt
10
attached between
last two fins (see fig. C).
S
et the product back to upright position, whe
els
on the floor. It is now ready to use.
Note: The product is equipped with a
tilt protection switch. It will shut down the
product automatically if it falls over or is
lying on its side.
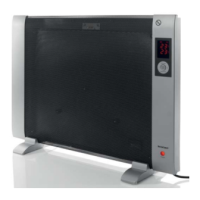
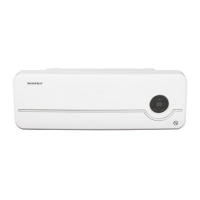
Operation
Unwind the power cord completely from the
power cord retainer
7
.
Make sure that both, temperature control
3
and heat level switch
2
are set to MIN and
“0” respectively.
Connect the product to a grounded mains
socket protected by a residual current circuit
breaker. Ensure that the mains voltage of
the electrical outlet meets the requirements
described in the “Technical data” chapter.
Note: Ensure the mains plug is fully inserted
to the mains socket.
Reaching the decided
room temperature
Set the temperature control
3
to MAX. and
the heat level switch
2
to “3”, the power
indicator
1
lights up.
When the desired room temperature is reached,
turn the temperature control
3
gently counter-
clockwise until the product shuts off, a “click”
sound is heard and the power indicator
1
goes off. Leave the temperature control
3
at the position and the room temperature is
now retained.
The product automatically cycles on and off
to keep the decided room temperature, the
power indicator
1
light also cycles on and
off to indicate when the product is heating
up. As long as the heat level switch
2
is set
to “1”/”2”/”3”, the product operates even
when the power indicator
1
is off.
Use the heat level switch
2
to select how
quickly the product shall warm up. To warm
up quickly, set the heat level switch
2
to “3”.
Turbo heating
To heat the room more quickly, set the
temperature control
3
to MAX. and the
heat level switch
2
to “3”, the power
indicator
1
lights up.
321301_SI_CZ_SK_02.indb 11 17/5/2019 3:40 PM