8
OWNER’S MANUAL
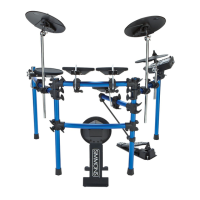
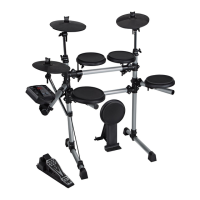
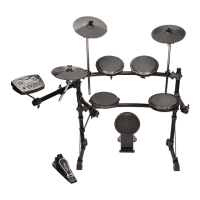
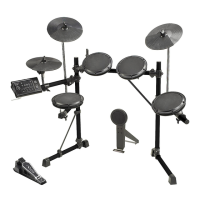
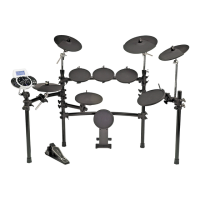
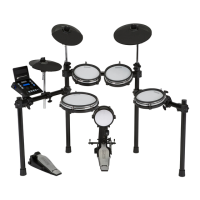
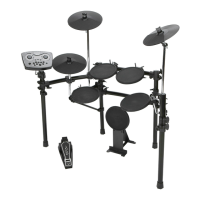
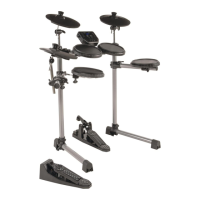
ASSEMBLING YOUR KIT
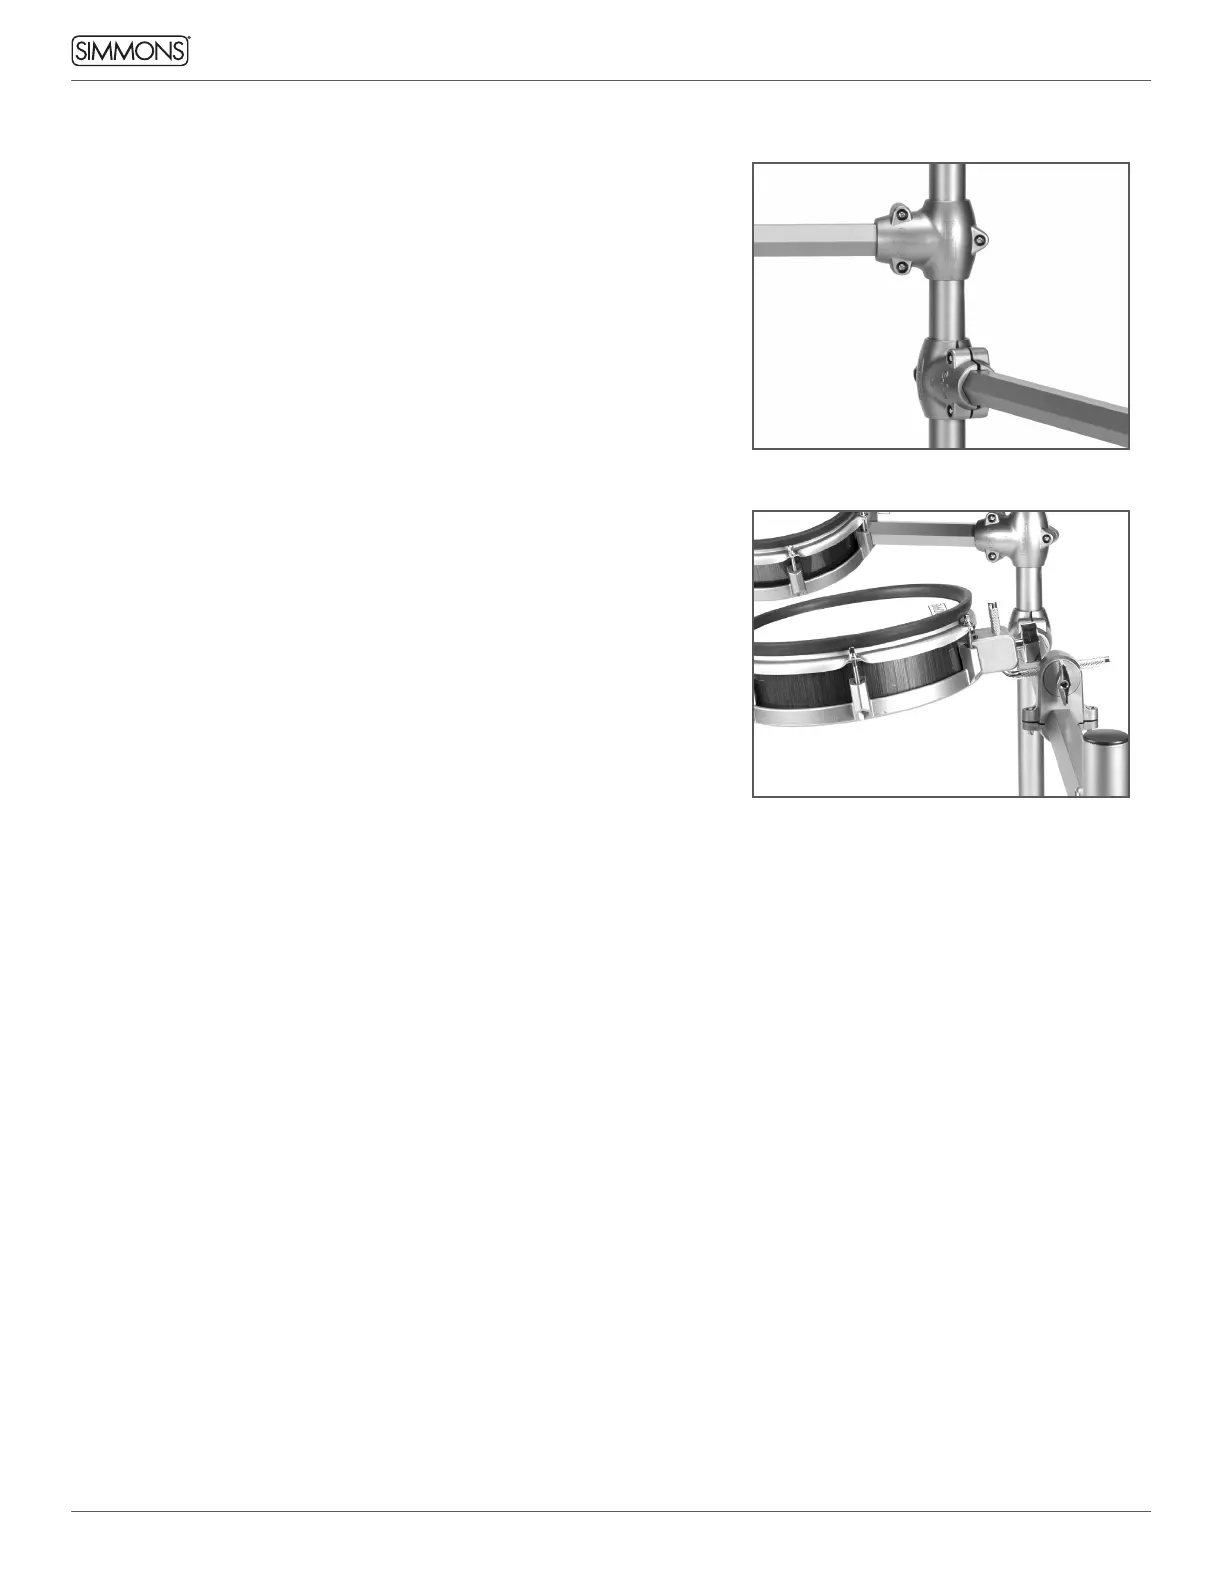
RACK ASSEMBLY
1. Remove the preassembled rack tubing with clamps from its box.
2. There is a Drum Key included with the kit, in the bag with this user
manual. Loosen the T-clamps and adjust the kit to your playing
position.
3. After you have the rack aligned, double check each Drum Key
Fastener and make sure they are all snug (but do not over tighten).
4. Insert the L-rod into the clamp for each tom. The long end should go
into the clamp, and the short end should be pointed up.
ATTACHING THE TOMS TO THE RACK
Each tom has a thumbscrew built into the pad. Slide the Tom onto the
L-bracket and tighten the hand knob thumbscrew until the drum is
securely held on the mount. Adjust the angle of the drum to where you
want it by loosening the clamp, then tighten it to secure the drum.
ATTACHING THE CYMBALS (CRASH, RIDE, HI-HAT)
Attach the cymbal arms to the rack left and right posts. Adjust the
boom arm to a comfortable playing angle. Attach the Hi Hat boom arm
(the longest one) to the clamp on the left side of the rack, and attach
the Crash 2 post to the right side of the rack. If the Hi Hat is too close,
reverse the clamp so that the mounting hole is on the opposite side
of the rack. Remove the cymbal nut and felt, place the cymbal on the
mount, replace the felt and nut, then tighten. The cymbals have a guide
to keep them from spinning when mounted.
ATTACHING THE SNARE DRUM
Remove the snare stand from its packaging. Open the stabilizing legs,
insert the clamp into the base, and tighten into position. Place the
snare onto the snare stand, then tighten the bottom nut to secure
the drum in the stand. Adjust the thumbscrews to change the drum’s
position in the stand.
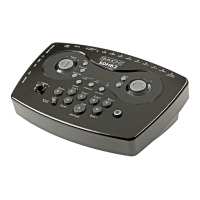
ATTACHING THE MODULE
Place the module mount into the rack clamp furthest to the left.
Tighten the tension rod to secure the module. You can adjust the clamp
to rotate the module into a more comfortable position.
KICK DRUM AND STAND
Remove the kick drum pad from its packaging and place under Toms
1 and 2. Attach your beater pedal (not included) to the mount at the
bottom of the pad.
Note: A kick drum beater pedal is not included with the kit.
We strongly recommend using plastic beaters to avoid damage to
the kick drum mesh head.
A kick pad patch is included with the kit. Attach this to the kick pad
where your beater pedal hits to avoid damage to the pad, or leave
it off for quieter operation.
KICK DRUM, HI-HAT PEDAL AND PAD CONNECTIONS
1. Place the hi-hat pedal on the floor and to the left.
2. Connect the marked cables from the pads to the multi-pin input on
the bottom of the sound module. It is best to start from the opposite
side of the module and route the cables with the hook-and-loop
cable holders as you go. This will provide the cleanest look and make
it much easier. Plug the two 1/4” cables from their jacks on the right
side of the module to Tom 4 and Crash 2.
Note: The snare drum works best when
tightened. You may want to use the
included drum key to tighten the snare
lugs for best response.