Assembly instructions for kit #9
All rights reserved. 2013 Simple Motors, LLC ♦ www.simplemotor.com ♦
18
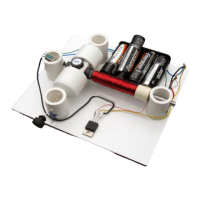
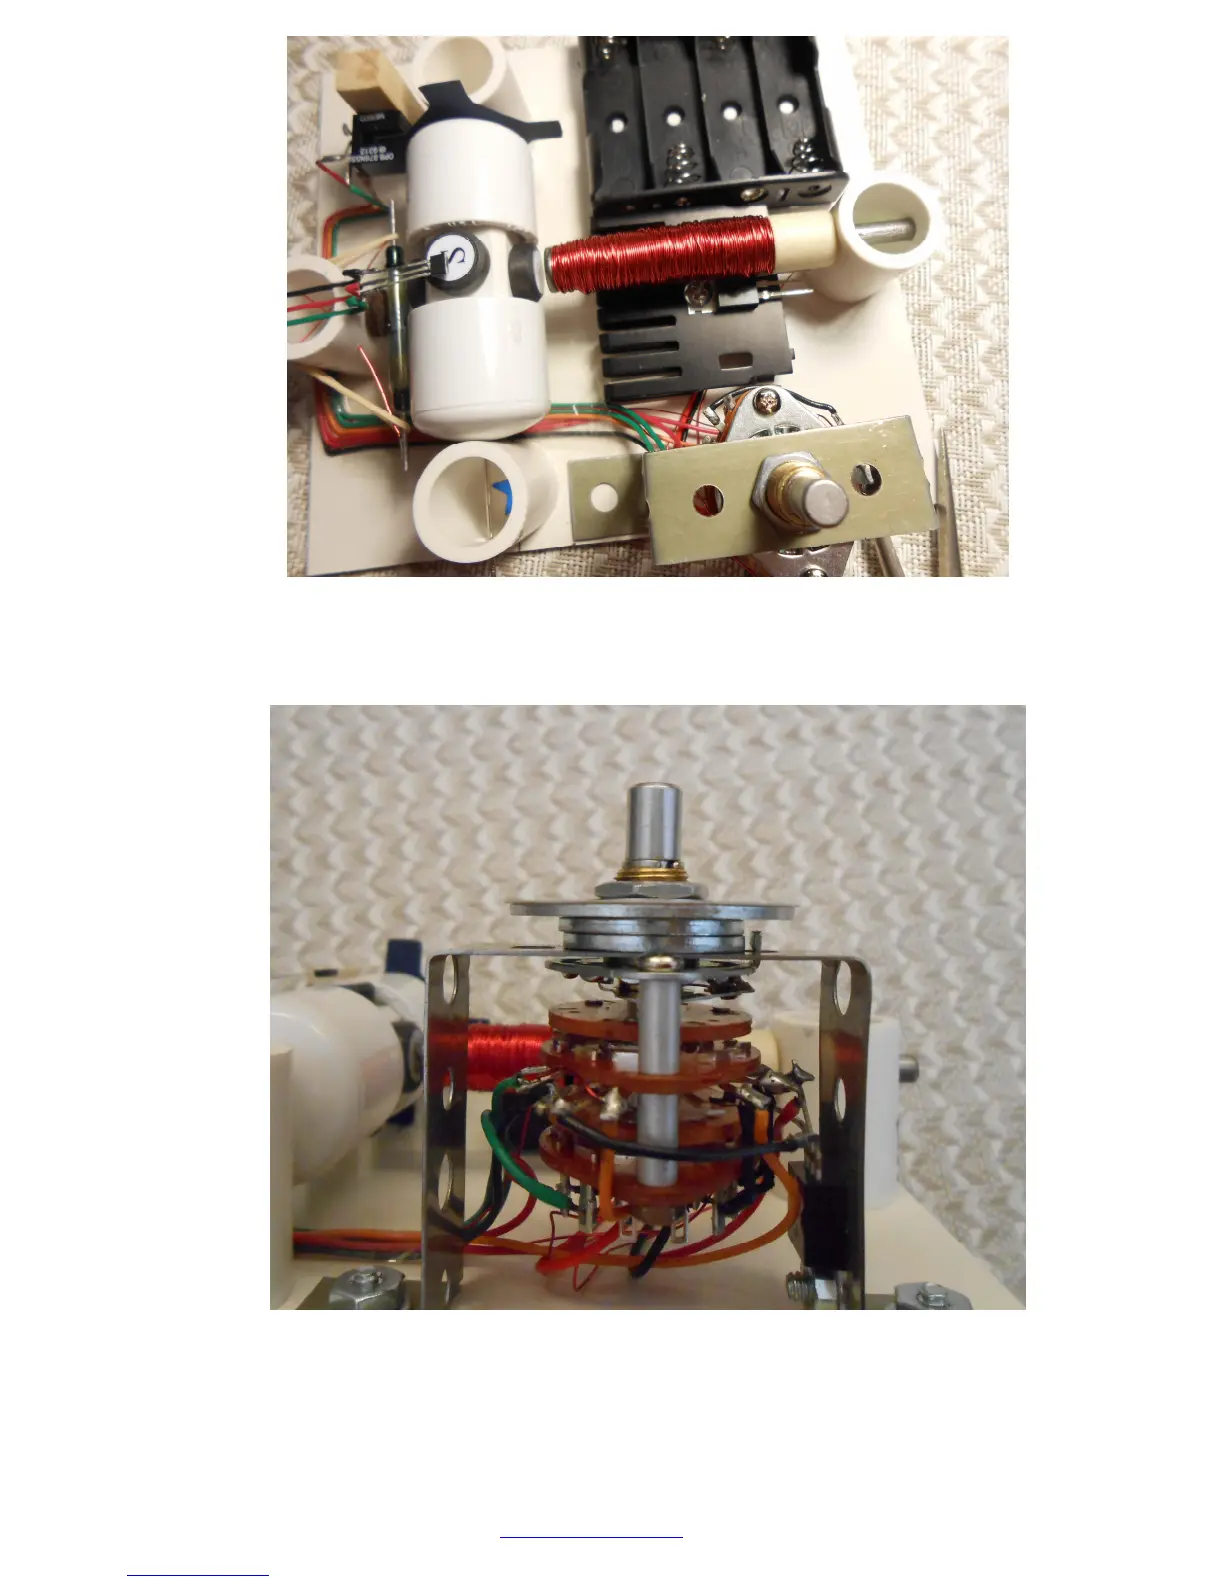
30.Tighten the knob on the switch using a set screw on the side and turn it counterclockwise
until the last click, then remove the knob. Now add all the washers and a dial as shown:
Attach the bracket to the board. If you bought Kit #9 your board is predrilled and
countersunk. If you are adding the switch to the Kit #8 you need to drill 2 holes.
Hardware is included with the switch. You may also use strong double sided tape.
 Loading...