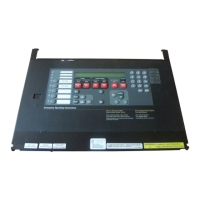
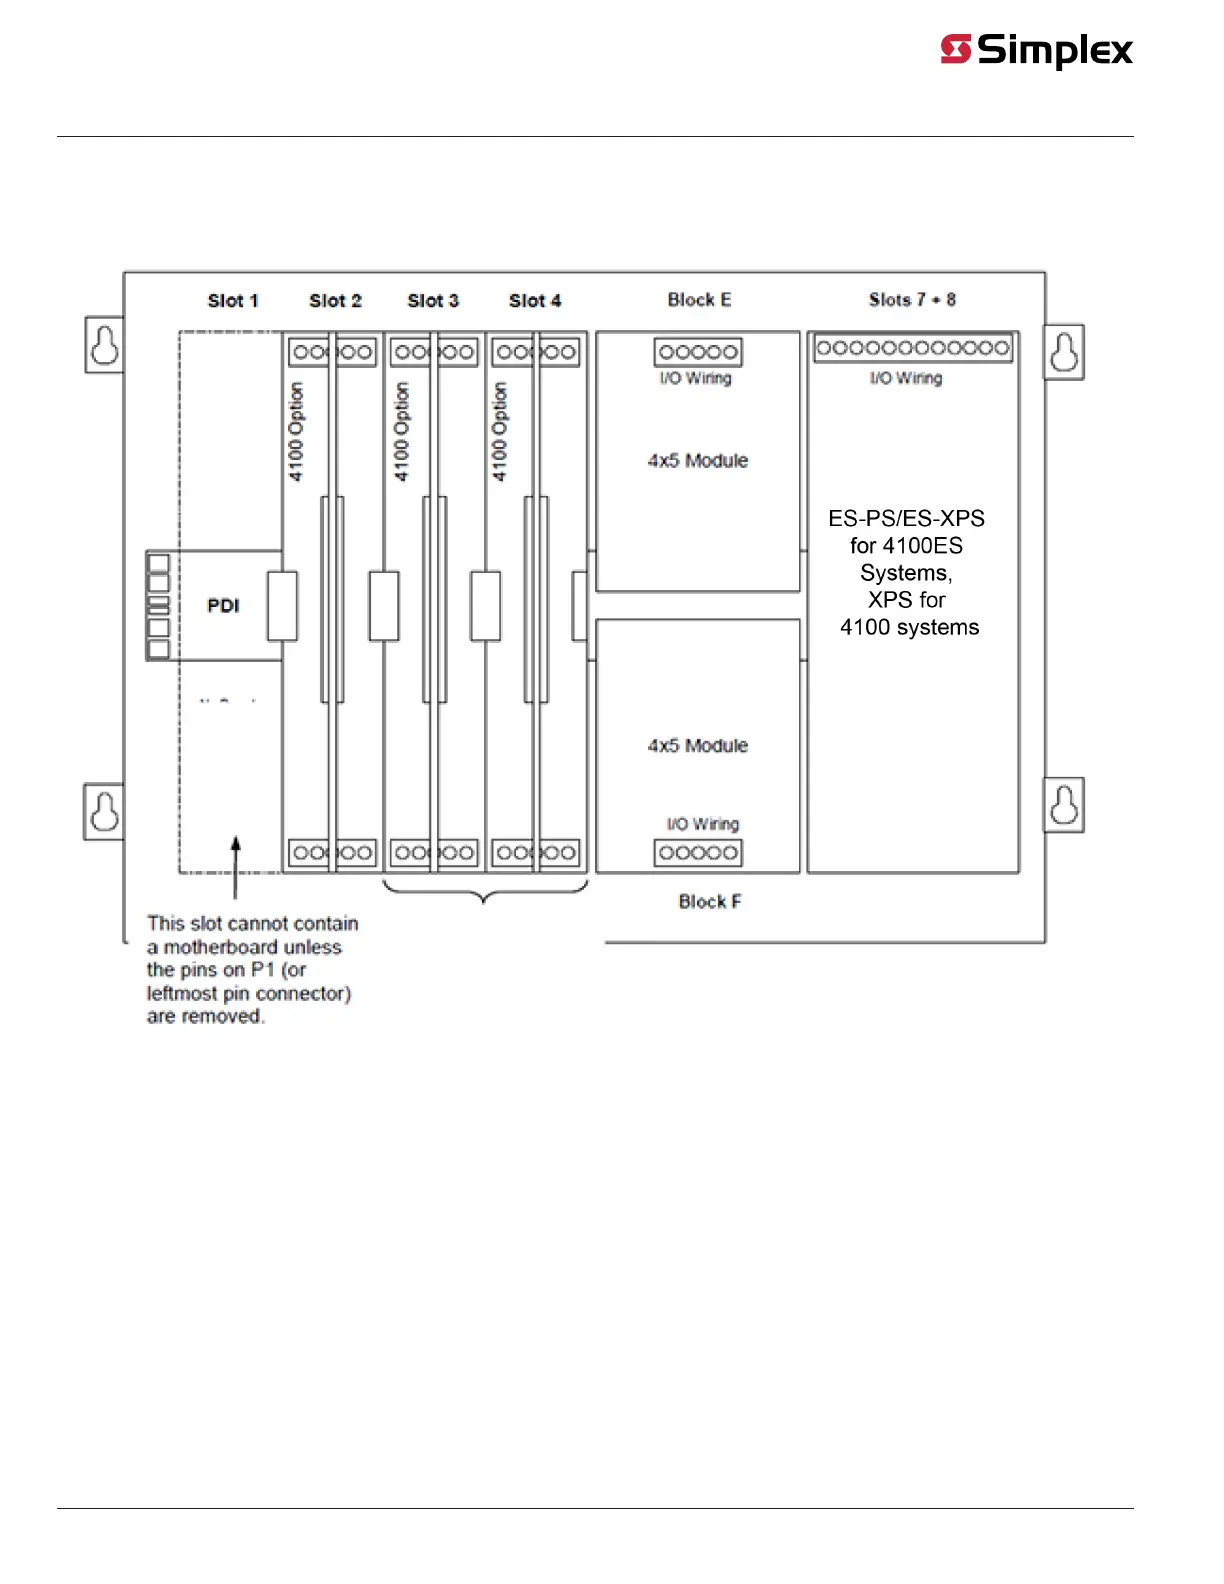
• As shown in the figure below, motherboards can be installed alongside 4" x 5" cards, if necessary.
• The leftmost slot must not contain a motherboard.
• 4" x 5" cards must be added from right to left.
• Motherboards must be added from left to right.
Figure 9: Installing the Motherboard in a 4100U/4100ES Expansion Bay
Note: The 4120-3002 motherboard takes up two slots.
Note: Use the following procedure when installing motherboards in an expansion bay. Start with the second slot from the left and fill to the right.
1. Orient the motherboard with the connector labeled J1 on the right and the header labeled P1 on the left.
2. Attach four metal threaded standoffs and lockwashers into the screw holes on the chassis.
3. Attach two grey plastic standoffs to the motherboard socket mounting screws.
4. Secure the motherboard to the standoffs using four #6 torx screws as shown in Figure 8.
page 10 579-220 Rev. F
4100/4120- Series and 4010ES Relay Modules Installation Instructions
 Loading...