EasyManua.ls Logo

SimPure Q3-600 - Installation Planning and Tools; Required Hand Tools for Installation; Choosing the Installation Location

SimPure Q3-600
23 pages
Print Icon
To Next Page IconTo Next Page
To Previous Page IconTo Previous Page
Loading...
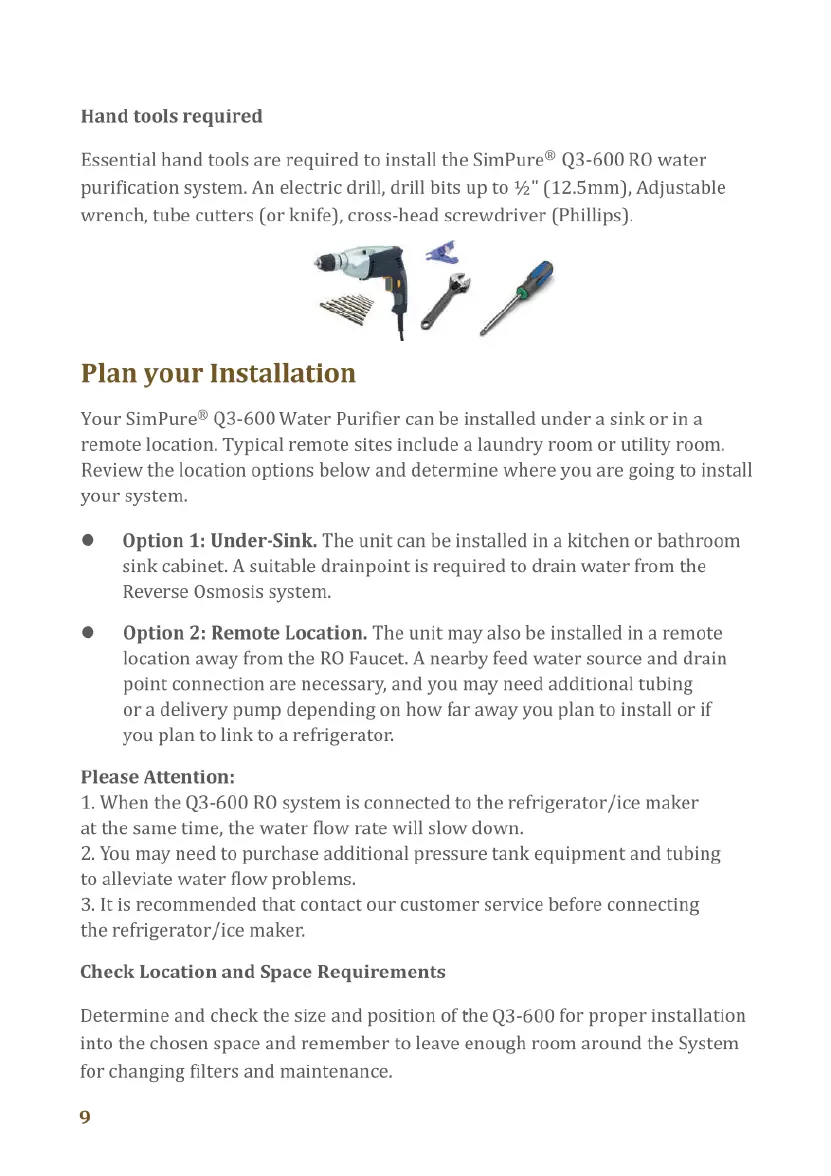
Hand
tools
required
Essential
hand
tools
are
required
to
install
the
SimPure®
Q3-600
RO
water
purification
system.
An
electric
drill,
drill
bits
up
to
%"
(12.5mm),
Adjustable
wrench,
tube
cutters
(or
knife),
cross-head
screwdriver
(Phillips).
|
<
Plan
your
Installation
Your
SimPure®
Q3-600
Water
Purifier
can
be
installed
under
a
sink
or
in
a
remote
location.
Typical
remote
sites
include
a
laundry
room
or
utility
room.
Review
the
location
options
below
and
determine
where
you
are
going
to
install
your
system.
®
Option
1:
Under-Sink.
The
unit
can
be
installed
in
a
kitchen
or
bathroom
sink
cabinet.
A
suitable
drainpoint
is
required
to
drain
water
from
the
Reverse
Osmosis
system.
®
Option
2:
Remote
Location.
The
unit
may
also
be
installed
in
a
remote
location
away
from
the
RO
Faucet.
A
nearby
feed
water
source
and
drain
point
connection
are
necessary,
and
you
may
need
additional tubing
or
a
delivery
pump
depending
on
how
far
away
you
plan
to
install
or
if
you
plan
to
link
to
a
refrigerator.
Please
Attention:
1.
When
the
Q3-600
RO
system
is
connected
to
the
refrigerator/ice
maker
at
the
same
time,
the
water
flow
rate
will
slow
down.
2.
You
may
need
to
purchase
additional
pressure
tank
equipment
and tubing
to
alleviate
water
flow
problems.
3.Itis
recommended
that
contact
our
customer
service
before
connecting
the
refrigerator/ice
maker.
Check
Location
and
Space
Requirements
Determine
and
check
the
size
and
position
of
the
Q3-600
for
proper
installation
into
the
chosen
space
and
remember
to
leave
enough
room
around
the
System
for
changing
filters
and
maintenance.
9
Installation
Steps
Step
1
-
Install
the
feed
water
adaptor
valve
If
the
cold
water
valve
outlet
is
3/8”,
it
can
be
directly
connected
by
following
steps.
Locate
Shut
off
valve.
Turn
off
the
COLD
water
shut
off
valve
located
under
the
sink.
Warning:
Make
sure
you
have
turned
the
water
supply
off
before
starting
any
plumbing
work.
Remove
the
original
connection
from
between
the
faucet
and
the
cold
water
shut
off
valve
under
the
sink.
Connect
the
cold-water
supply
and
feed
water
adapter
valve.
3/8°
faucet
hose
Feedwater
valve
Tubing
3/8"
3/8"PE
Cold
water
Valve
<
©
O
Note:
Please
check
if
the
sealing
ring
is
installed,
or
it
may
cause
water
leaking.
If
the
cold
water
valve
outlet
is
1/2”,
it
can
be
connected
via
the
following
two
fittings.
172"
faucet
hose
Fitting
A
——@®
o——
Washer
A
Feedwater
vaIVE«QI\
Tubing
=
Washer
¢
3/%"PE
Fitting
8
S
Washer
8
@
1/2*
Cold
water
Valve
10