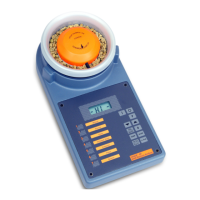
5
b) HOW TO START THE PRINTER
1. Connect the Printer Cable to the RS232 Port on the left
hand side of the
Moisture Analyzer.
2. Connect “D” type connector of the cable to the input of
the Serial Printer.
3. Switch on Printer.
4. Switch on Moisture Analyzer.
5. Press and hold CAL
display shows CAL.
AUTO
6. Press TEMP key, display shows P on
(Means printer on).
7. Press CAL
display shows — HI —
AUTO
8. The printer has now been activated and when %H20 and other
measurements are selected the results will be printed.
To turn the printer off repeat steps 5 and 6. After step 6
the display shows
I ~ —
- which means printer off.
PLEASE NOTE, THAT IF YOU ARE NOT USING THE
PRINTER, ENSURE THAT THE PRINTER SWITCH IS
TURNED OFF IN TEE ANALYZER.
c) Chancing the Batch Number
The batch number is a useful facility when
samples need to be recorded:
Display Shows
1. Switch on Moisture Analyzer — HI —
2. Press and hold ~ CAL.
AUTO
3. Enter batch number (e.g. 485) 4
Press 4
Press 7 47