Do you have a question about the Singer 14SH654 - DETAILED THREADING GUIDE and is the answer not in the manual?
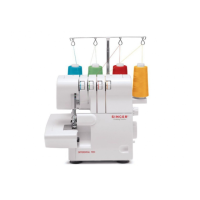
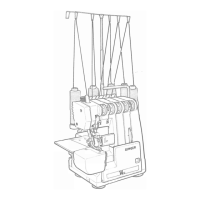
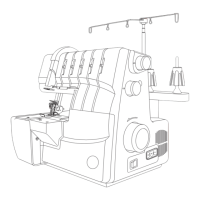
Guide thread under the top back guide and slip from right to left.
Thread orange upper looper: slip behind first guide below tension dial, then next 4 guides, and through looper eye.
Thread yellow lower looper: guide through tension dial, 4 yellow guides, and looper eye using tweezers.
Thread right needle: guide through tension dial, top path (green dot), wire guide A, needle eye, and overpass.
Thread left needle: guide through tension dial, bottom path (blue dot), wire guide B, needle eye, and overpass.
Adjust width knob: disengage knife, loosen, set position, tighten, and align with throat plate guidelines.
Use quality thread, same brand/size, avoid black thread to prevent static and skipped stitches.
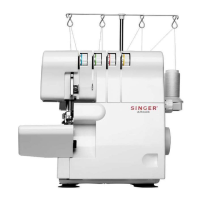
| Model | 14SH654 |
|---|---|
| Category | Sewing Machine |
| Stitch Options | 3/4 Thread Overlock |
| Built-in Stitches | 6 |
| Tension Control | Manual |
| Presser Feet | All-Purpose Foot |
| Dimensions | 13.5 x 11 x 11.5 inches |
| Type | Serger |