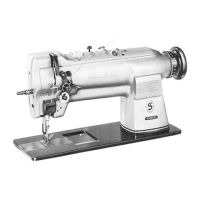
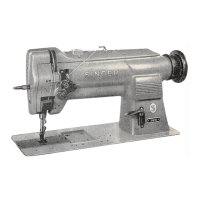
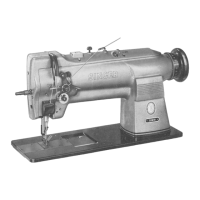
Timing
Belt
(Rg
a)
Removal
Remove
needle
from
needle
bar.
2.
Slide
timing
beltQ
from
belt
pulley
Q .
3.
Loosen
screws
in
handwheel.
4. Remove handwfieel together with ball bearing from
arm shaft.
5.
Pull
timing
beltO
through the opening normally
occupied by the ball bearing.
Replacement
1. Insert
timing
belt O through the opening in the
arm and slip it over the upper belt
pulley.
2.
Fasten
handwheel
on
the
flat of
the
arm
shaft
with
the
first
screw
that
appears
in
normal
direction
of
rotation.
Check
play of
arm
shaft.
4. Tighten
screws
in handwheel lightly to eliminate
the play of the arm shaft.
5.
Press
arm
shaft
crank
from
the
head
side
to
the
right (in direction to
the
handwheel)
and
at
the
same
time
tap
handwheel
into
place
with
the
palm
of the
right
hand.
Tighten
screws
in
handwheel.
7. Turn
handwheel
until
take-up
lever
has
reached
its
highest
position.
8. Turn bed shaft
until
mark
„B"
on the belt pulley is
aligned
with
mark
Q
in
the
machine
bed.
9. Without disturbing the settings described in items
7 and 8 above, slip timing belt O over the lower
belt
pulley
Q .
10.
Insert
a
needle
into
the
needle
bar
and
check
hook
timing
as instructed on page
18.
Zahnflachriemen
(Abb
ai
Ausbau
1.
Nadel aus der Nadelstange entfernen.
2.
ZahnflachriemenQvomZahnflachriemenradQnehmen
3. Schrauben in Handrad losen.
4.
Handrad
zusammen
mit Kugellager von
der
Arm-
welle ziehen.
5. Zahnflachriemen O durch die freigewordene Off-
nung
aus
der
Maschine
nehmen.
EInbau
1.
Zahnflachriemen© durch die Offnung im Arm auf
das obere Zahnflachriemenrad legen.
2. Handrad mit der ersten Schraube (in Drehrichtung
gesehen)
auf
der
Flache
der
Armwelle
befestigen.
3. Spiel der Armwelle uberprufen.
4. Zur Beseitigung
des
Spiels
der
Armwelle die
Schrauben
im
Handrad
leicht
anziehen.
5. Armwellenkurbel im
Maschinenkopf
nach
rechts
(in Richtung
zum
Handrad)
drucken,
um die Arm
welle axial zu fixieren. Gleichzeitig
Handrad
mit
der
Handflache
gegen die
Maschine
klopfen.
6. Schrauben im Handrad festziehen.
7.
Handrad
drehen,
bis
der
Fadenhebel
seine
hochste
Stellung
erreicht hat.
8. Grundplattenwelle drehen, bis die Markierung
„B"
an der Zahnflachriemenscheibe mit der Markierung
O auf der
Grundplatte
ubereinstimmt.
9. Die unter Punkt 7 und 8 beschriebene Einstellung
der
Armwelle
und
der
Grundplattenwelle
beibehal-
ten.
und
Zahnflachriemen
O
auf
Zahnflachriemenrad
O
auflegen.
10. Nadel in Nadelstange einsetzen und zeitliche Ein
stellung
des
Greifers
wie
auf
Seite
18
beschrieben
uberprufen.
40
From the library of: Diamond Needle Corp