Do you have a question about the Singer 211G157 and is the answer not in the manual?
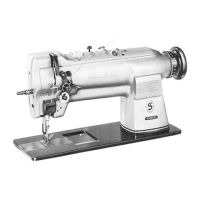
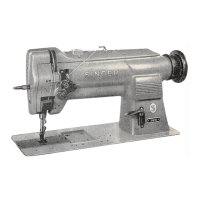
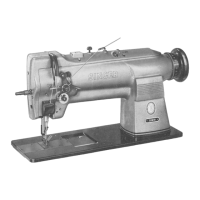
Overview of key operational characteristics and design elements of the sewing machines.
Highlights specific functionalities and variations across different machine models.
Step-by-step guide for setting up the sewing machine and its components.
Instructions for filling and maintaining oil reservoirs for proper machine lubrication.
Specific instructions for lubricating the sewing hook mechanism for optimal performance.
Information on recommended operating speeds, break-in procedures, and needle selection.
Steps for setting the needle and threading the upper thread through the machine.
Instructions for bobbin removal, winding, replacement, and threading.
Guidance on adjusting needle and bobbin thread tension for optimal stitch formation.
How to adjust the thread controller for proper slack thread management.
Procedure for adjusting the stitch length using the regulator button.
How to adjust presser foot or roller presser pressure for correct material feeding.
Adjusting needle bar bushing distance and needle bar height for specific models.
Correctly positioning the needle bar for 211G151 and 211G157 models.
Adjusting the clearance between needle bar and presser bar for specific models.
Instructions for operating and adjusting the reverse feed function.
Procedure for adjusting the vertical position of the sewing hook.
Adjusting the proximity of the hook point to the needle to prevent thread division.
Specific method for adjusting hook height for certain machine models.
Detailed steps for safely removing the sewing hook and its components.
Procedure for ensuring the sewing hook is correctly timed with the needle.
Steps for removing the bobbin case from the sewing hook assembly.
Instructions for detaching the entire sewing hook from the machine.
Setting the bobbin case opener for proper thread passage.
Aligning the bobbin case opener with reference marks for correct timing.
Guidelines for correctly installing a new or repaired sewing hook.
Adjusting the feed dog for proper material feeding and stitch formation.
Adjusting the feed eccentric for take-up play and pressure.
Steps for removing the take-up lever from the machine arm.
Procedure for removing the needle bar rock frame assembly.
Instructions for replacing the drive belt for the arm shaft.
| Brand | Singer |
|---|---|
| Model | 211G157 |
| Category | Sewing Machine |
| Language | English |