Page 10
CHAPTER 6:
INSTALLATION AND FINAL TEST.
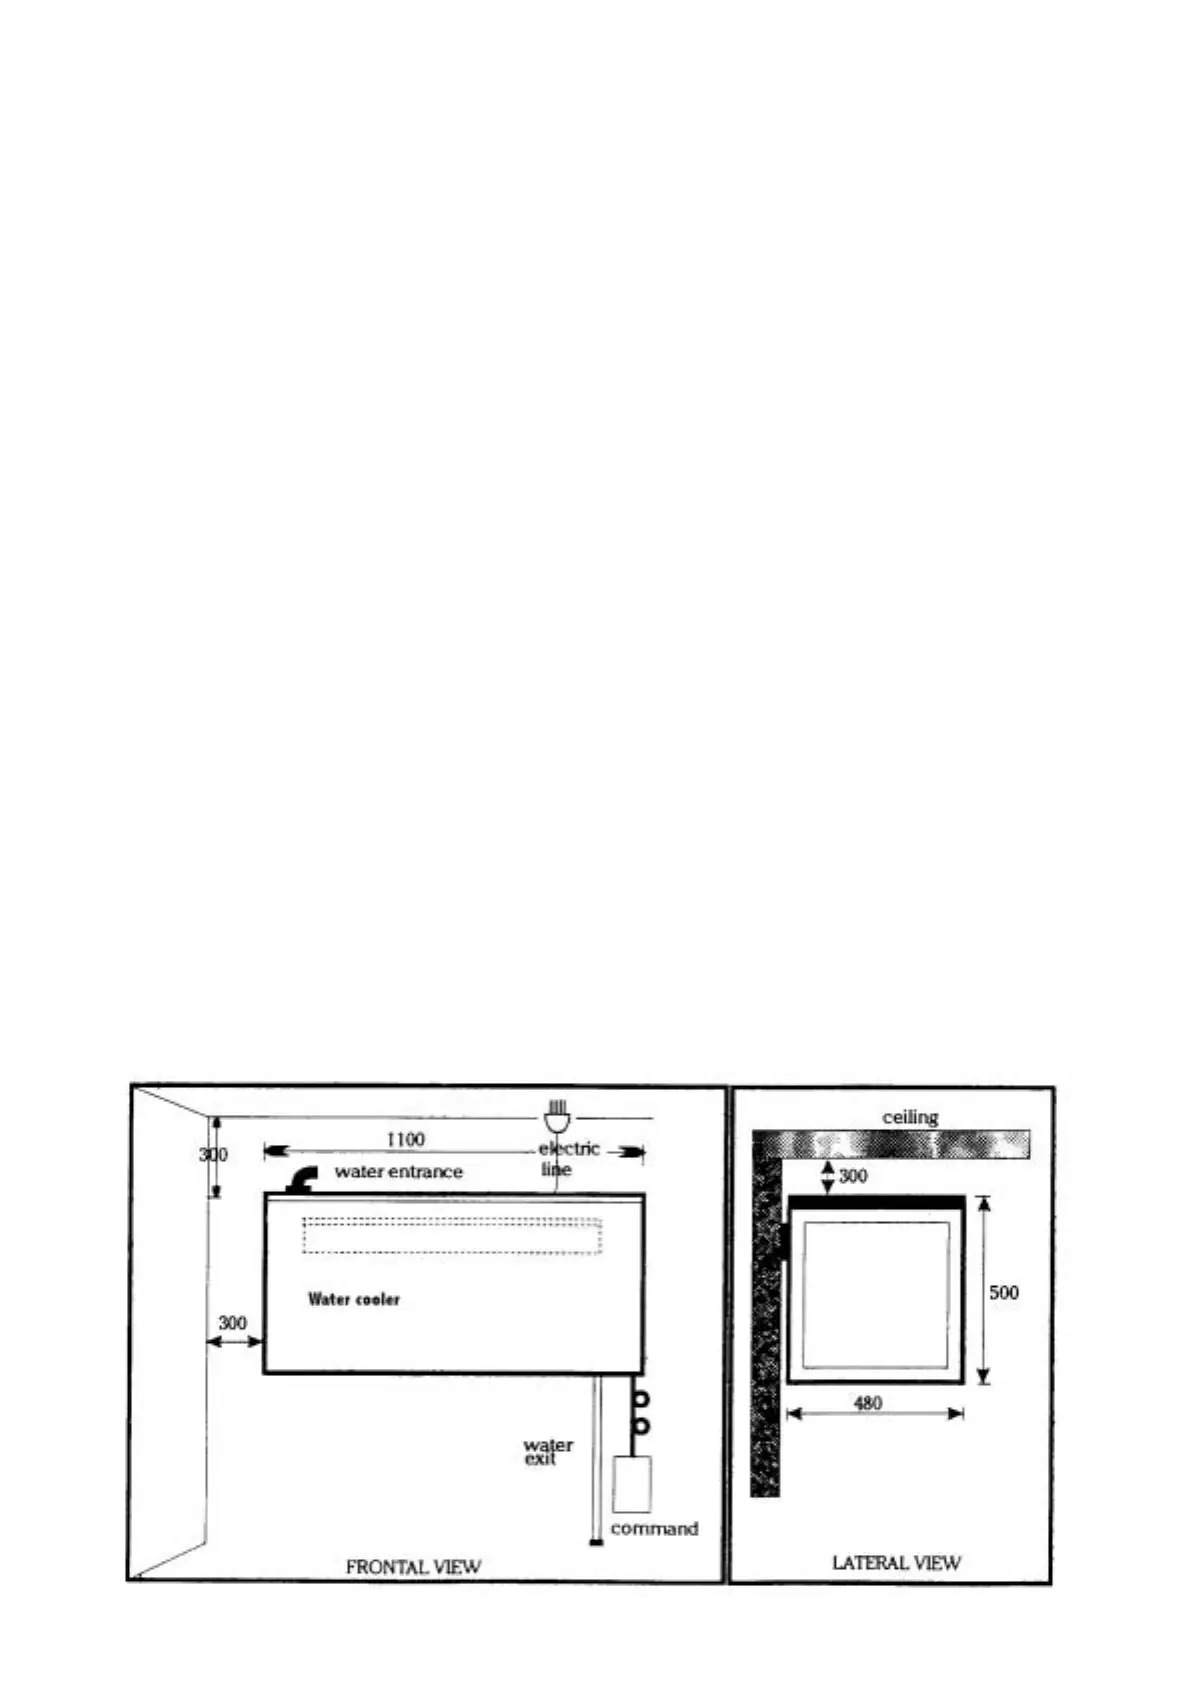
Fasten the bracket to the wall leaving a minimum distance from the ceiling and to the
wall on the right hand side of the mach ine (frontal view ) of at least 300mm. (See
below) USE ALL THE WALL PLUGS TO SPREAD THE LOAD OF THE UNIT
EVENLY.
Mount the Bracket in a horizontal position using a spirit level.
!
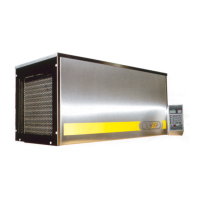
After having checked that the bracket is well fastened to the wall (the machine
we ighs 140kg when full) mount the machine using the special bar on the back
of the machine.
!
Position the electronic key board in a comfortable position away from direct
sunlight and fasten it.
Attach the machine to a 3/4" tap of drinking water and with a maximum pressure of
3 Bars. INSTALL THE SUPPLIED FILTER BETWEEN THE TAP AN D THE
WATER COOLER WITH THE SUPPLIED HOSES.
The Power should be connected to a standard 10 amp power outlet ensuring that the
machine rating corresponds to input current (these values are written on the plate
on top of the water cooler).
After having carried out the above operations, you can start the machine by pushing
the “ON/OFF” button on the control panel, if it does not turn on you should check
the electrical supply to the machine, also check that the earth leakage switch (See
page 16, (Parts diagram) Part number 7) on top of the machine is switched on. For
further fault finding refer to page 13.
Run through the working cycle (see chapter 2).
Check for any leaks on all hose connections (hose from tap to filter, from filter to
water c ooler and hose from water cooler to mixer).