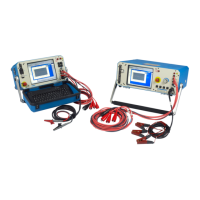
Running an automatic test
After new Motor and Test IDs have been created, a fully automatic test can be run. It will test
the motor in the following sequence:
1) Temperature
2) Resistance
3) MegOhm
4) PI/DA
5) HiPot/Step Voltage/Ramp Voltage
6) Surge
At the end of the sequence, the test data will automatically be saved to the database.
NOTE
Tests can also be run from the test setup windows using a semi-automatic or
manual process. Semi-automatic tests can be executed by pressing the desired run
button on the Tests tab.
Additionally, tests can be run manually using the controls on the front panel of the
analyzer.
1) To start an automatic test, select the desired Motor ID using the Explore tab.
2) Click on the Tests tab to get to the main testing window. If the Motor ID setup and
the Test ID setup procedures were properly completed, the analyzer should be at the
correct place to begin the automatic test for this example.
3) To start the test, click on the red Run Auto Test button in the Tests tab and follow
the directions.
4) The Safe to Turn On dialog box appears, instructing you to verify that the correct set
of leads is properly connected. If the resistance test is turned on and the Res Leads
box is not checked, this dialog box will direct you to attach the high-voltage leads. If
the Res Leads box is checked, the displayed dialog will request that low-voltage
leads be attached.
NOTE
The test leads available and the corresponding directions presented by the software
depend on the tester model that you will be using.
PUB CM/I4 71-015 EN V13.2 Static Motor Analyzer—Baker AWA-IV User Manual 91
Test procedures

 Loading...