28
NOISE/VIBRATION INFORMATION
MeasuredvaluesdeterminedaccordingtoEN60745.
Typically the A-weighted noiselevels of the tool
are:Soundpressurelevel:90dB(A).Soundpower
level:101dB(A),uncertaintyK=3d(B).
Wear ear protection!
Thetypicalweightedaccelerationis5,5m/s
2
, un-
certaintyk=1,5m/s
2
.
*whensurfacegrinding8,1m/s
2
.
*whensanding6,2m/s
2
.
!
other application (such as cutting-off or
wire brushing) may have different vibration va-
lues.
Thevibrationemissionlevelstatedatthebackof
thisinstructionmanual(indicatedbyanasterisk)
has been measured in accordance with a stan-
dardisedtestgiveninEN60745;itmaybeusedto
compareonetoolwithanotherandasaprelimi-
nary assessment of exposure to vibration when
using the tool for the applications mentioned.
Using the tool for different applications, or with
different or poorly maintainted accessories, may
significantly increase the exposure level.
Thetimeswhenthetoolisswitchedofforwhen
it is running but not actually doing the job, may
significantly reduce the exposure level.
!
Protect yourself against the effects of vi-
bration by maintaining the tool and its acces-
sories, keeping your hands warm, and organiz-
ing your work patterns.
INFORMATION RECORDING STATIC
SlotsinstructuralwallsaresubjecttoDIN1053part
1 or to provisions specific to a particular country.
Theseprovisionsmustalwaysbecompliedwith.
Beforestartingwork,consultthestructuralengi-
neer or architect responsible, or the relevant su-
pervisionofworks.
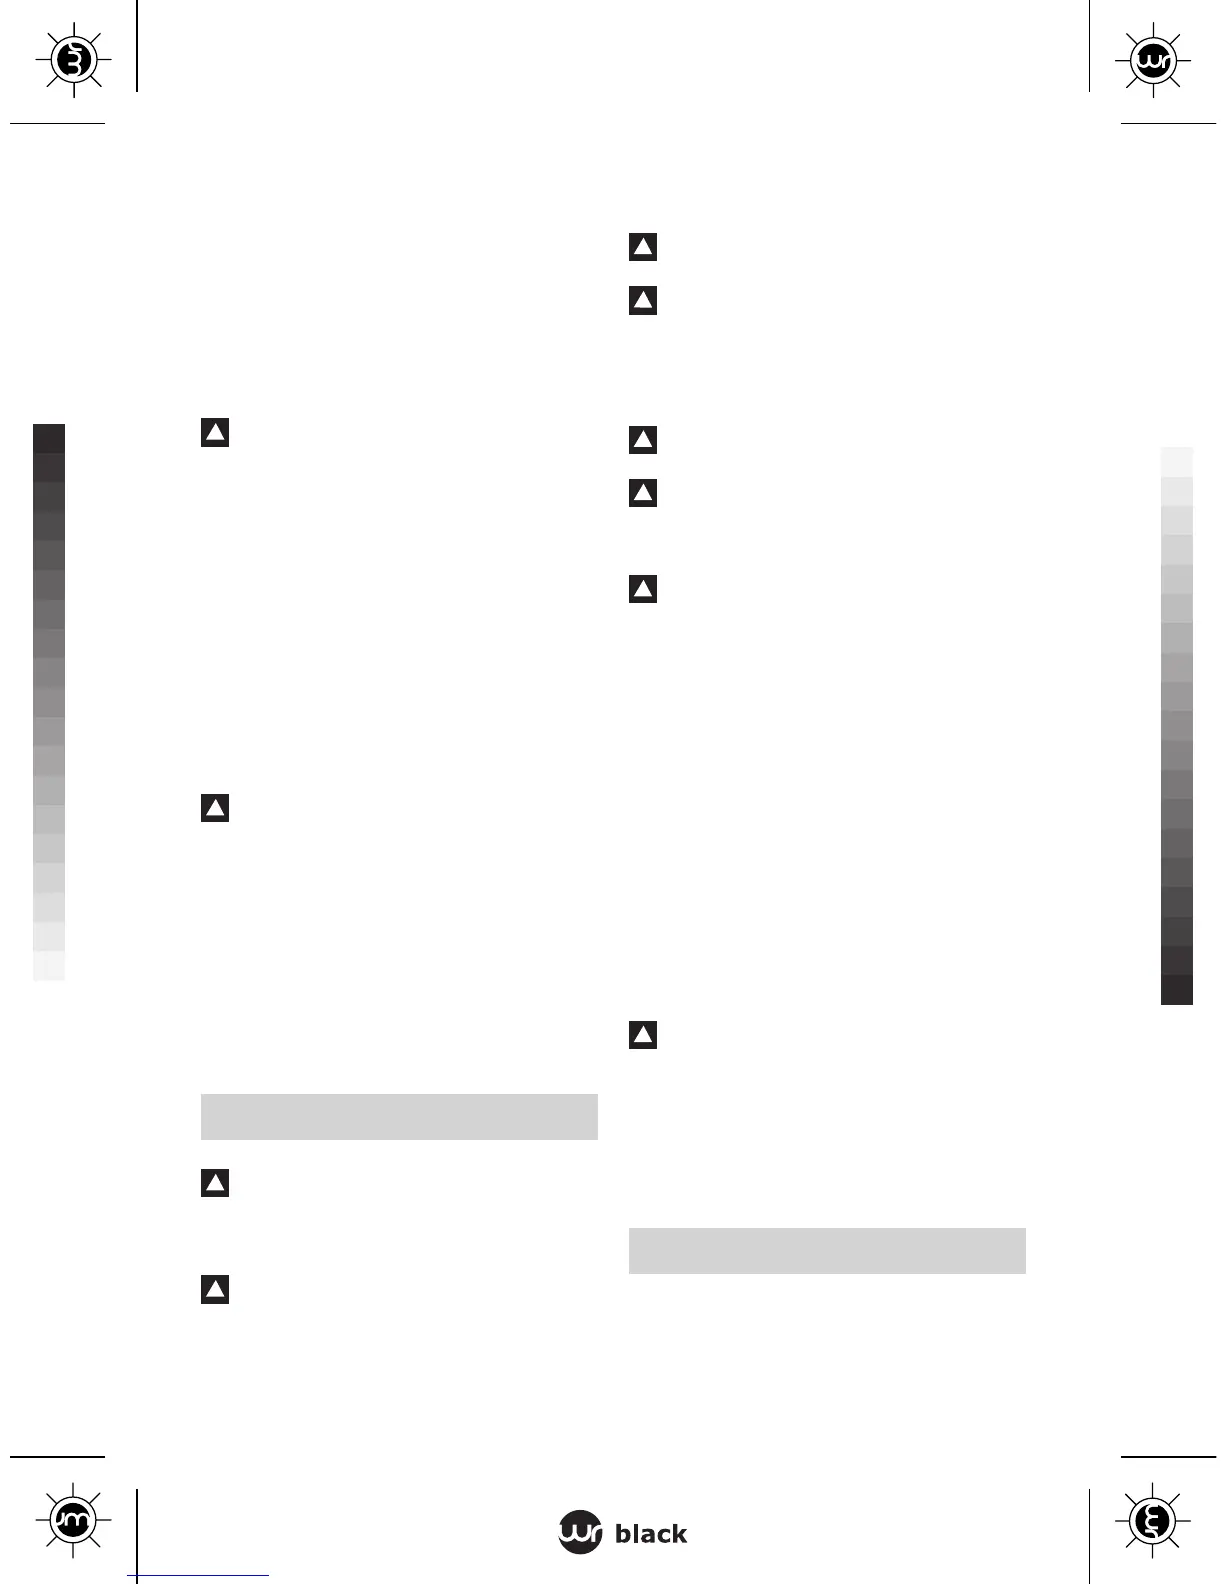
MOUNTING
!
Before any work on the machine itself,
pull the mains plug.
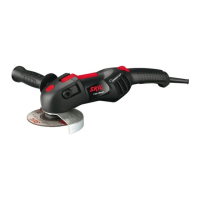
GRINDING/CUTTING DISCS (Figure 2)
!
Use only grinds tools whose allowable
speed is at least as high as the no-load speed
of the machine.
Skilwillnotliable forproblems
arising from inadequate use or from the assembly
of accessories / devices or similar out of specifi-
cation, developed by third parties in order to at-
tendtheclient’sspecicsneeds.
!
Never use a grinding/cutting disc without
the label (“blotter”) which is glued onto it.
!
Grinding/cutting discs become very hot
during use; do not touch them until they have
cooled down.
Clean spindle F and all parts to be mounted.
-Pushspindle-lockbuttonE.
-TightenclampingangeJwithkeyK.
!
When spindle F is locked, switch A can-
not be activated
.
!
Actuate the spindle lock button only when
the grinder spindle is at a stand-still. Otherwise,
the machine may become damaged.
For removing accessories handle vice-versa.
!
Always mount backing pad when using
sanding accessories.
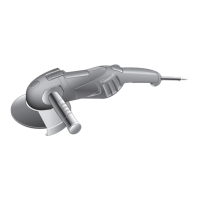
AUXILIARY HANDLE (Figure 3)
• Useauxiliaryhandlessuppliedwiththetool.
Loss of control can cause personal injury.
For safety reasons, is mandatory the use of the
side handle C supplied with this product, and
whichinsures.
•amorestablehaft
•aneaserhanding
PROTECTION GUARD WITH CLAMPING SCREW
(Figure 4)
Open protective guard DbylooseningscrewL.
Place protective guard D on the spindle collar of
the tool head and turn it to the required position
(dependingontheworktobecarriedout).
Fasten protective guard DbytighteningscrewL.
!
Ensure that the closed side of the protec-
tive guard always points to the operator.
Adjust the protection guard D
in such a man-
ner the sparking is prevented in the direction
of the operator.
Note:Theencodingkeysontheprotectionguard
D
ensure that only a protection guard that fits the
machine type can be mounted.
OPERATING
BEFORE USING THE TOOL
• Observecorrectmainsvoltage!Thevoltage
of the power source must agree with the vol-