- 9 -- 8 -
Quick Start
Press the MODE button, and you can select four modes in turn.
A-M: All Metal Mode. The detector will make responses to all metals.
DISC: Discrimination Mode. In this mode, you can eliminate certain kinds
of metal and the detector won't make responses to it.
MEMORY: Remember some kinds of metals you choose, and the detector
will only make responses to these kinds of metals.
JEWELRY: Eliminate iron. It won't make responses to iron, but it will
respond to other metals, like silver, gold, etc.
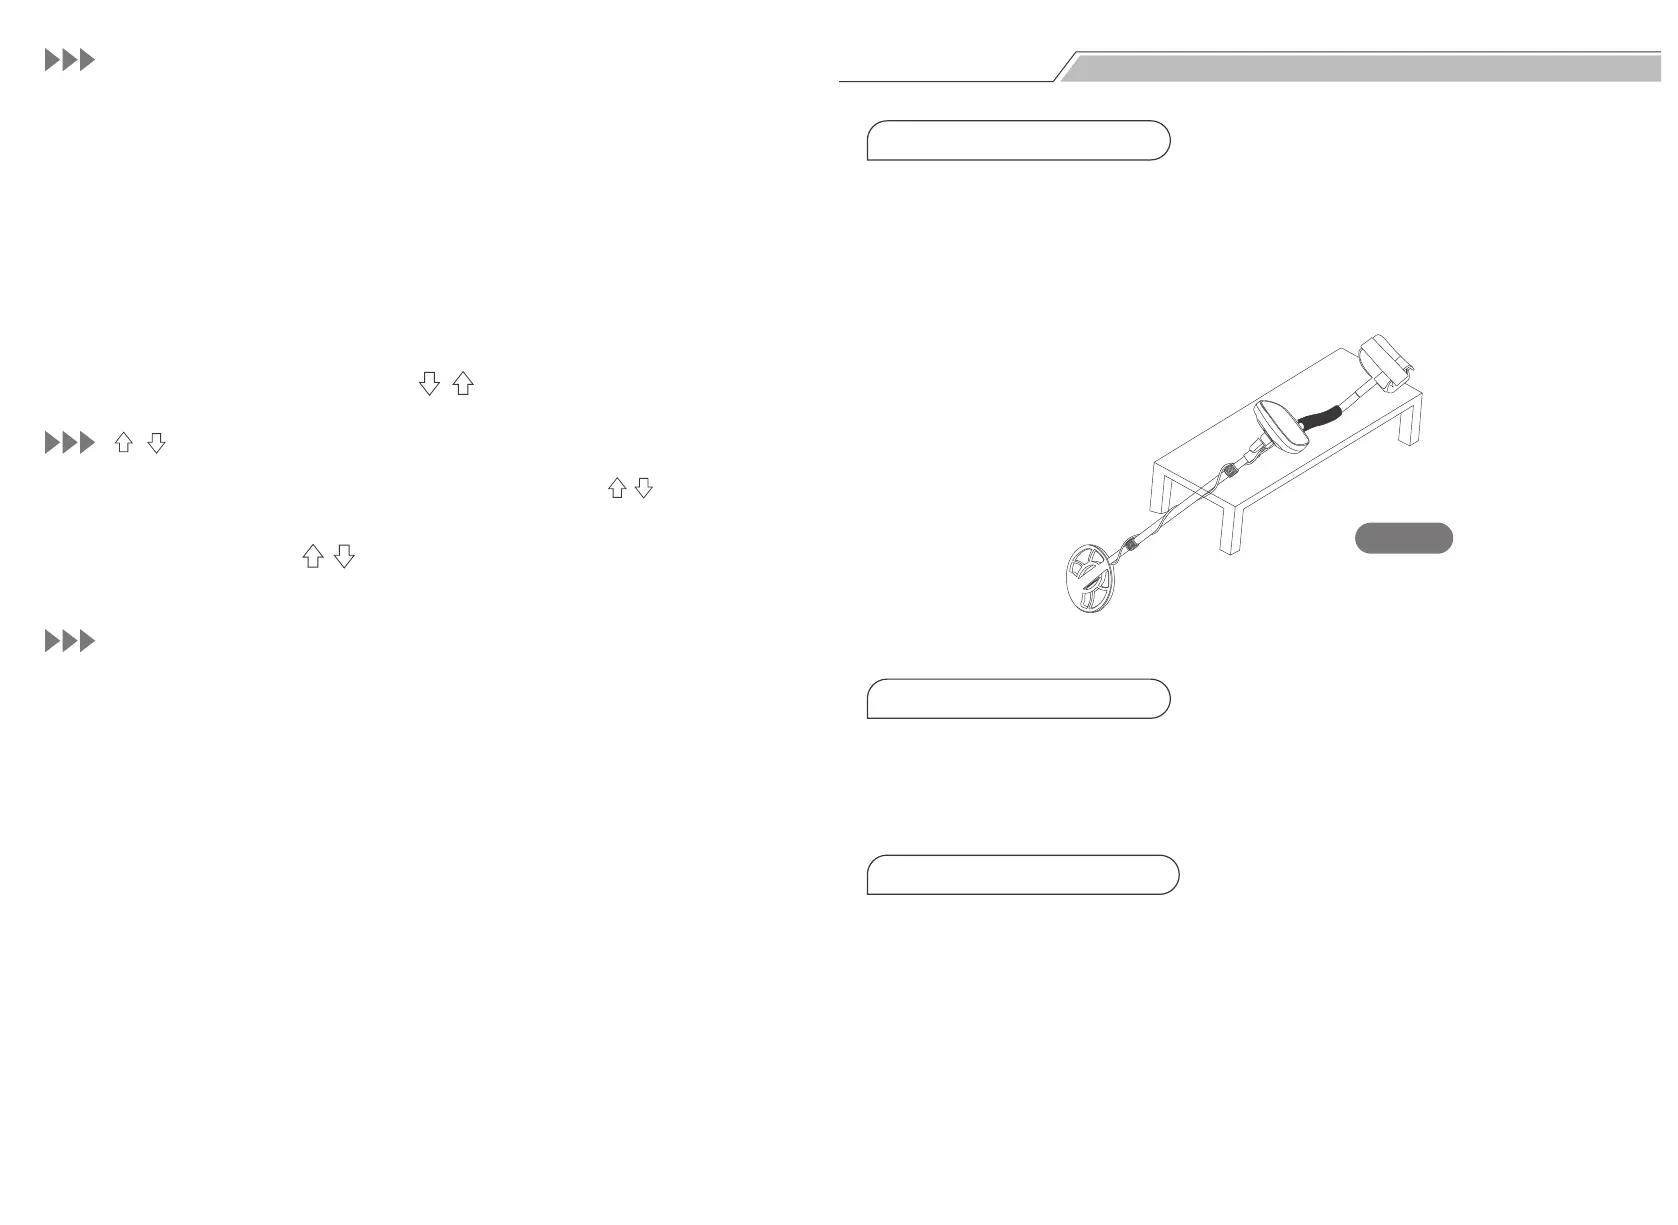
Fig. 8
1. Lay Flat the Detector
2. Turn On the Detector
3. ALL METAL Mode Test
Mode-Sens Key:
( , ) Button (For Two Functions)
P-P Button:
1.
Press the SENS button, and press ( , ) buttons to adjust the sensitivity.
2.
Press SENS Button, the sens cursor will flash, and the ( , ) button is
used to adjust the sensitivity.
1.
In the DISC mode, the ( , ) button is used to set the target metals to be
eliminated.
Press the P-P key, and the detector will shift to the PINPOINT mode to locate
the target accurately. Press the P-P key once again to exit the PINPOINT mode.
Put the detector on a wooden or plastic table, making the search coil stretch
out of the table about 11.81 inches (see Fig. 8). Keep it away from walls,
ceilings and floors, turn off all kinds of electrical appliances that will generate
electromagnetic interference, and remove watches and rings from your
hands.
Press the Power button, the detector will sound two tones, and all LCD
patterns will light up for a moment. And the detector is set by default before
the last shutdown.
Press the MODE button, the A-M icon will be displayed. Sweep the search coil
about 2.75-3.93 inches respectively above six sample metals (iron nail, 5¢
nickel coin, pull-tab, 1¢Zinc coin, 10¢ copper coin and 25¢ silver coin).
2.