Do you have a question about the SkyLink SK-250 and is the answer not in the manual?
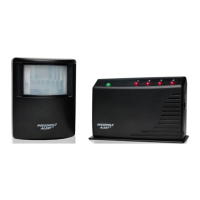
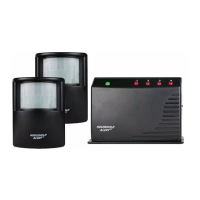
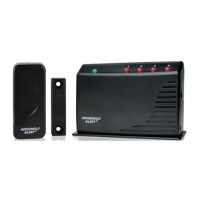
Lists the main Internet Hub, Motion Sensors, and Door/Window Sensors included in the starter kit.
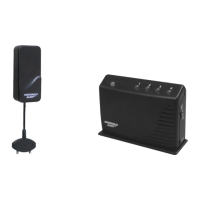
Details the Keychain Remote and essential accessories like power adapters and cables provided.
Instructions for connecting the Internet Hub to your home router using an Ethernet cable.
Steps to connect the power adapter and supply electricity to the Internet Hub.
Guidance on optionally installing AAA batteries for backup power in the Internet Hub.
How to open the Door/Window Sensor and insert an AAA battery.
Steps to open the Motion Sensor and insert an AA battery.
Instructions for searching and downloading the SkylinkNet app from the app store.
Steps to enter information, create an account, and activate it via email.
Guide to initializing and configuring the Internet Hub within the SkylinkNet app.
Instructions for navigating to 'Add Device', selecting types, and naming them.
Activating sensors via 'Learn Now' and testing their status updates in the app.
Procedure to set a keypad password for the hub via System Settings.
Steps to configure the correct time zone for accurate system operation.
Explanation of the main elements and sensor status indicators on the app's home screen.
Details on how to edit individual sensor settings, rename, and manage notifications.
Recommendations for placing Door/Window Sensors and Motion Sensors for optimal detection.
Displays the status of the alarm system and options to activate the hub siren.
Instructions for arming the system in 'Home' or 'Away' modes, including exit delay.
How to disarm the alarm system using the app's 'Disarm' button.
Explains how the keychain remote can be used to arm and disarm the alarm system.
Guide to accessing and viewing the history of recent activities in the alarm system.
| Model | SK-250 |
|---|---|
| Type | Wireless Security System |
| Sensors Included | Door/Window Sensors, Motion Detector |
| Power Source | AC Adapter with Battery Backup |
| Arming Modes | Away, Stay |
| Operating Frequency | 433.92 MHz |