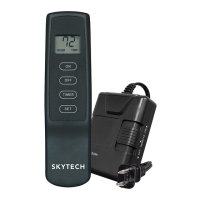
ELECTRONIC SPARK SYSTEM CHECK
Slide the 3-position button on the remote receiver to the • ON position. The spark electrode should begin sparking to ignite the pilot.
Afterthepilotameislit,themaingasvalveshouldopenandthemaingasameshouldignite.
Slide the button to • OFF.Themaingasameandpilotameshouldbothextinguish.
Slide the button to • REMOTE,thenpresstheON button on the transmitter to change the system to on. The spark electrode should
beginsparkingtoignitethepilot.Afterthepilotislit,themaingasvalveshouldopenandthemaingasameshouldignite.
LEARNING TRANSMITTER TO RECEIVER
•
Each transmitter uses a unique security code. It will be necessary to press the LEARN button on the receiver to accept the trans-•
mittersecuritycodeuponinitialuse,ifbatteriesarereplaced,orifareplacementtransmitterispurchasedfromyourdealerorthe
factory.Inorderforthereceivertoacceptthetransmittersecuritycode,besuretheslidebuttononthereceiverisintheREMOTE
position;thereceiverwillnotLEARNiftheslideswitchisintheONorOFFposition.TheLEARNbuttoninlocatedonthefrontface
of the receiver; inside the small hole labeled LEARN. Using a small screwdriver or end of a paperclip gently press and release
the black LEARN button inside the hole. When you release the LEARN button the receiver will emit an audible “beep”. After the
receiver emits the beep press ANY transmitter button and release. The receiver will emit several beeps indicating that the transmit-
ter’s code has been accepted into the receiver.
REV 4/15/11 Page 3
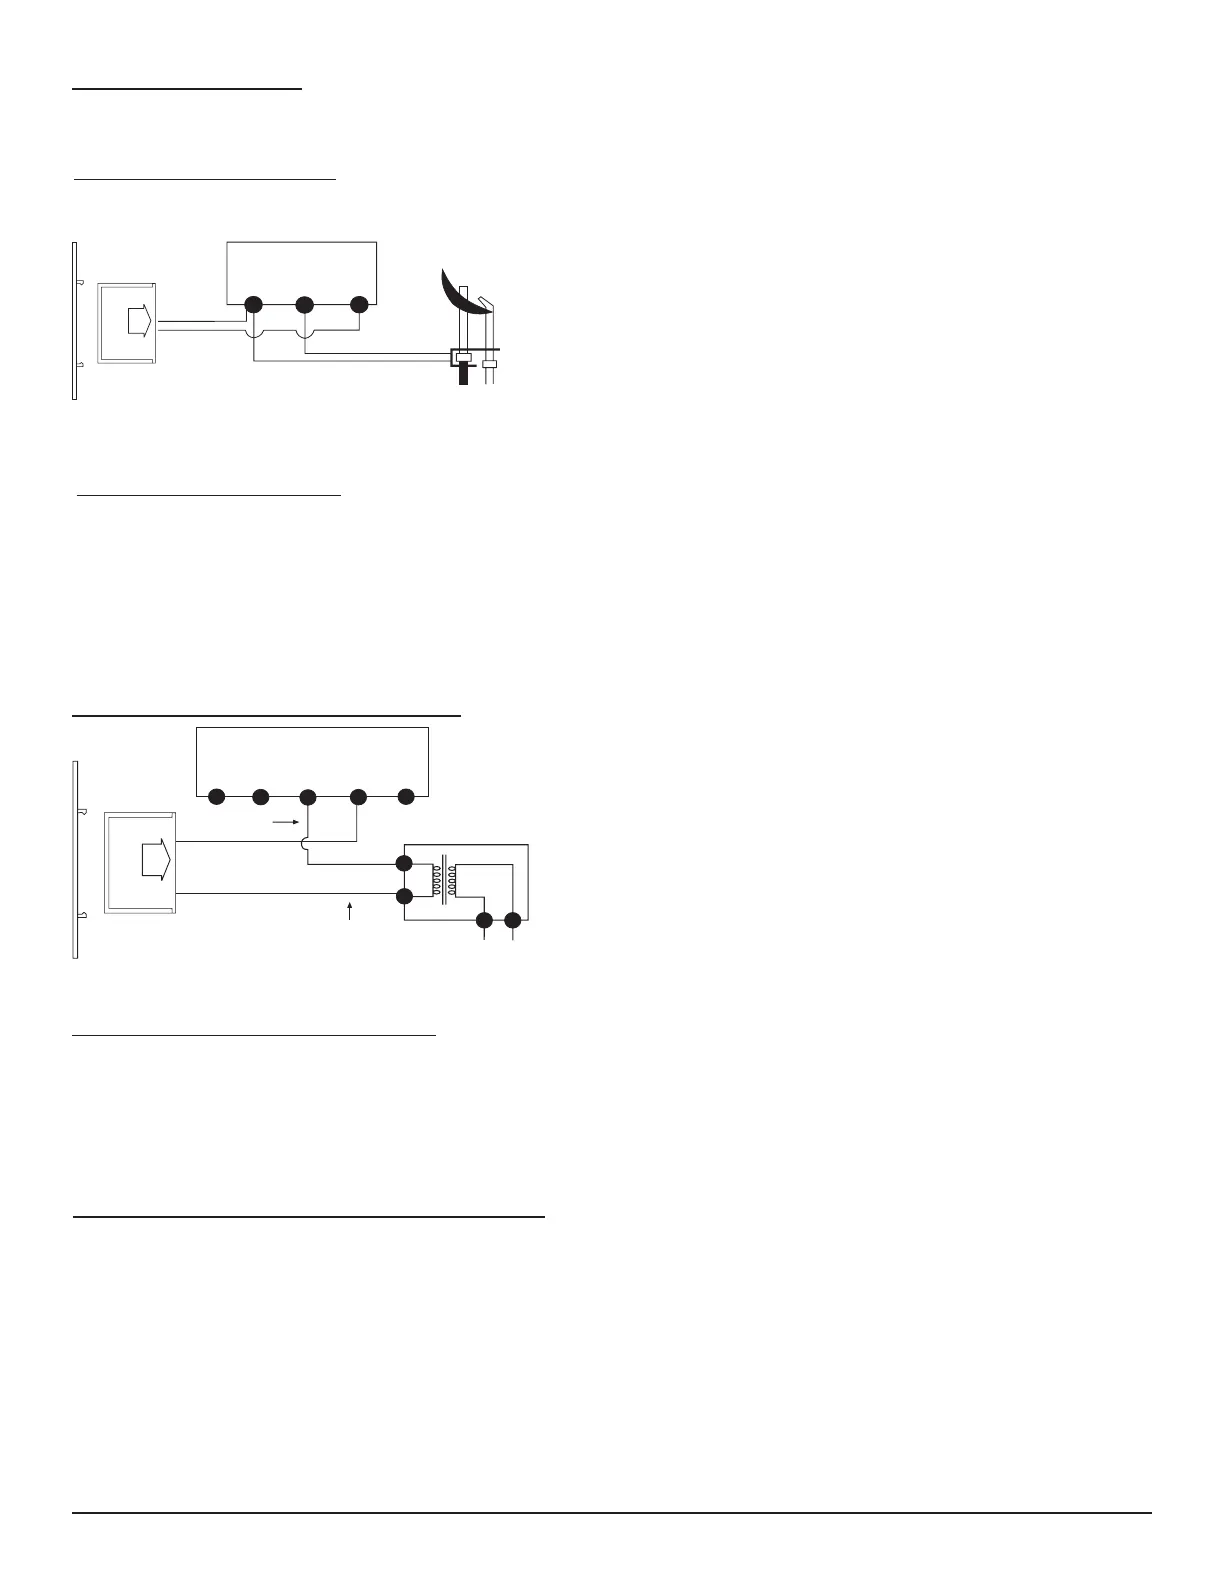
WIRING ELECTRONIC SPARK IGNITIONS
ELECTRONIC MODULE
TR
TH
REMOTE
RECEIVER
neutral wire
24VAC
hot wire
120VAC
110/24VAC
Transformer
Theremotecontrolreceivercanbeconnected,inseries,toa24VAC
transformertotheTR(transformer)terminalontheELECTRONIC
MODULE.Connectthehotwirefromthe24VACtransformertoeither
ofthewireterminalsontheremotereceiver.Connectanotherwirebe-
tween the other receiver wire terminal and the TH (thermostat) terminal
ontheELECTRONICMODULE.
WIRING INSTRUCTIONS
Aqualiedelectricianshouldinstalltheremotecontrolsystem.
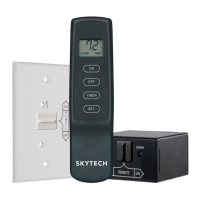
TERMINAL BLOCK
ON MILLIVOLT
GAS VALVES
TH
TP
TP
TH
THERMOPILE/
PILOT LIGHT
REMOTE
RECEIVER
ConnectonewirefromtheremotereceivertotheTHterminalonthegas•
valve.
ConnecttheotherwirefromtheremotereceivertotheTH/TPterminalon•
the gas valve.
WIRING MILLIVOLT VALVES
MILLIVOLT SYSTEM CHECK
Ensurethatthepilotameislit.•
Slide the 3-position button on the remote receiver to the • ONposition.Themaingasame(i.e.,there)
should ignite.
Slide the button to • OFF.Themainameshouldextinguish(thepilotamewillremainon).
Slide the button to • REMOTE,thenpresstheON button on the transmitter to change the system to on. The main
gasameshouldignite.
Skytech 1001-A