Skytech: Smart Batt III
REV. 5-20-22 Page 2
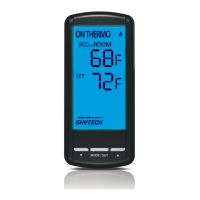
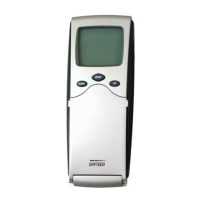
THERMOSTAT FUNCTION
• Press the MODE key until the LCD screen shows the word “THERMO” at the top of the screen.
• To adjust set temperature, press the UP and DOWN buttons until the desired temperature is reached. The temperature range is
99ºF (37ºC) to 45ºF (7ºC).
• If no button is pressed, the set temperature will automatically be accepted.
• The flame icon will appear when the control calls for heat. The flame icon will disappear when the appliance reaches its set
tem perature.
• Press the MODE key to disengage the Thermo Mode.
SETTING THE CLOCK
• Hold the TIMER/TIME button for 3 seconds. The hour section of the time will begin flashing.
• Select the hour by pressing the UP and DOWN buttons. If you go past 12 o’clock the AM and PM will change.
• Once the hour is selected, press and release the TIMER/TIME button again, and the minute section of the time should be flashing.
• Use the UP and DOWN buttons to scroll through the minutes.
• Once the minutes are correct, press the set button or press and hold the TIMER/TIME button for 3 seconds. The time will lock.
SETTING THE COUNTDOWN TIMER
This remote control system can operate with a built-in countdown timer when the transmitter is in the ON or THERMO modes
(THERMO or ON must be displayed on the screen).
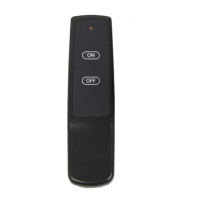
Install the 4 AA-size batteries supplied with the unit. It is recommended that
ALKALINE batteries always be used for this product. Be sure the batteries are
installed with the (+) and (-) ends facing the correct direction. The remote
receiver has a 3-position slide switch for selecting the mode of operation ON/
REMOTE/OFF.
• ON: will manually turn on the appliance.
• REMOTE: will allow use of handheld transmitter. If the system does not
respond to the transmitter on initial use, check the battery positions in the
remote. If that does not work, see the LEARNING TRANSMITTER TO
RECEIVER section.
• OFF: will disable the remote receiver.
• It is suggested that the slide switch be placed in the OFF position if you
will be away from your home for an extended period of time.
RECEIVER
• Press and release the TIMER button. The minimum 0:15 minute setting on the LCD Screen will begin to flash.
• Press the UP or DOWN button on the transmitter to chose your countdown time. Available countdown times are 15 min, 30
min, 45 min, and 1 hour to 9 hours (alternating every 30 min).
• To initiate the countdown, press the SET button. If no button is pressed within 15 seconds, the setting will automatically be
accepted. The system will return to OFF mode when the countdown time expires. If the system is in THERMO mode, it will
cycle ON and OFF based on the set temperature until the timer expires.
THERMO UPDATING FEATURE
This remote control has a temperature updating feature built into its software. The transmitter reads the room temperature every
2 minutes, then updates the room temperature on the LCD screen.
NOTE: The thermo feature operates the appliance whenever the room temperature varies a certain number of degrees from the set
temperature. This variation is called the “swing” or temperature differential. This feature lets the appliance turn off and on 2 ºF (1 ºC)
above or below the set temperature of the room. This is to cushion the number of times the appliance is turned on and off.
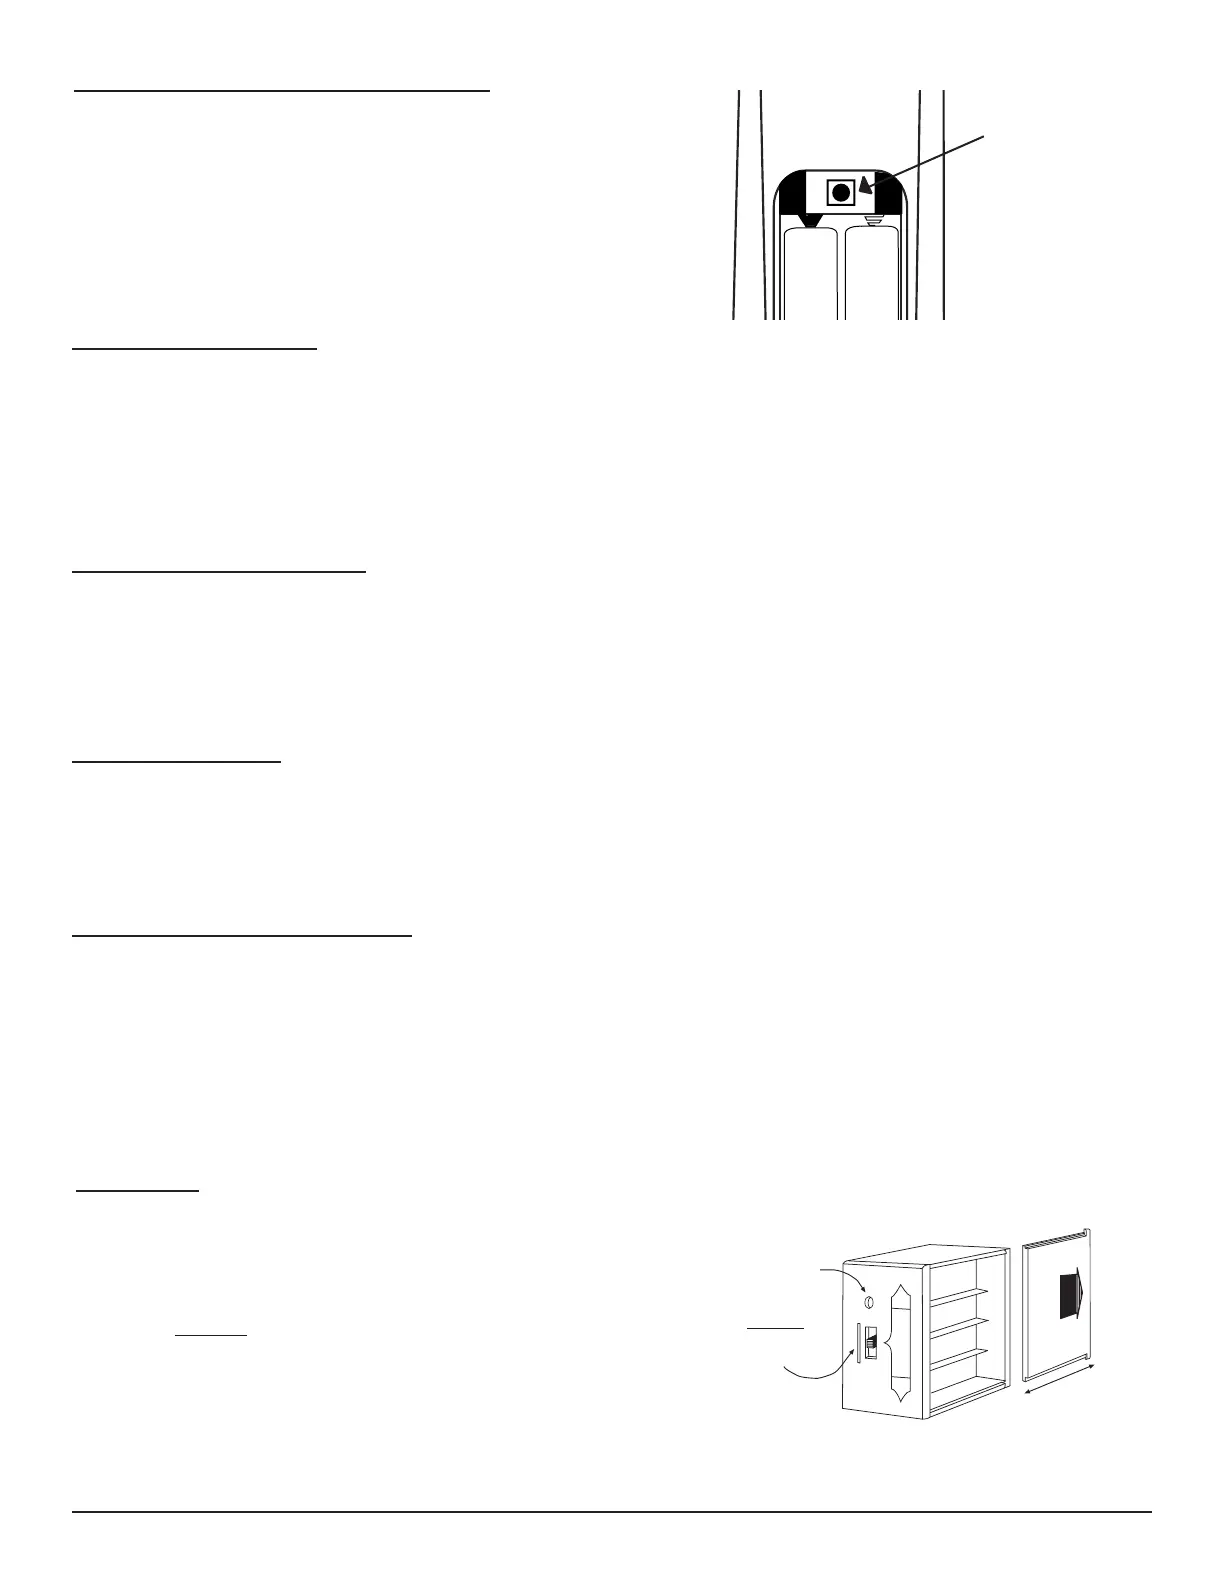
The factory setting for temperature is degrees Fahrenheit (ºF). To change this
setting to degrees Celsius (ºC):
• Remove battery cover on the back of the transmitter and locate the setting
button in the top center of the battery compartment.
• Push the button once to enter temperature scale setting mode.
• Use the up and down buttons to switch between the ºF and ºC.
• Push the setting button again once again to set the displayed temperature
scale.
• Repeat this procedure to switch back to ºF.
SETTING ºFAHRENHEIT / ºCELSIUS SCALE
+
-
SETTING
BUTTON
REMOTE
ON
OFF
LEARN
Requires 4-AA 1.5V
alkaline batteries
Learning
button
Remote Receiver
Battery cover slides on/off
Slide
Switch
ON
REMOTE
OFF