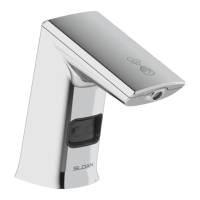
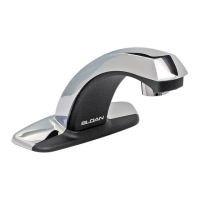
SLOAN DECK MOUNTED SOAP DISPENSER (ESD-SERIES) INSTALLATION INSTRUCTIONS
Touchfree Counter Mounted System Installation Guide
If there is a dispenser currently installed
• Remove the existing unit, both the above and below counter assemblies
• Clean the counter area where the previous dispenser was located
• Verify the size of the existing counter hole is 15/16” to 1-1/4” in diameter
If there is no hole in the counter
• Maximum counter thickness is 2”
• Prior to drilling, examine below the counter to ensure adequate clearance for the new unit
• Drill a 1” diameter hole in the counter top
• The hole can be drilled to either the right or left of the faucet, ensuring adequate clearance for the below counter assembly
• Clean the counter area where the new hole is located
Code no. 0816203
Rev3 (05/22)
Prior To Installation
New Soap Dispenser Installation:
• Ensure that dispenser does not interfere with anything
above or below the lavatory/counter top area
• Drill a 1” diameter hole in counter top
• Clean area around hole
To Order Replacement Soap Cartridges
800.321.9647
GOJO Industries
Refills are also available through your local plumbing or janitorial supply
distributor.
When the soap bottle is empty, a new bottle must be used. The bottle
furnished with the unit is not designed to be refilled. Altering the bottle and
refilling it with soap will void the warranty of the product.
SLOAN • 10500 SEYMOUR AVENUE • FRANKLIN PARK, IL 60131
Phone: 1-800-9-VALVE-9 or 1-847-671-4300 • Fax: 1-800-447-8329 or 1-847-671-4380 • www.sloan.com
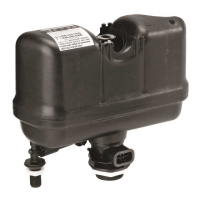
Improper installation of the
Counter Mounted Dispenser
could result in
breakage.
Dispenser must hang freely
underneath the sink.
Proper installation allows
the unit to vertically hang
beneath the sink.
ESD-1500
ESD-2000
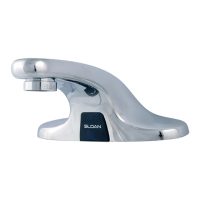
ESD-500
ESD-600
ESD-700
ESD-800
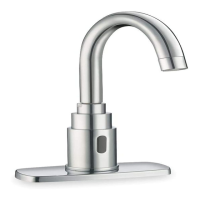
ESD-2100
ESD-410
ESD-420
SLOAN LIMITED WARRANTY SUMMARY
Sloan Valve Company (“Sloan”), warrants its products against defects in materials and workmanship, excluding damage caused by matters beyond Sloan’s
reasonable control. Instructions for filing claims can be found in the Limited Warranty which can be obtained at www.Sloan.com or by requesting a free
copy by telephone at 888.756.2614. Sloan will repair or replace your defective product, or provide a refund, as your exclusive remedy. This is only a general
summary of Sloan’s Limited Warranty so it is important to note that the specific terms, conditions, limitations and exclusions, including the duration of
warranty coverage for your particular Sloan product, are contained in the actual Sloan Limited Warranty. The Limited Warranty is subject to applicable laws
in your country, state, province or other jurisdiction—and disputes arising under the Limited Warranty are to be resolved by binding arbitration unless you
provide Sloan with an opt-out notice no later than 30 days after your purchase date. In case of a conflict with this summary, the terms and conditions set
forth in the complete Limited Warranty will prevail.
CLARK STREET RUSH STREET