236
Repair Parts and Maintenance Guide
The information contained in this document is subject to change without notice.
For sensor recalibration, press and
release iq button 2 quick times,
wait for rapid “temporary off” red
LED flashes, then press and hold
iq button for several seconds and
after four (4) slow red LED flashes,
release button and step away for
fifteen (15) seconds to allow faucet
sensor to recalibrate.
After water turns on then off and red
LED flashes are followed by a single
green flash (calibration complete), test faucet.
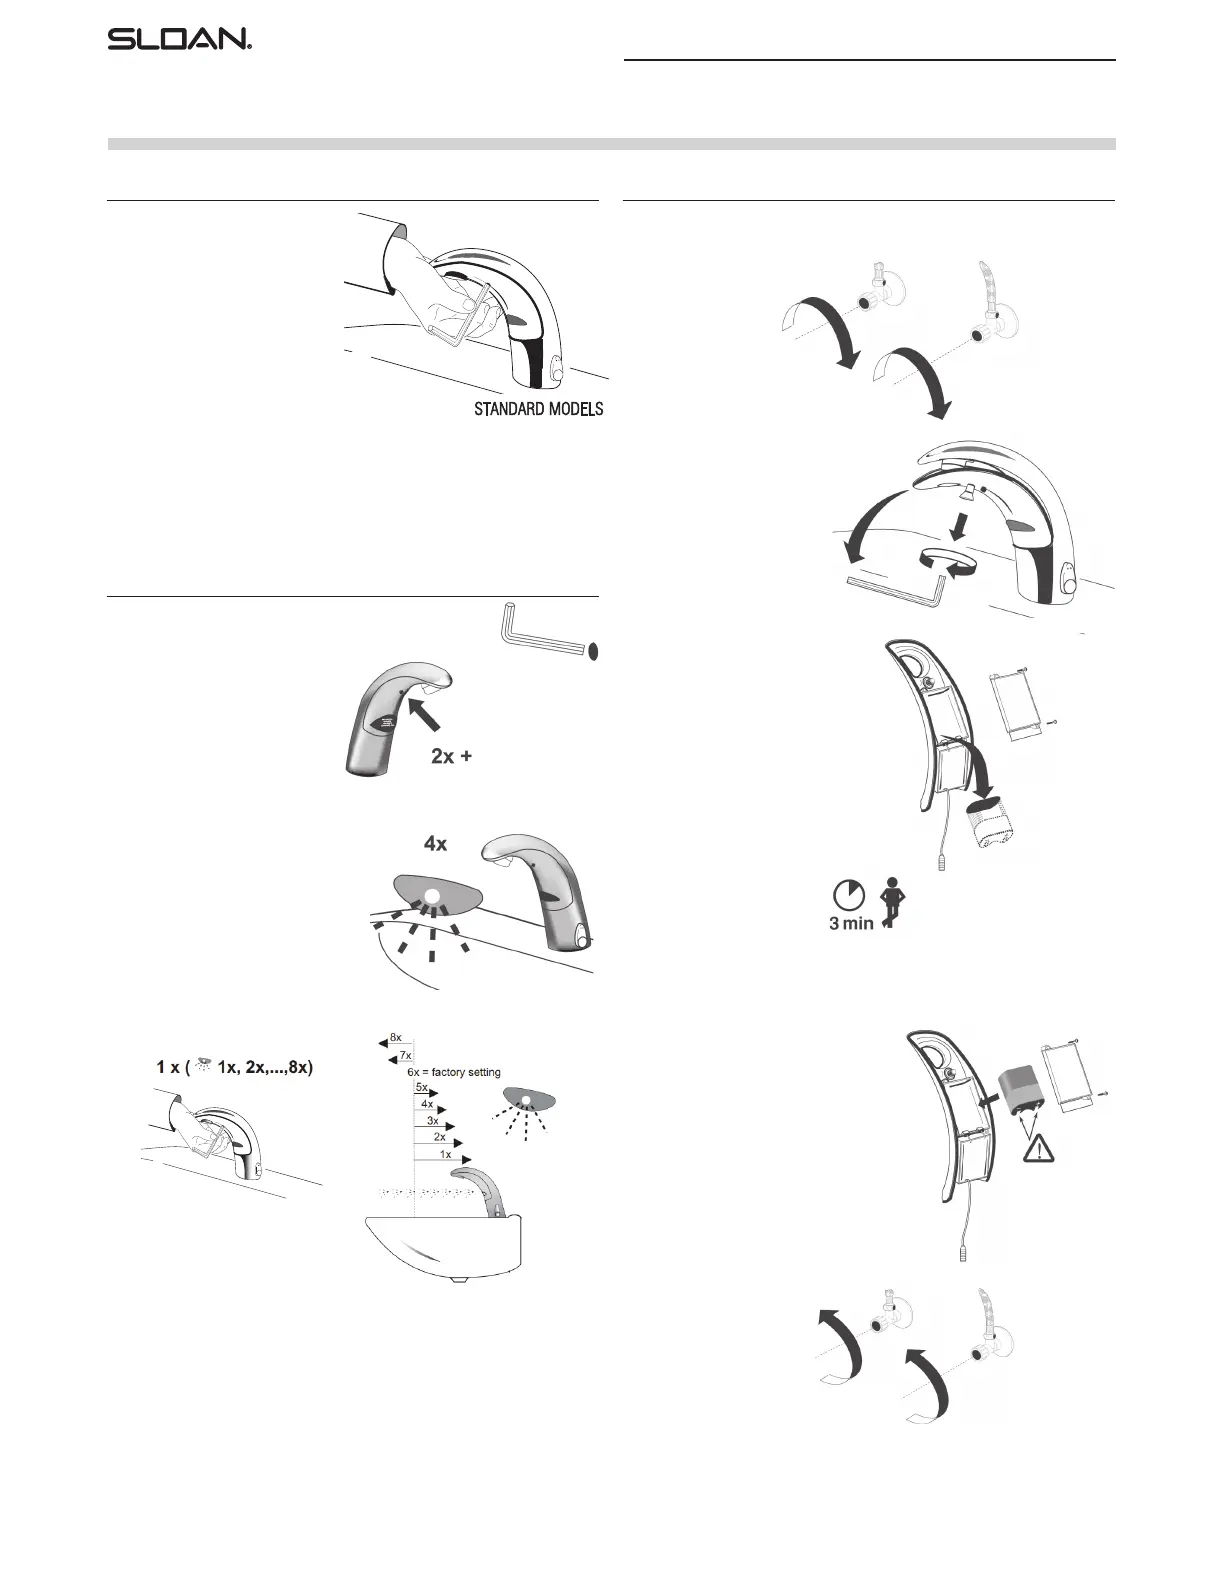
AUTO SENSOR CALIBRATION OR RANGE ADJUSTMENT
To manually change range, press
and release iq button 2 quick times,
wait for rapid “temporary off” red
LED flashes, then press and hold
iq button, there will be four (4) red
LED flashes, a pause, then more
red LED flashes (up to eight (8) red
LED flashes); 1-red LED flash for
the shortest range setting, eight (8)
flashes for the longest range setting;
Release iq button after desired red
LED flash for range setting (#6 is
factory setting).
After releasing button, faucet will
cycle through auto calibration
(approximately 15-seconds). Then
test faucet.
NOTE: Updated electronics have
visible RED and GREEN LED. Original
electronics have only RED LED and
range setting is reversed
(1 = longest, 8 = shortest)
MANUAL RANGE ADJUSTMENT
BATTERY REPLACEMENT
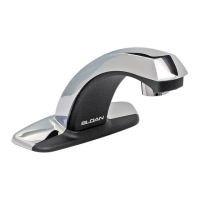
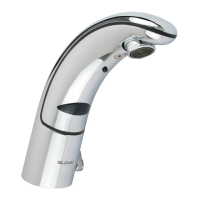
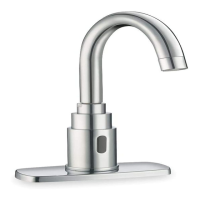
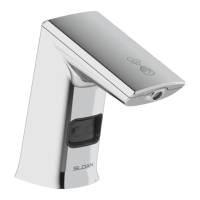
Optima
®
EAF-150 Faucet
Replace battery when RED LED indicator flashes each time faucet is in use
or when faucet stops functioning.
Step 1
Close supply stop(s).
Step 2
Loosen screw with hex wrench.
Remove throat plate.
Disconnect electrical lead at
connector if required.
Step 3
Remove battery cover using a
No. 1 Phillips head screwdriver.
Remove old battery. Dispose of properly.
Step 4
Wait three (3) minutes
before inserting new battery.
Step 5
Insert a new 6 volt type 2CR5 lithium battery.
The RED LED will flash for one (1) minute.
Reinstall battery cover.
Reconnect electrical lead at connector
if previously disconnected. Reinstall
throat plate.
If LED doesn’t flash or if it just lights up,
remove the battery. Wait three (3) minutes,
then reinsert the battery.
If water flows continuously after inserting
the new battery and opening the supply stops,
remove the battery. Wait three (3) minutes,
then reinsert the battery.
Step 6
Open supply stops.