Hands-On Practice
Lesson Planning and Delivery with Notebook Software
Before You Start
Before you begin your lesson, ensure that your computer is turned on and the
SMART Board™ interactive whiteboard is connected and oriented. The SMART
Board icon should be visible in the Windows Notification Area at the bottom right
of your screen, indicating that your SMART Board software is running.
If the SMART Board icon is not visible, select Start > Programs > SMART Board Software > SMART
Board Tools. The SMART Board icon will appear in the Windows Notification Area.
For more information on how to get started with your interactive whiteboard, refer to the Quick Reference
Guides available at www.smarttech.com/trainingcenter/windows/trainingmaterials.asp
.
This Hands-On Practice assumes you have a basic understanding of the Microsoft
®
Windows
®
operating
system. You may find it useful to think of how you normally work with a computer as you go through the
lesson. When working at your computer, for example, you use left-, right- or double-clicks, depending on the
function you want to perform. Use the SMART Board interactive whiteboard in the same way. If you get
confused, simply think about what you would do at your computer, and then replicate these actions on the
interactive whiteboard.
What Is Notebook Software?
Notebook™ software is SMART’s whiteboarding software. It acts as an electronic notebook to immediately
capture and save notes and drawings written on the SMART Board or at your desktop computer. You can
import graphics, text and multimedia elements into your Notebook file or export your Notebook file to HTML,
PDF, PowerPoint or as a series of images.
Preparing Your Lesson
You will prepare a geography lesson activity that asks students to match North American countries to their
flags. You can use the concepts outlined in this Hands-On Practice to prepare and deliver lessons in other
subject areas.
1 Open a blank Notebook file
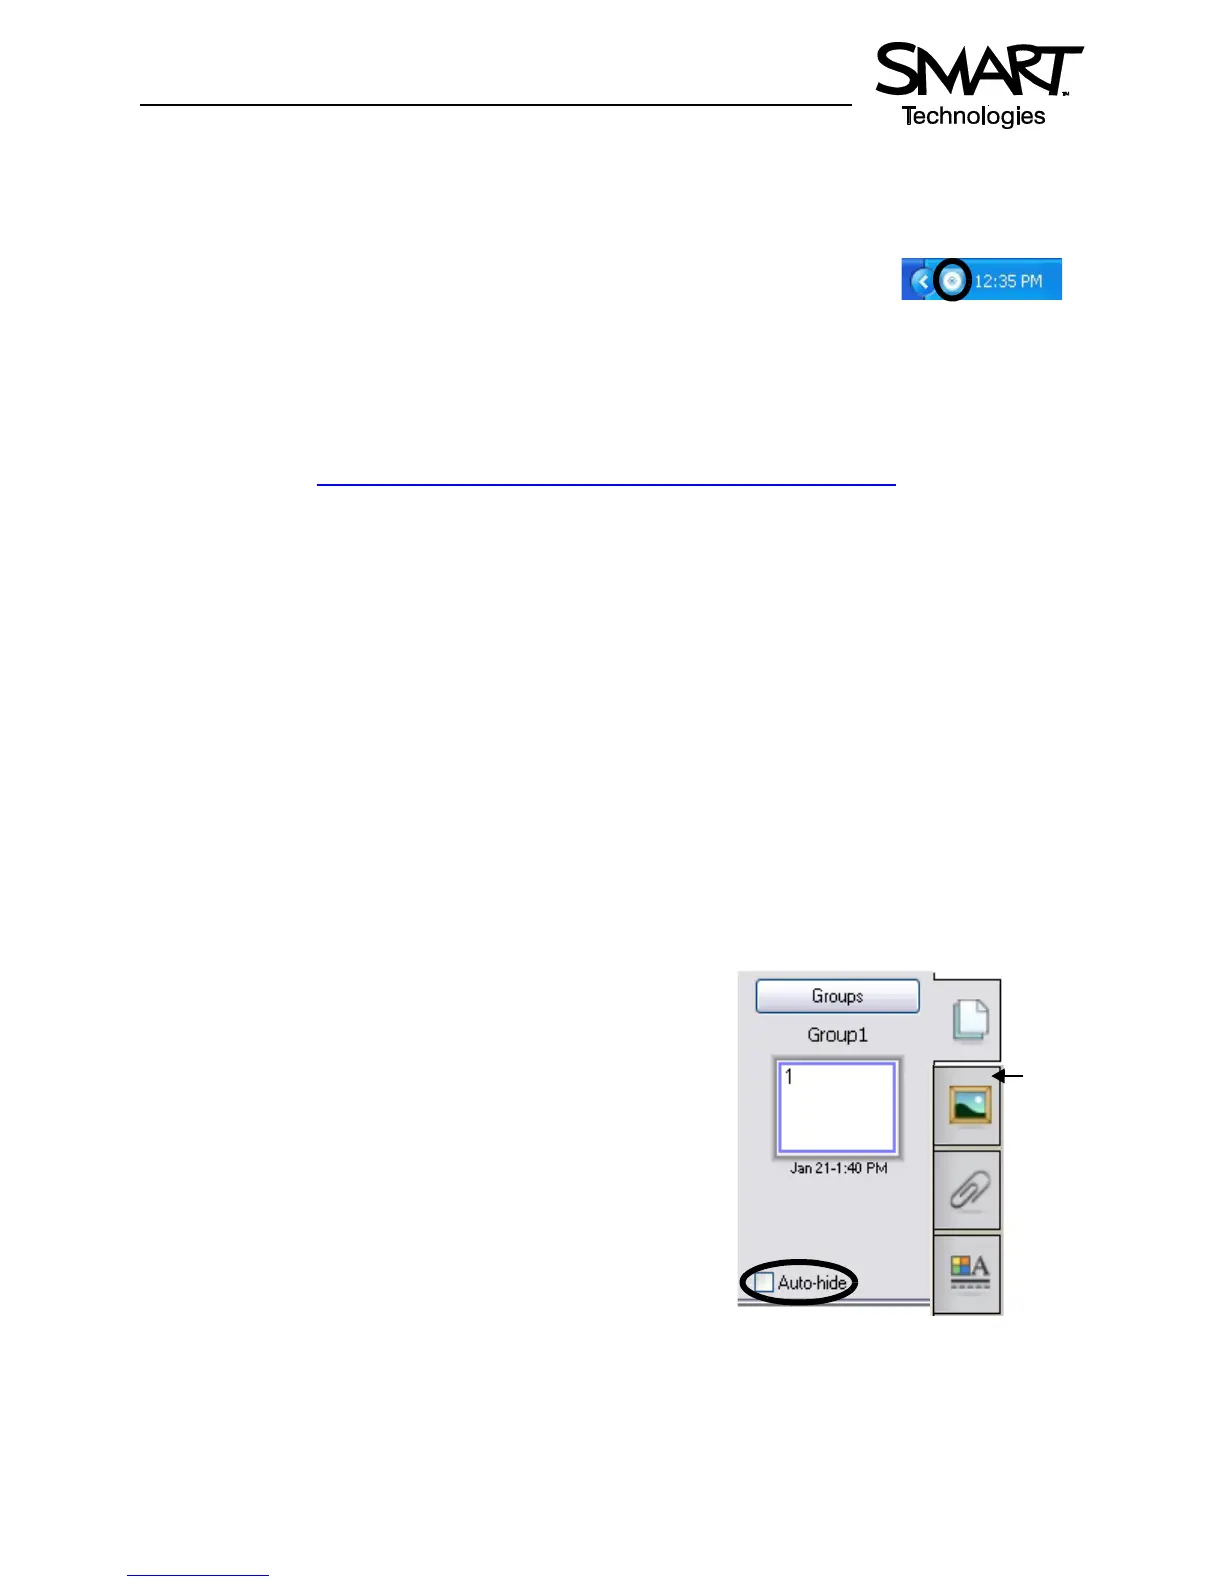
2 Press the Gallery tab on the right-hand side of the Notebook
interface to search or browse collections of SMART’s custom
pages, clip art, Flash animations and video files. For this
example, you search for flags of North America.
TIP: Deselect the Auto-hide check box to keep the Side Tab
visible. This will provide you with easy access to the Page
Sorter and Gallery tabs as you prepare and deliver your
lesson.
Windows Notification Area


 To Next Page