19
A menu will open
B
. You can choose from the following options:
ActiveX Mode: Internet Explorer
Server Push Mode: Safari, Firefox and Google Chrome
VLC Mode: Internet Explorer, Safari, Firefox, Google Chrome and
Opera
Please note! You have to download the VLC player for VLC Mode.
Sign in mobile phone: Access with a mobile browser
Click on "Sign In" under the option that applies to your web browser.
You are now logged in to the Network Camera browser screen
C
. You can manage your
camera and camera settings via this screen. (see chapter 6)
4.5. Linking to your camera wirelessly
Please note! In order to set up a wireless connection, your camera must be linked to
your network via the included ethernet cable during set-up.
Please note! You need a wireless router in order to establish a wireless connection with
your camera.
Please note! If your router is password protected, you will need to know the password.
In the Network Camera browser screen
C
click on the "Network" tab. A list of settings
will appear
H
.
Select the Wireless Lan Settings: the Wireless Lan Settings screen will appear.
Double-click on "scan" in the Wireless Lan Settings screen. A list of available wireless
networks will appear.
Click on your wireless network.
If you do not require a password for your wireless network, just click on 'submit' after
this.
If your wireless network does require a password, you will need to enter your password
after "Share Key" or "key1", depending on the encryption.
Click on 'submit' after this.
The camera restarts automatically when you click 'submit'. This takes approximately 30
seconds.
Close your browser and camera tool after the computer has restarted.
Remove the network cable from the camera.
Open the IP camera tool and click on your camera's address. You can now operate your
camera wirelessly.
If your camera is not in the camera tool window, right click on the tool window, then
press the "refresh camera list" option.
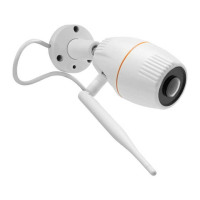
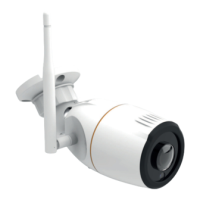
4.6. Camera installation
Please note! Make sure that the camera functions properly in the chosen location
before starting installation.
location of your choice with screws.
You can install the camera either with or without the base.
 Loading...