73 GB
Keep away from open flames. For example, do not place any
burning candles on or near the device. That way you can avoid
the spread of fire.
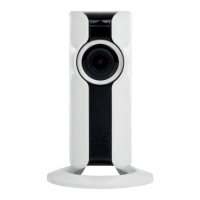
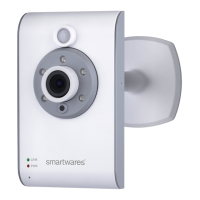
Installing the camera
Note: Mount the camera at a height and position at which it cannot
be reached without aid. Proceed likewise with the connecting and
Ethernet cable.
Be sure not to pierce electrical lines or other obstructions during
installation.
Before mounting the product to the wall, check which mounting
materials are suitable for your wall.
Hold the mounting bracket
2
against the wall in the desired
mounting position and mark the drill holes on the wall using the
predrilled holes.
CAUTION! RISK OF INJURY! Please refer to your electric
drill‘s instructions for use.
Now drill the mounting holes (Ø 5 mm). Ensure that you do not
damage the supply line.
Now insert the wall plugs
5
into the bore holes.
Secure the mounting bracket
2
to the wall using the screws
6
(Fig. A1).
Loosen the wing bolt on the mounting bracket
2
and adjust the
viewing angle (see Fig. A2).
Then secure the joint by tightening the wing bolt.
Screw the camera
1
onto the mounting bracket
2
(see Fig. A3).
Once the you have turned the camera
1
on the screw in the mounting
bracket
2
so it is connected as tight as possible, turn the triangle
nut in the opposite direction to secure the camera
1
.
 Loading...