13 GB/IE
Now put the wall plugs
6
into the drill holes.
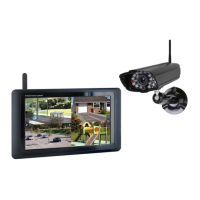
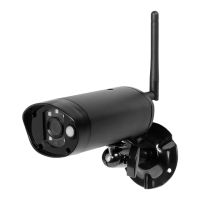
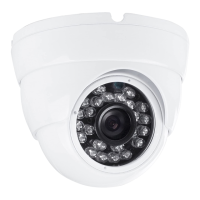
Attach the camera
1
to the wall with the screws
5
(Fig. B).
If the cameras
1
must be mounted in a different room to the AV
device, the cable must go through atleast one wall.
Proceed as follows:
Set up the extension cable plug
4
behind the device and attach
a a thin thread to the last plug (Fig. C).
Feed it through tube (Ø ¾ or 19 mm) and carefully slide in the
connector plugs (Fig. D).
Drill a 20 mm hole in the wall push the tube from the outside to the
inside (Fig. E).
Carefully pull the connector plug out of the tube (Fig. F). Leave the
tube in the drilled hole.
Now pull the entire extension cable
4
through the tube and route
it to the AV device as desired. Always be sure to lay the cable
safely.
Hooking up the camera
Note: If the AV device is not designed for Cinch connectors, you can
use a SCART Adapter (not included).
Connect the camera
1
to the extension cable
4
(note colours).
Attach the extension cable
4
to the white = audio and yellow =
video inputs of the AV device (Fig. G/a).
Attach the extension cable
4
to the mains adapter
7
(Fig. G/b).
Plug the power supply
7
into the mains socket.
Attach the AV device to the correct input signal. The AV device will
now display the camera image.
 Loading...