How to Measure Torque / Sleep Mode
Caution: If the display ever indicates OVER, discontinue
torquing and verify the calibration of the sensor.
(See Page 12 and 13)
Caution: Never push the ZERO TARE key with torque applied.
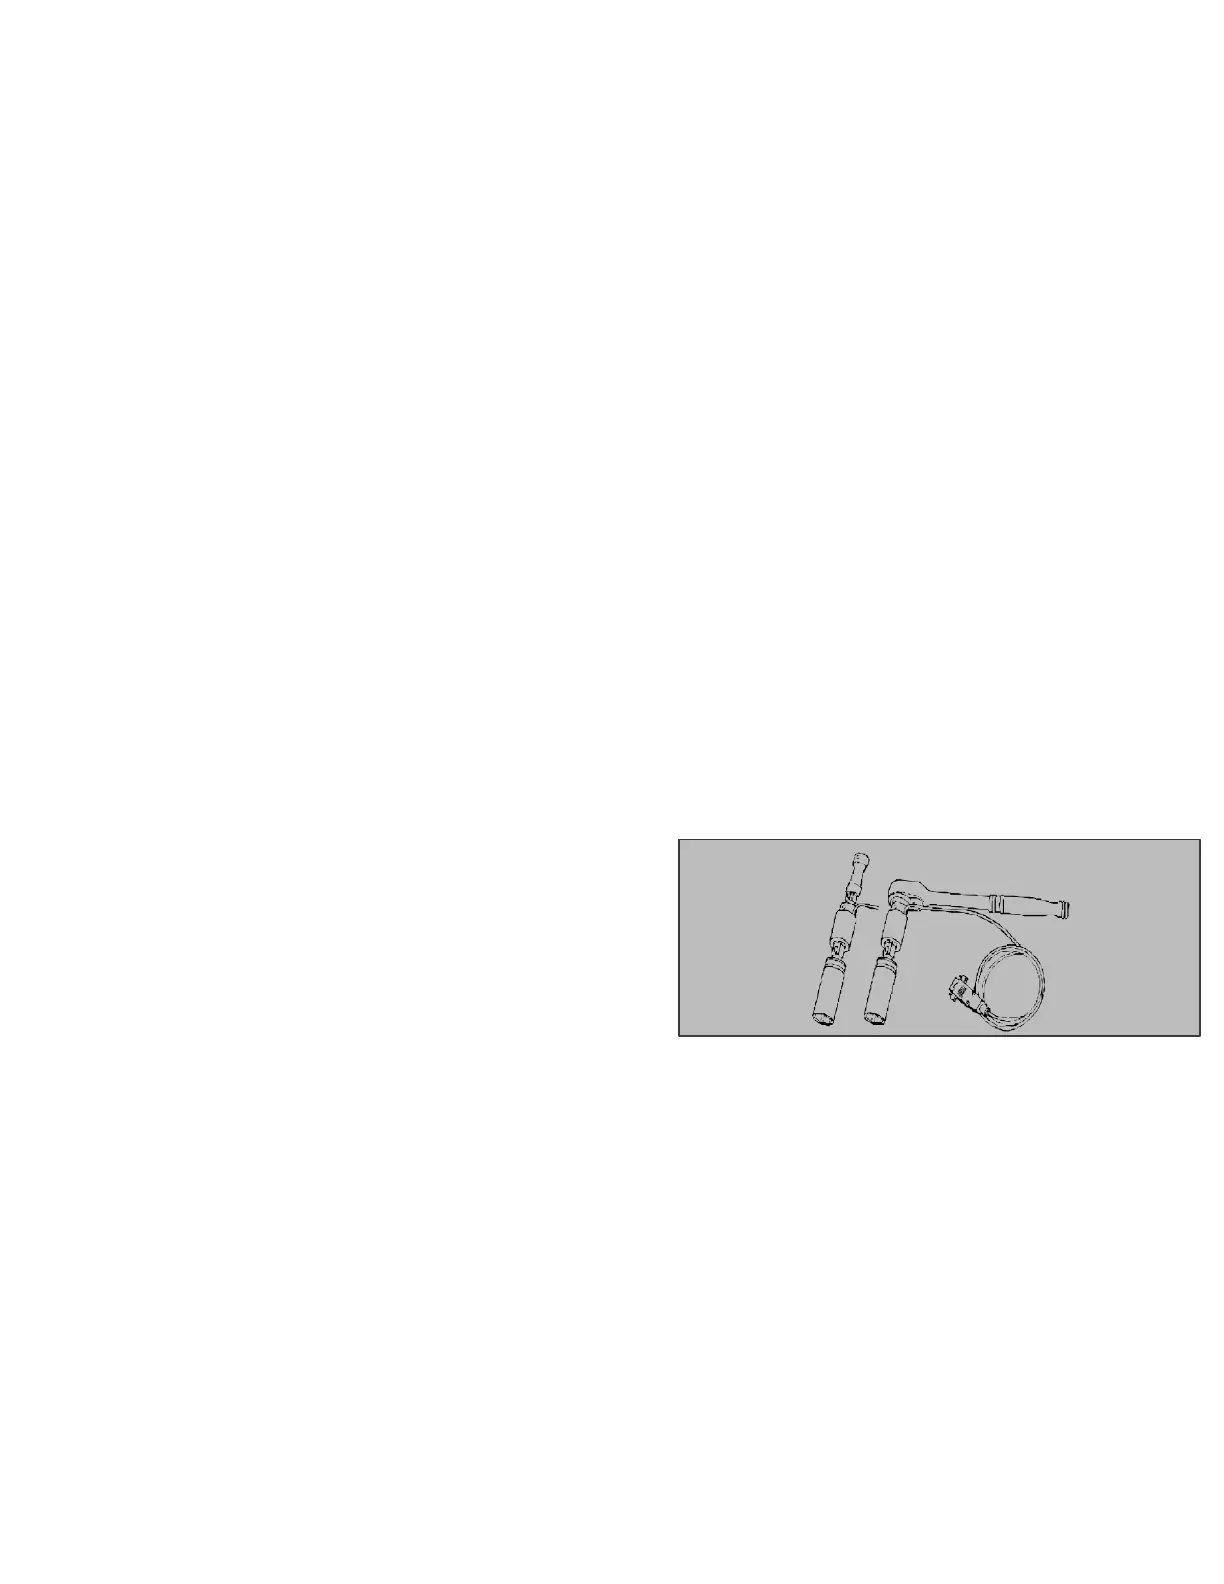
Caution: For best accuracy sockets should be attached directly
to the sensor’s male drive. If an extension is used, the extension
should be installed between the sensor and the wrench — not
between the sensor and the socket. See Fig.1
1. Select the desired torque sensor and connect it to the
VERSATORQ®2 torque analyzer.
2. Power ON the torque analyzer using the power switch located
on the right side. If the power switch is already ON, push the
ON/OFF key to wake up the torque analyzer from sleep mode.
3. If the display indicates PEAK mode, refer to SET-UP
programming on page 7 to change to TRACK mode.
4. Using the UNITS key, select the desired units of measure.
5. Applied torque is read in real time on the large 4 digit numeric
display.
6. The torque analyzer will sound a continuous tone and the MIN
(Green) LED will light when torque input reaches the lower
preset value, (preset minus percent tolerance.)
7. The meter will sound a pulsating tone and the MAX (Red)
LED will light when torque input reaches the upper preset
value, (preset plus percent tolerance.)
8. To change the preset value and MIN-MAX, (upper and lower
percentage tolerances), refer to SET-UP on page 9.
1. Select the desired torque sensor and connect it to the
VERSATORQ®2 torque analyzer.
2. Power ON the torque analyzer using the power switch
located on the right side. If the power switch is already
ON, push the ON/OFF key to wake up the meter from
sleep mode.
3. If the display indicates TRACK mode, refer to SET-UP
programming on page 7 to change to PEAK mode.
4.
Using the UNITS key, select the desired units of measure.
Changing the units will convert the current target torque
to the equivalent value in the new units.
5. Applied torque is captured and held on the large 4 digit
numeric display. The reading will increase if additional
torque is applied. The captured reading will automatically
clear when torque is reapplied.
6.
The torque analyzer will sound a continuous tone and the
) LED will light when torque input reaches the
lower preset value, (preset minus percent tolerance).
7. The torque analyzer will sound a pulsating tone and the
MAX (Red) LED will light when torque input reaches the
upper preset value, (preset plus percent tolerance).
8. To clear the display push the CLEAR key.
9. To change the preset value and MIN-MAX, (upper and
lower percentage tolerances), refer to SET-UP on page 9.
the torque analyzer will go into sleep mode if idle for 5
minutes.
A CORRECT DRIVER - SENSOR - SOCKET RELATIONSHIP:
Sensors should always be next to the socket. If an extension were used,
the extension would go between the sensor and the ratchet (driver) –
Not between the sensor and the socket
The VERSATORQ®2 meter is programmed to automatically shut off
when idle for five minutes. This feature helps conserve the life of the
batteries.

 Loading...


