5
4
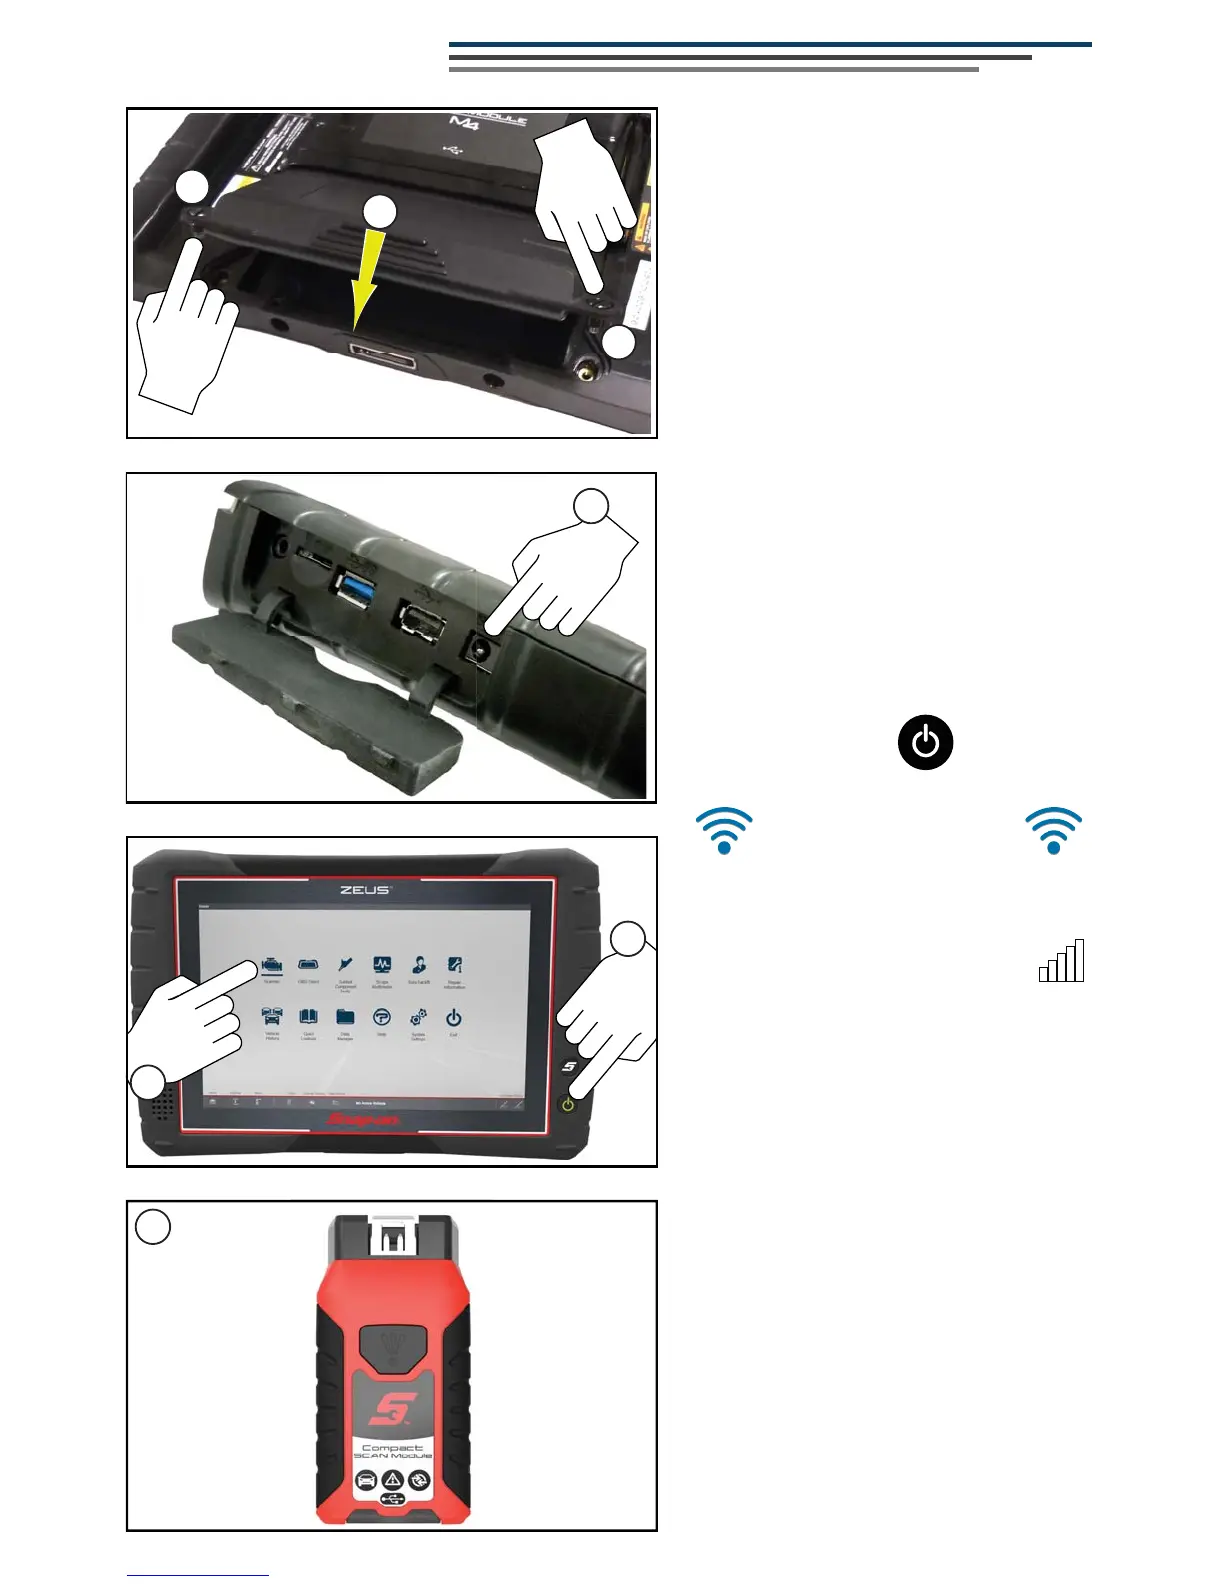
Getting Started
1
2
2
1. Align the tabs on the battery pack
with the slots in the battery
compartment, then pivot the battery
pack down into position, until seated.
2. Tighten the screws.
Note - Do not overtighten the screws.
4. Press the Power button.
Note - When you connect the CSM to an
OBD-II vehicle, the CSM is powered by the
vehicle.
5. Select a function (e.g. Scanner,
Guided Component Tests,
Quick Lookups, SureTrack).
8VHWKHVW\OXVRU\RXU¿QJHUWR
navigate menus on the touch screen.
6. To scan a vehicle, connect the
Compact Scan Module (CSM) to the
vehicle’s Data Link Connector (DLC).
3. Connect the AC power supply, to
charge the battery.
The power supply jack is located in
the left hand grip under the
protective cover.
3
6
***IMPORTANT***
Turn Wi-Fi on to use Intelligent
Diagnostics, Quick Lookups and
SureTrack.
Select the wireless connection
icon from the Windows
®
taskbar
QRWL¿FDWLRQDUHDDQGFRQQHFWWRD
wireless network from the list, or
select Open Network and Sharing
Center to setup a new connection.

 Loading...


