Figure 4-5. Apply Configuration Changes Here
9. With this you have just finished creating a SIP extension that will be used by the
Snom 710 to register with the Elastix Server. Repeat Steps 5 through 8 to similarly
create another extension (different values on Step 6) to be used by the IP (SIP)
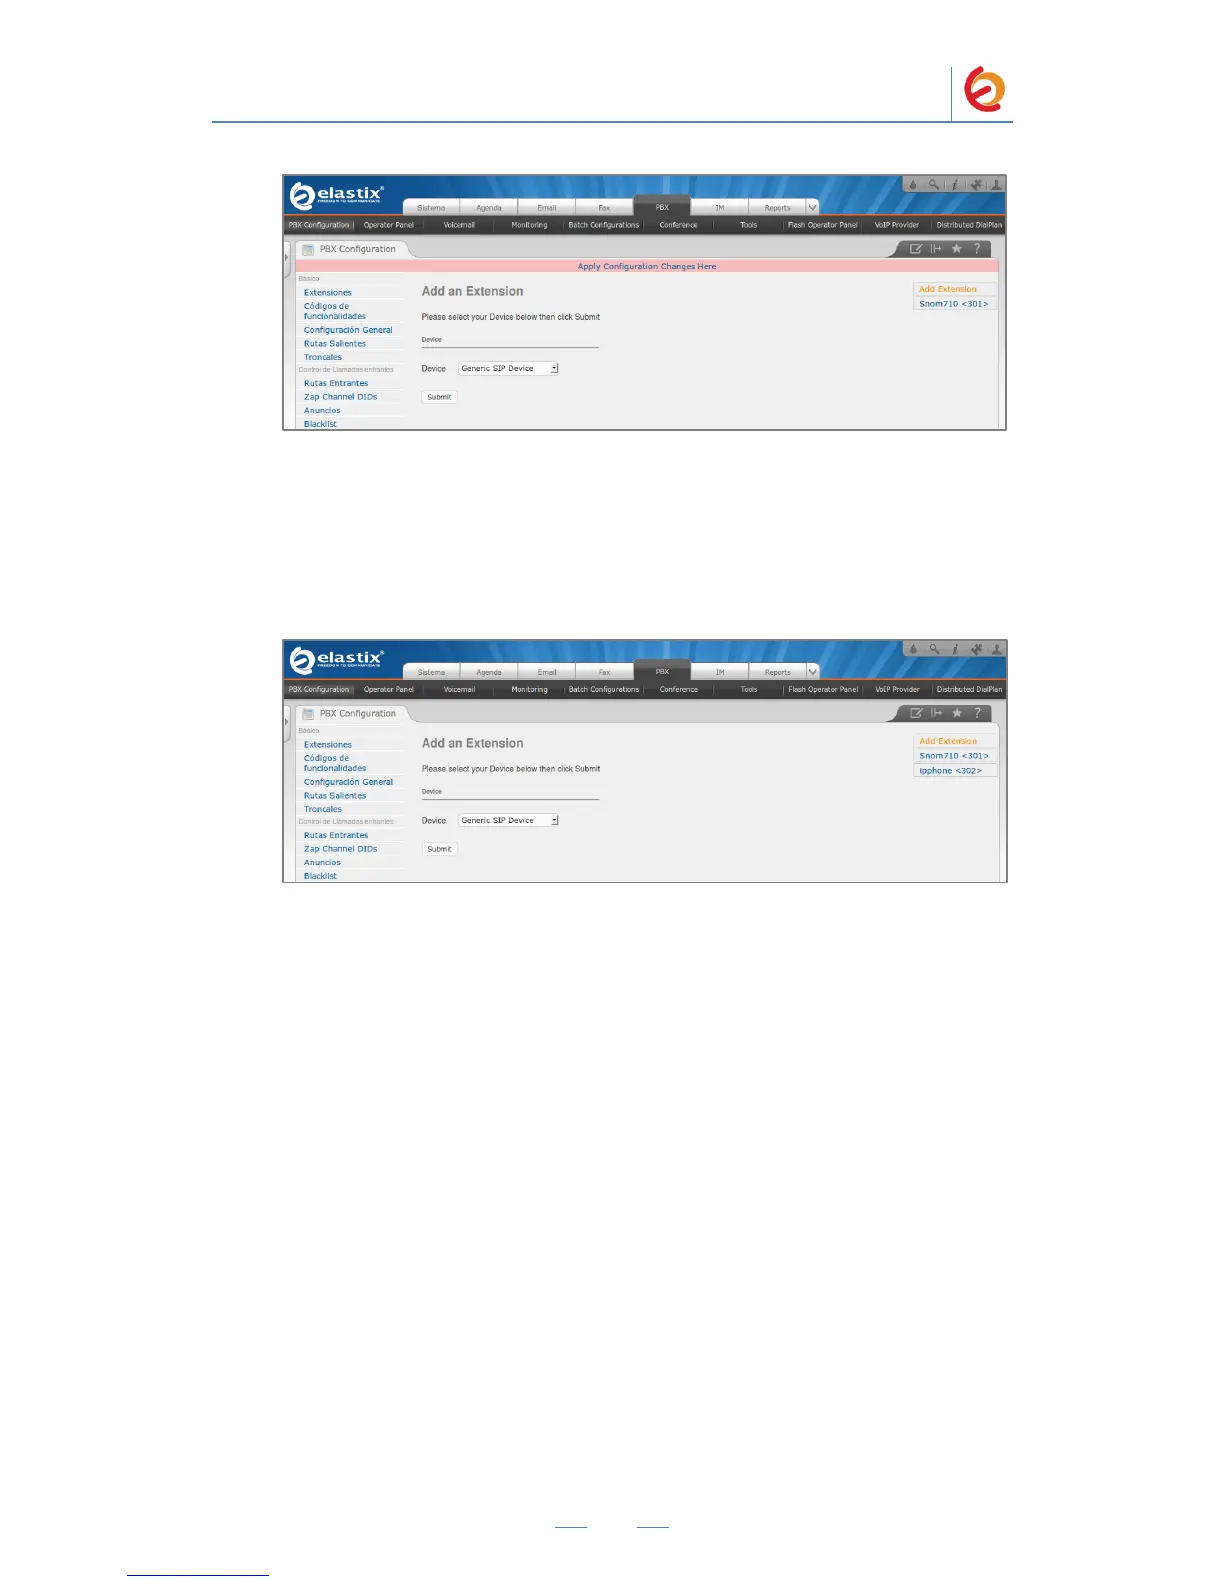
Phone to register as well (extension 302 in this example). Once finished you will
see something similar to Figure 4-6
Figure 4-6. Snom and IP Phone extensions successfully created
10. To register the Snom Phone, you will need to enter the information from the
extension created on the Elastix Server into the Snom Phone by logging into the
Snom 710 WebUI.
To register the Snom Phone there are two methods: Manual Configuration and
AutoProvisioning using Elastix’s Endpoint Configurator.
 Loading...