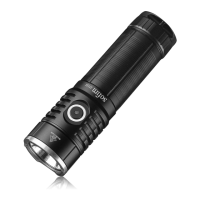
Battery Installation
Before first use, please unscrew the tail cap and remove the insulating sticker. If the
battery needs to be replaced, please make sure that the positive end of the new battery
faces the flashlight’s head when you put the battery in.
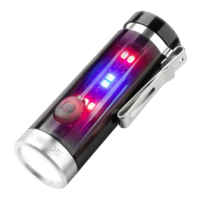
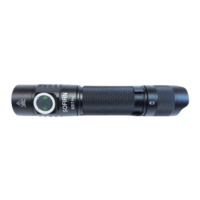
Battery Level Indicator
The indicator shows the power status for 5 seconds after turning SP60 on.
Green = remaining battery power is good.
Red = remaining battery power is poor
Flashing Red = critical power (less than 30%), please replace or recharge
battery as soon as possible.
When the flashlight is worked as a portable charger:
No LED indicator lights up during the progress of charging digital devices. A flashing
red LED indicates a low battery level.
Charging
SP60 offers a USB type-C charging port for convenient charging. It takes
approximately 4 hours to fully charge the flashlight with a 5V/2A charger (not
included), and 2 hours with a 5V/3A, 9V/2A, or 12V/1.5A charger (not included).
While charging, the side switch indicator flashes in red. It turns green when it's fully
charged. Charging the flashlight will disable lock mode. You can only access
moonlight and low brightness settings while charging.
Operation Instructions
STEPPED RAMPING:
ON/OFF: One-click the switch to turn the light on/off.
CHANGE BRIGHTNESS LEVEL: When the flashlight is on, press and hold the
side switch and it will start from the present brightness level, automatically cycle
through Eco, Low, Medium, and High mode. The mode is selected when the side
switch has been released. (Please note: moonlight, turbo and strobe are not in the
automatic cycle).
DIRECT ACCESS TO TURBO MODE: When the flashlight is on/off (not in lock
mode), quickly double-click the switch to activate Turbo mode. Double-click again to
cycle Moonlight-Turbo
DIRECT ACCESS TO STROBE MODE: When the flashlight is on/off (not in lock
mode), quickly triple-click the switch to enter into Strobe. Then double-click the