Do you have a question about the SolarEdge SE10000H and is the answer not in the manual?
Critical safety warnings for inverter handling, electrical connections, and operational procedures.
Outline of the steps for installing and setting up a new SolarEdge site.
Safety precautions specifically for installing power optimizers.
General guidelines for installing power optimizers, including compatibility and placement.
Procedure for physically mounting power optimizers to the support structure.
Instructions for connecting PV modules to power optimizer inputs.
Guide for connecting power optimizers together to form strings.
Steps to verify correct connections and voltage output of power optimizers.
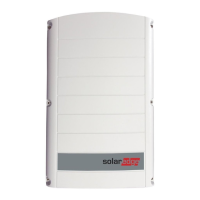
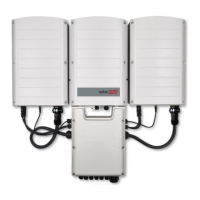
Instructions and guidelines for mounting the inverter securely.
Procedure for connecting the inverter to the AC grid supply.
Instructions for connecting PV strings to the inverter's DC inputs.
Process for activating the inverter and upgrading firmware using SetApp.
Detailed steps for commissioning and configuring the inverter settings.
Final checks to ensure the system is properly activated and commissioned.
Methods for identifying system errors using inverter LEDs or the monitoring platform.
Guidance on resolving issues with Ethernet and RS485 communication.
Common problems and solutions for power optimizer operation.
Step-by-step procedure for safely replacing an inverter.
| Model | SE10000H |
|---|---|
| Manufacturer | SolarEdge |
| AC Output Power | 10000 W |
| Protection Rating | IP65 |
| Rated AC Power | 10000 W |
| Max. AC Power | 10000 VA |
| Max. DC Input Power | 13500 W |
| Frequency | 50/60 Hz |
| Cooling | Convection |
| Operating Temperature Range | -25°C to 60°C |
| AC Voltage | 230/400 V |
| Max. Input DC Voltage | 480 V |
| AC Output Voltage | 230/400 V |
| Noise Level | <50 dBA |