GENESIS
TM
DAS Operation Manual - Version 0.0 – Jan. 2019
©2019 SOLiD, Inc. All Rights Reserved. Confidential & Proprietary. Page 21
4.1.4 LRN Installation
The following table shows the required accessories and tools for installing LRN.
LRN CEILING AND WALL MOUNTING
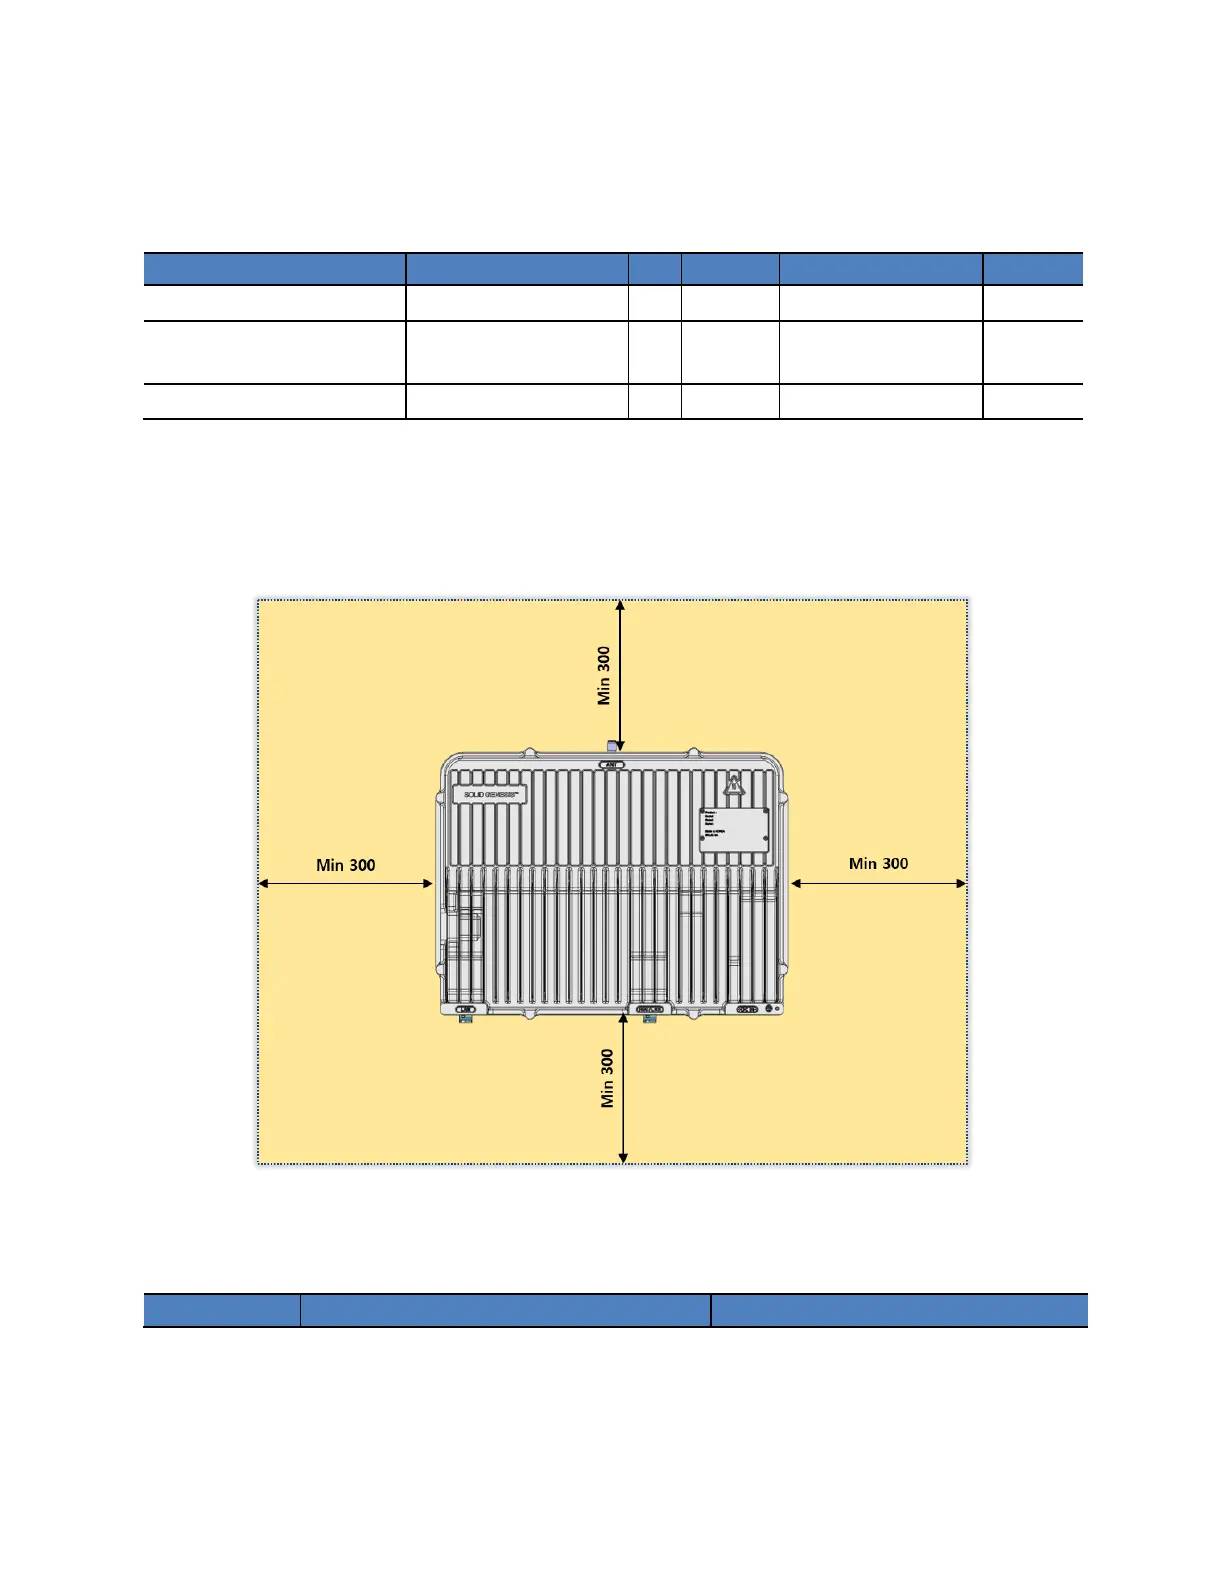
It requires at least 200mm clearance when installing LRN on the ceiling or wall for heat dissipation and
cable access as shown below. The clearance might be increased depending on the flexibility of cable.
Figure 4.5 LRN Installation Clearance
There are two LRN installation mount brackets as shown below.
Quick-lock Mounting Bracket