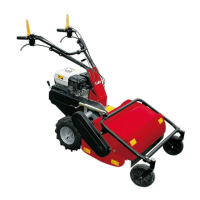
D) CHECKING AND REPLACING THE FLAILS
Always check the state of the flails before commencing work. Do not forget to
switch the engine off!
Checking and replacement of the flails requires the assistance of another person
to hold the handlebars down to tilt up the front part of the machine.
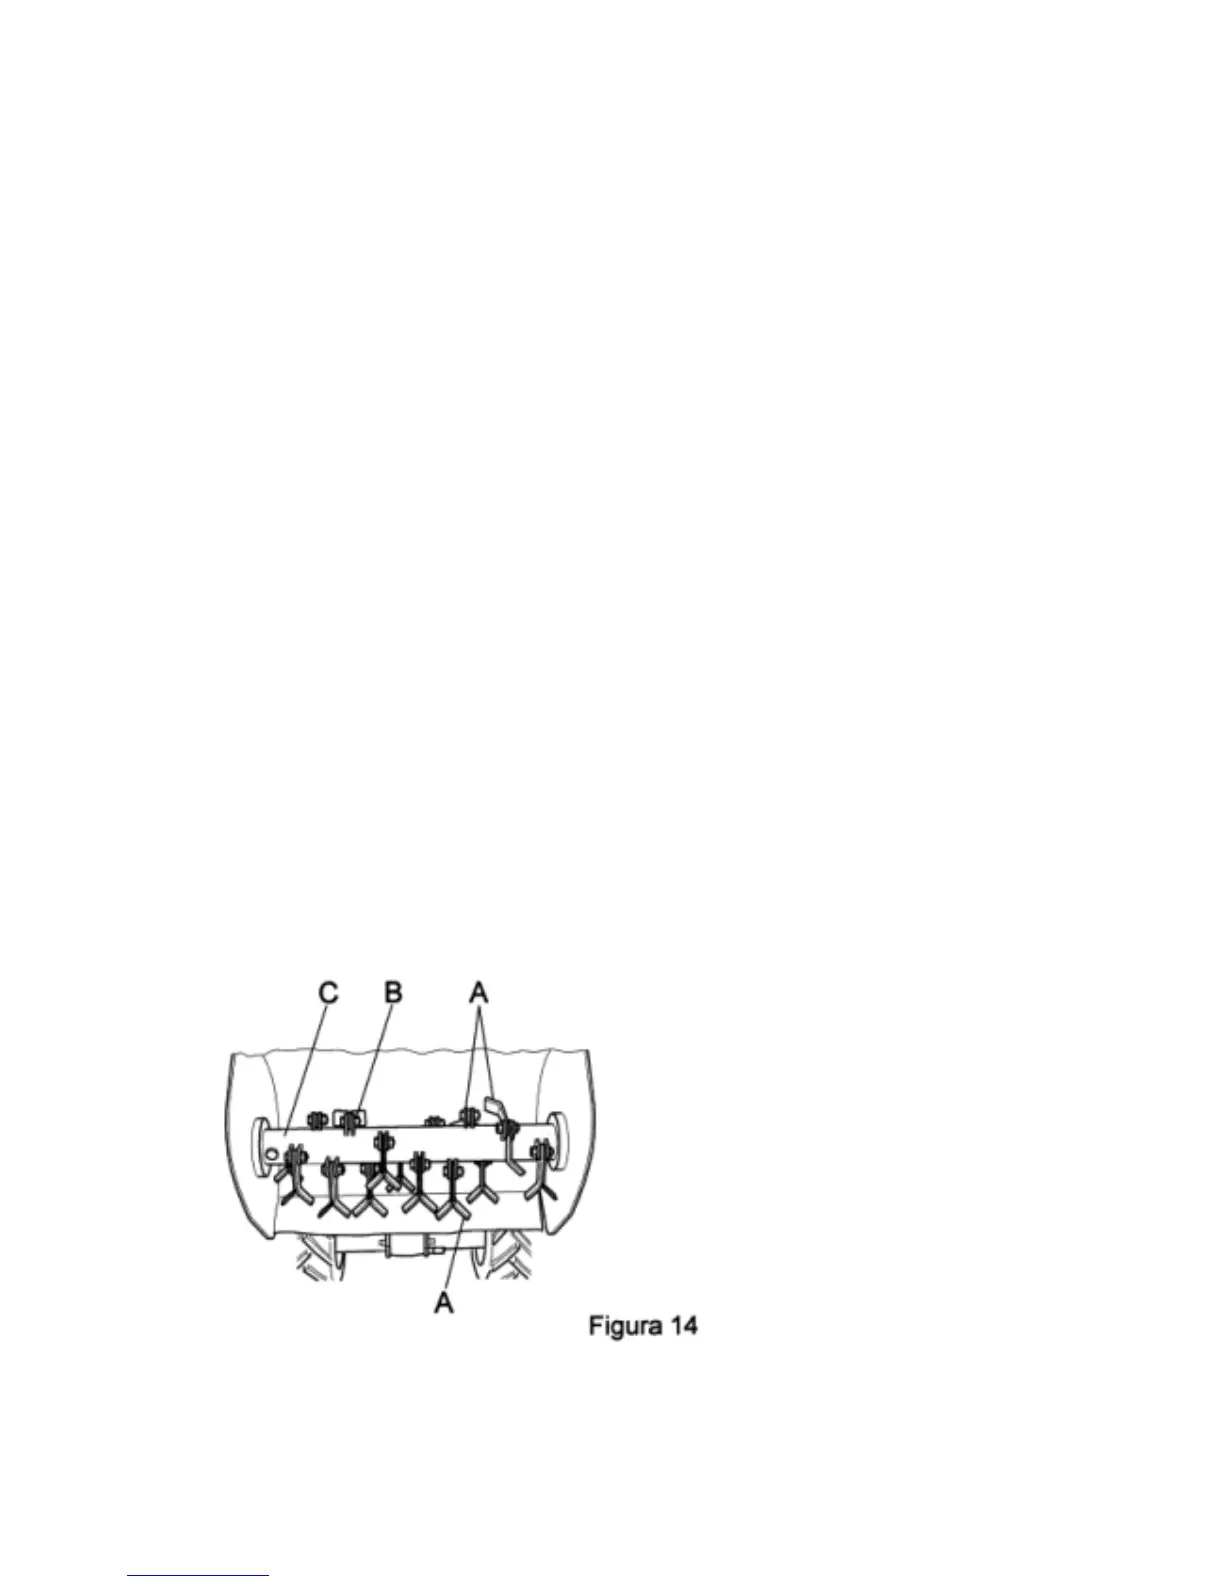
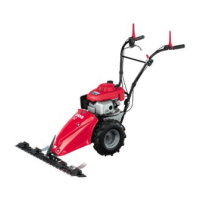
The flails will be presented as shown in figure 14.
- During work operations if the flails (Fig. 14, ref. A ) strike stones or stumps
stop straightaway and make sure that they have not become bent or bro-
ken. Damaged flails must be replaced.
- If the flails are very worn, cracked or bent, they make snap and project ob-
jects outwards, risking serious accident.
- It requires specific experience and suitable equipment to replace and repair
flails.
- Use heavy-duty work gloves to check or replace the flails to avoid risk of
injury to hands.
- The flail fixing screws and relative nuts ( fig. 14, ref. B) are also subject to
wear. Always replace them at the same time as the flails, using bolts and
screws of the same strength and type.
- When some of the flails are broken or bent they give rise to excessive vi-
bration at high speed.
- The flails are reversible, so when they become blunt on one side they can
be assembled on the other.
- Generally speaking, unless it's a question of only 1 or 2 flails, all the flails
should be replaced at the same time to prevent the occurrence of vibration.
- Even the flail rotor holder (fig. 14, ref. C) may cause vibration. If so, it
should be replaced.
- The flails wear more quickly on dry, sandy ground. In these conditions they
should be replaced more frequently.
- It is advisable to keep spare flails handy.
Fig.14