pg 4 | Pod Demo Guide | www.mersive.com | © Copyright 2019 Mersive
Demo the Solstice Pod
If you have a Pod and want to experiment with all the features, follow the steps below. Setting up and trying out the Pod is
straightforward. The way you set up and evaluate your first Pod may be different than how you configure and deploy Pods
throughout your organization depending on your network and use cases. This section will help you get a Pod up and running
quickly so you can test performance and take a first-hand look at end-user features.
Step 1: Unpack your Pod
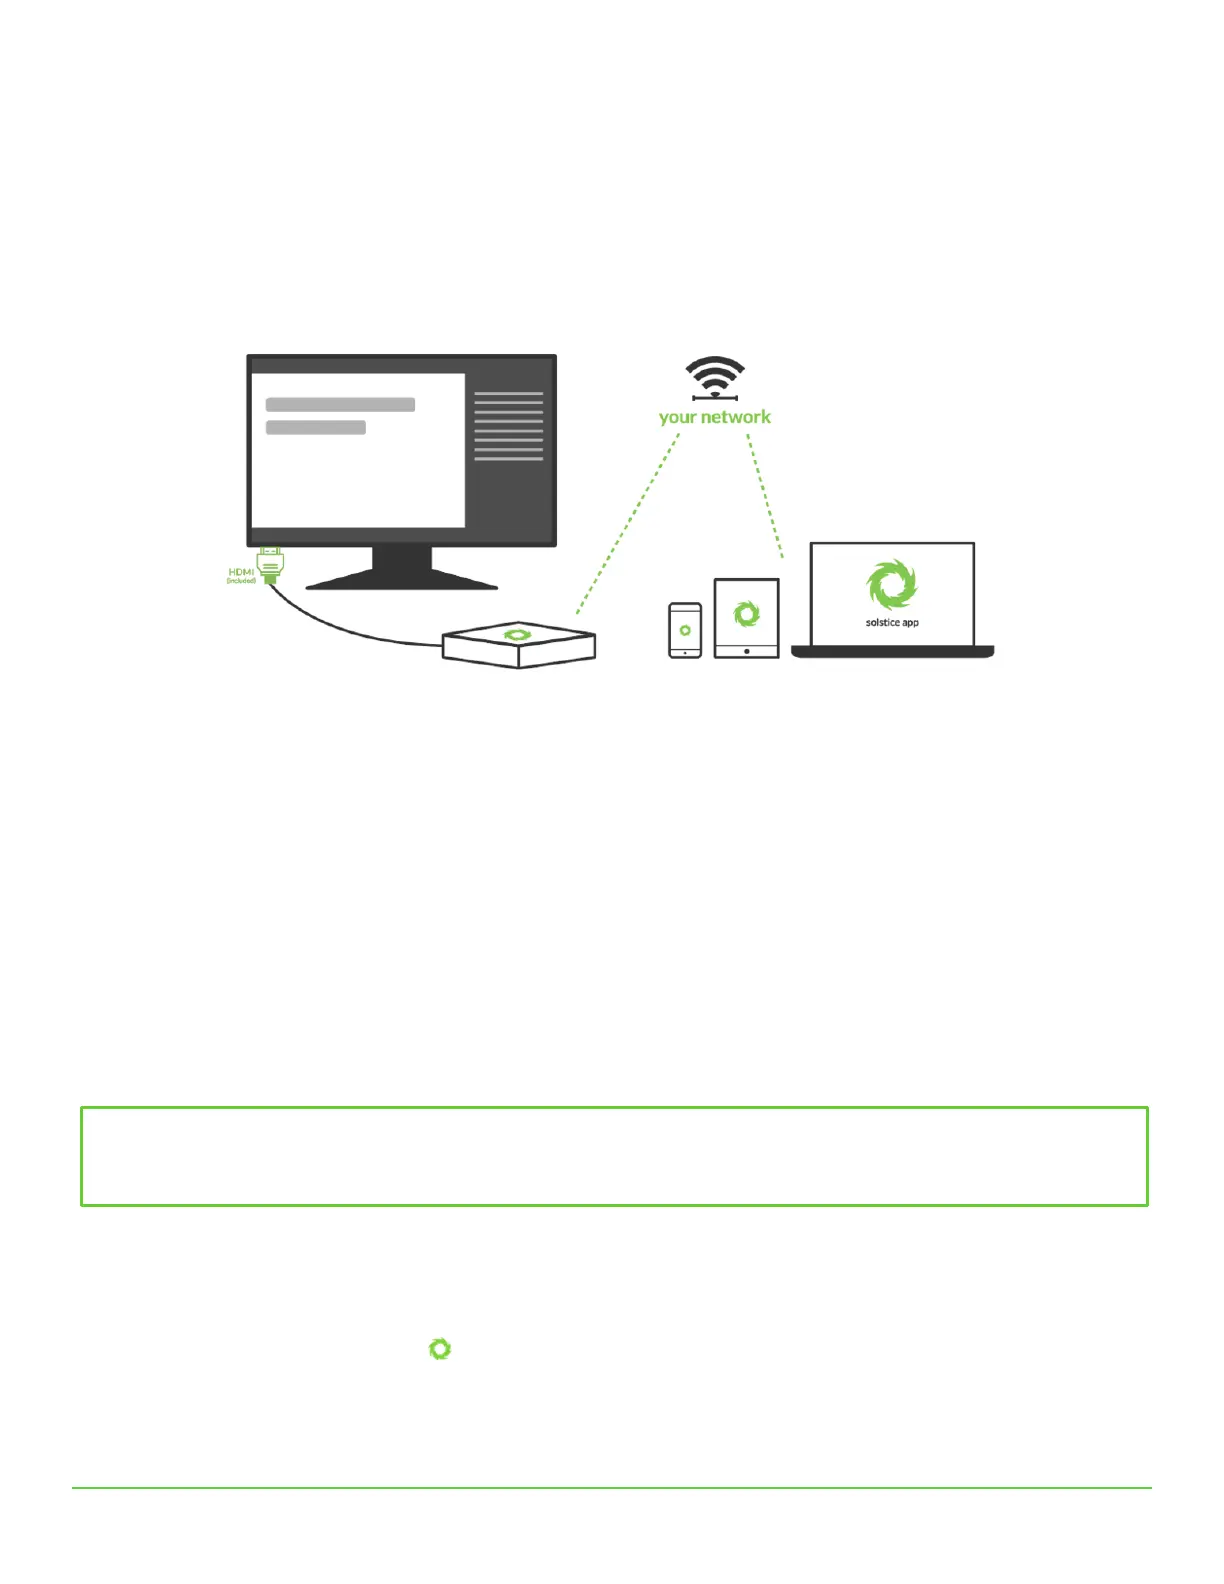
Use the HDMI cable to attach the Pod to up to two displays and power the Pod on by connecting an Ethernet cable with
PoE+ capabilities, or the power adaptor to a standard power outlet. Optionally, if you have a touch-enabled display and
would like to try out the Pod’s touch features, connect a USB cable from the Pod to the USB port on the display.
A green LED bar will illuminate on the front of the Pod once it receives power. The Pod will take a few minutes to boot up
and display the default welcome screen.
Step 2: Connect the Pod to a Network (optional)
For your convenience, we ship the Pod with both the wireless access point (WAP) enabled and Ethernet ready to support
DHCP. Notice that the welcome screen instructions display the default “SolsticePod” hotspot network name/SSID. If you’re
not able to connect the Pod to a DHCP-ready Ethernet network, you can evaluate the Pod using this SolsticePod hotspot
network (present when WAP mode is enabled). Just keep in mind that your devices (and the Pod) won’t have internet access
during your evaluation with the Pod in WAP mode. Features that require internet access, such as the welcome screen RSS
feeds and sharing YouTube videos, won’t be available.
To connect the Pod to a network via Ethernet, simply plug an Ethernet cable attached to your network into the Pod.
To connect the Pod to a network wirelessly:
1. Open the Pod’s configuration panel. The Pod’s configuration panel may be accessed two ways:
a. By clicking the Solstice icon in the bottom right corner of the display using a USB mouse or via a
supported touch screen, then clicking System > Configure.
b. Navigating to the Pod’s IP address via a browser, then clicking the Settings icon in the lower right-hand
corner of the screen.