10
PROGRAMMING THE DIGITAL WALL TIMER
Before installing the timer, read the Use and Care Guide included with the
wall timer. The guide will give you detailed instructions on how to install and
program your timer. You can skip this section if you rather follow instructions
or if you are using a different wall timer. We provided the instructions below
to help simplify the setup and as a reference for the future. Below is the
method we used to set up the timer for the first time (adapted from the Use
and Care Guide) and two methods of programming the timer. Method 1
matches the sunrise and sunset of your location and automatically changes
throughout the year. Method two is used to set an exact on/off time that does
not change.
Setting up the timer for the first time.
1. Follow the instructions for installing the timer.
2. Press the reset button to clear any information.
3. Press the set button.
4. Use the up/down buttons to set the time. Press the set button.
5. Use the up/down buttons to set the year. Press the set button.
6. Use the up/down buttons to set the month. Press the set button.
7. Use the up/down buttons to set the day. Press the set button.
8. Use the up/down buttons to turn on/off DST (Daylight Savings
Time). If you leave DST on, the timer will automatically adjust the
clock for you. Press the set button.
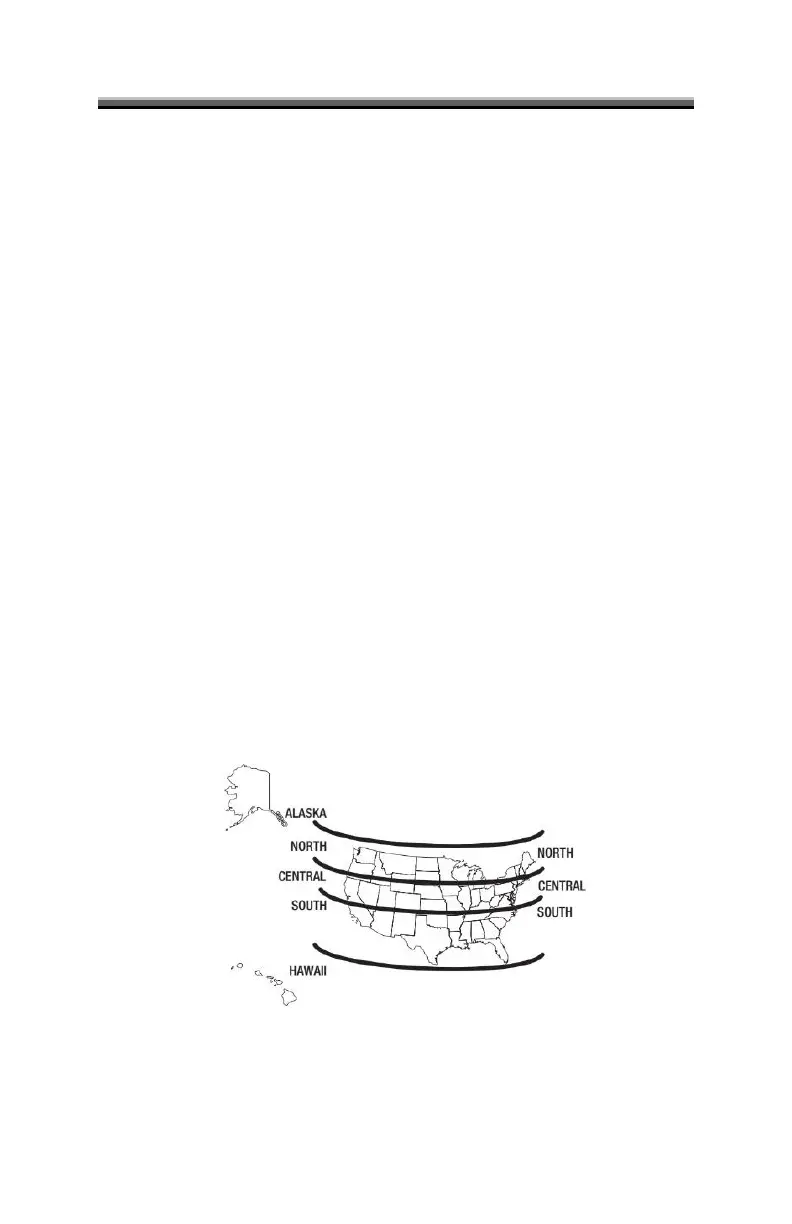
9. Use the up/down buttons to set the zone. Press the set button.
10. Use the up/down buttons to set the dusk time. Press the set button.
11. Use the up/down buttons to set the dawn time. Press the set button.
12. Press the set button to complete the setup and return to clock mode.