Do you have a question about the SOMFY Altus and is the answer not in the manual?
Initiate programming by pressing UP and DOWN buttons simultaneously until the shade jogs.
Check motor direction with DOWN button. Change direction using the MY (stop) button.
Move shade to desired lower limit. Press MY and DOWN buttons to move, then adjust.
Move shade to desired upper limit. Press MY and UP buttons to move.
Press MY button until the shade jogs to confirm the limit setting.
Press Program button until motor jogs. Motor now operates in maintained fashion.
Change lower or upper limit by pressing UP/DOWN and MY buttons simultaneously.
Add remote/channel or sun/wind sensor by pressing programming buttons.
Reset motor by power cycling and holding programming button.
Ensure motor limits are depressed before programming the RTS CMO motor.
Initiate programming by pressing UP and DOWN buttons until the motor jogs.
Check motor direction with DOWN button. Change direction using the MY (stop) button.
Move motor to desired upper limit. Press UP button to move, then release.
Move motor to desired lower limit. Press DOWN button to move, then release.
Press and hold Program button until motor jogs. Motor now operates in maintained fashion.
Change limits by pressing MY button, then UP/DOWN momentarily for movement.
Add remote/sensor by pressing programming buttons on existing and new devices.
Reset motor via power cycling and holding the programming button.
This document provides visual reference guides for programming Somfy Altus 6 and RTS CMO motors, outlining step-by-step instructions for initial setup, limit adjustments, adding remotes/sensors, and resetting the motors.
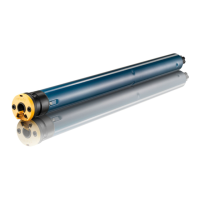
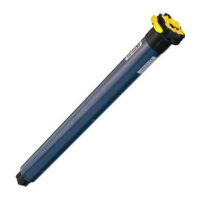
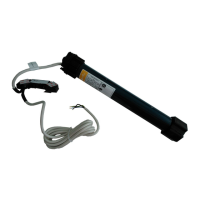
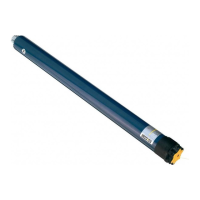
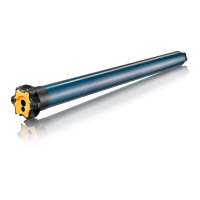
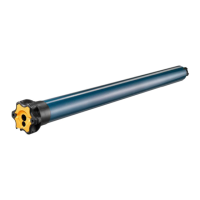
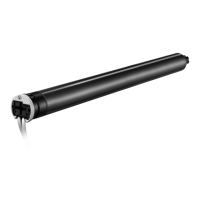
The Somfy Altus 6 and RTS CMO motors are designed for automated window coverings, allowing users to control the movement of shades or blinds. The programming process involves setting upper and lower limits for the shade's travel, ensuring it stops at desired positions. The system supports remote control operation, and can be expanded with additional remotes, channels, or sun and wind sensors for enhanced automation.
For detailed installation instructions, contact Somfy at 877-22SOMFY or visit www.somfysystems.com.