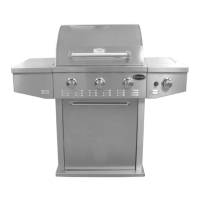
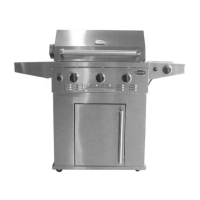
Grill Assembly
11
(See Fig. 13)
Note: Remove all the tape before using the grill.
INTERIOR PARTS ASSEMBLY
1. Place the avor grids in position with slotted holes
facing the front of the grill. (See Fig. 14)
2. Place the anti-flare screen mesh in position.
(See Fig. 15)
In cooking devices, especially grills, a common
problem is that fats and oils that are exuded from
the material being cooked, drip onto the burner or
hot surfaces where they produce smoke or ames.
Where they drip onto cold surfaces they condense
to make an eyesore, or worse, they harbor bacteria
or fungi. We recommend to our customers an anti-
are screen in the case of the hazards mentioned
above.
3.Place the main cooking grates in position.
(See Fig. 16)
4.Rest the bread warming rack on the brackets at the
sides of the hood support . (See Fig. 17)
Fig. 14
Fig. 17
Anti-are screen
Bread warming rack
Fig. 15
Main cooking grates
Fig. 13
Fig. 16
Flavor grids
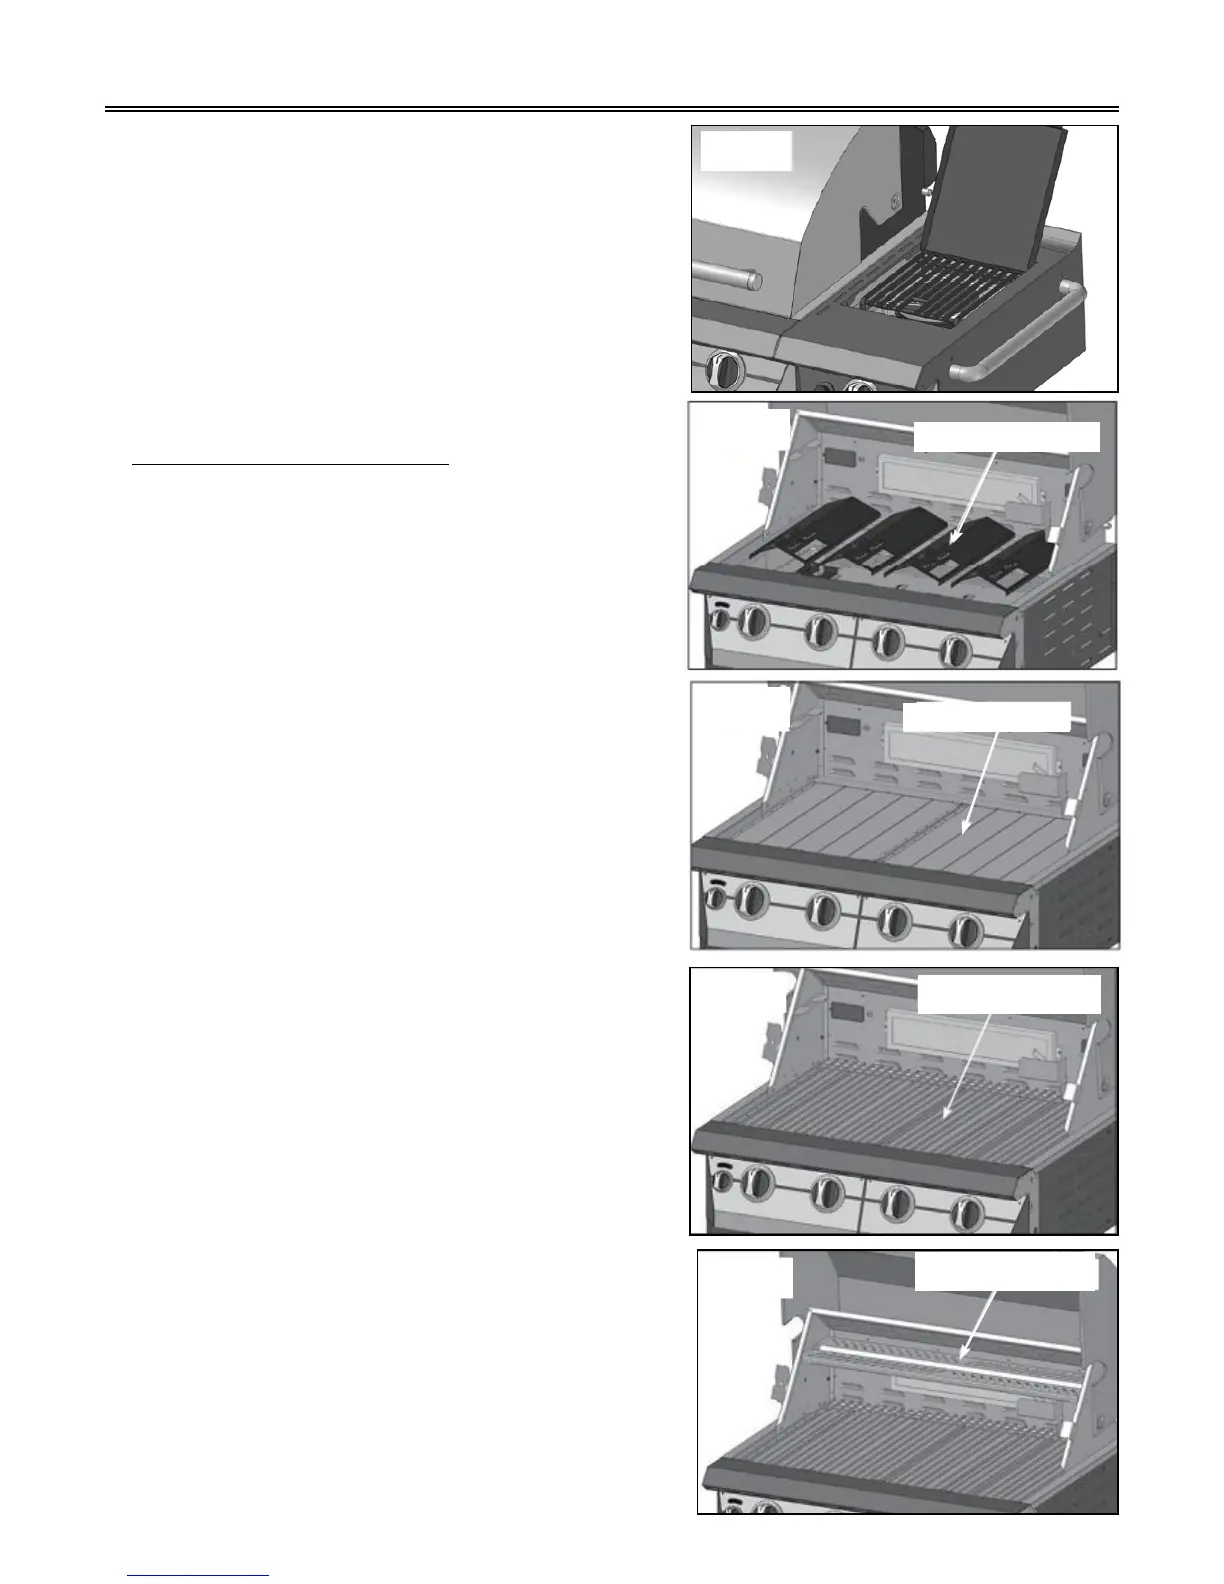
8. Place the side burner grate in position.