Product Guide
6
Adding to an Existing Sonos System
Once you’ve got your Sonos system set up, you can easily add more Sonos products any time (up to 32 rooms).
If your house has structured (built-in) wiring, you can make a wired connection to the additional Sonos products. If you don’t,
our built-in wireless technology is ideal for you.
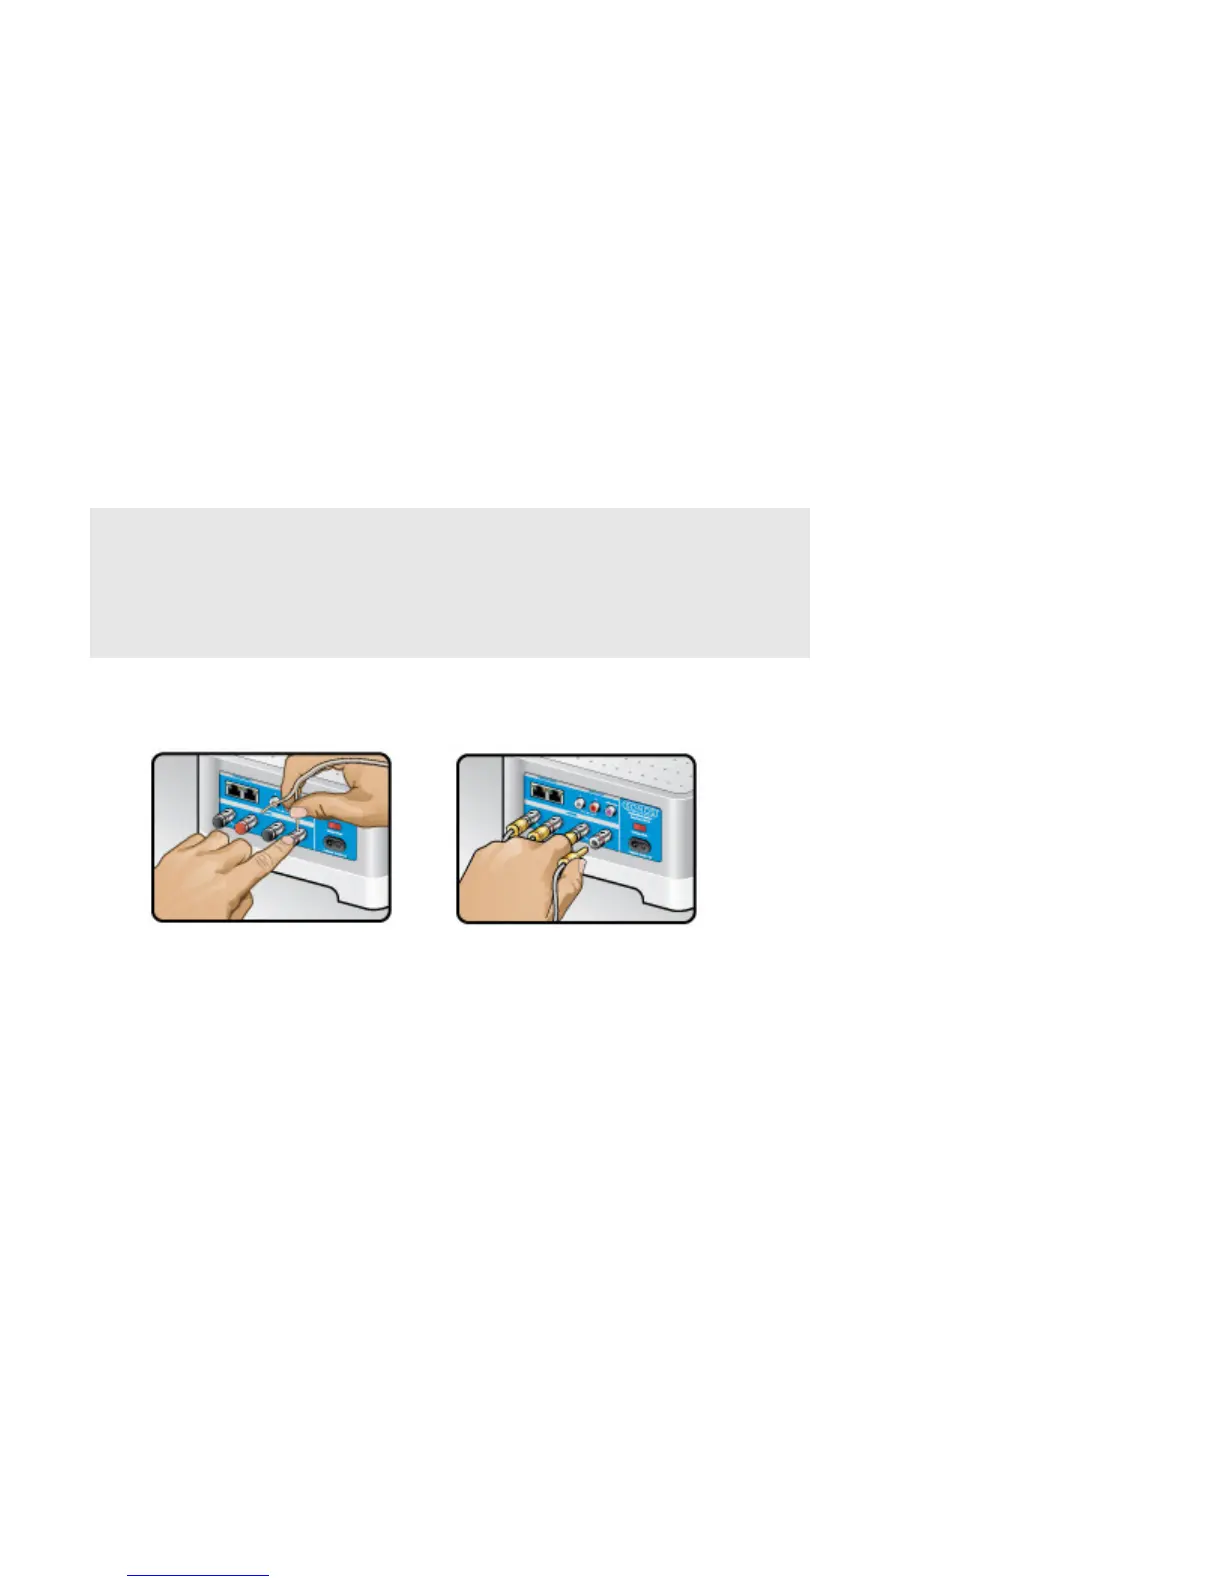
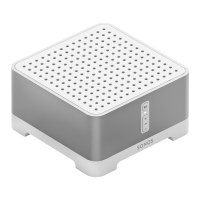
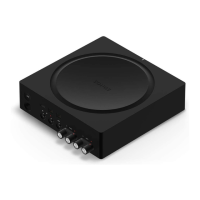
1. Attach desired speakers.
• Your speaker’s power rating should be at least 75W for 8 Ohm speakers, and at least 150W for 4 Ohm speakers. Do not
connect speakers rated at less than 4 Ohms.
• Use your thumb or finger to firmly push the spring-loaded speaker connector post inward to reveal the connection hole.
• Insert the stripped end of the speaker wire into the hole, and then release. The stripped portion should be caught firmly
in the connector post.
Note: Connect the red (+) and black (-) terminals from each speaker to the corresponding
terminals on the SONOS CONNECT:AMP. Mismatching of polarities will result in weak central
sound, and a distorted sense of sound direction.
When making connections,
ensure that none of the strands of your speaker wire come in
contact with an adjoining terminal on the rear panel.
• Repeat to install the other speaker wires.
• If your speakers have banana connectors, you can insert the plugs directly into the banana jacks on the back of the
CONNECT:AMP instead.
2. Attach the power cord and plug into a wall outlet—make sure the Voltage Switch on the back of the CONNECT:AMP is set
to the proper position for your country before applying power.
After a few moments, the Status indicator will begin to flash green (if this Sonos product was previously connected to
another Sonos system, the Status indicator may be solid white instead.)
3. Choose one of the following options:
• Using a handheld Sonos Controller: Select Add a Player or SUB from the Settings menu, and follow the on-screen
prompts to add this product to your Sonos system.
• Using the Sonos Controller for Mac or PC: Select Add a Player or SUB from the Manage menu and follow the prompts
to add this product to your Sonos system.