9 3D Imaging
98 Basic User Manual
7. Adjust ROI and sample line.
You can press the conrm key to select the desired status icon.
−
If is highlighted, use the trackball to position the ROI.
−
If is highlighted, use the trackball to resize the ROI.
−
If is highlighted, adjust the sample line by positioning the anchor with the trackball.
8. Set the user mode, focus position, image quality and sweep angle.
−
Tap an item under
User Mode
to select a user mode.
−
Tap the Left/Right part of
Sweep Angle
to adjust the sweep angle of probe.
−
Tap the left or right part of
Focus
to decrease or increase the depth of focal zone.
−
Tap the left or right part of
Image Quality
to adjust quality of images.
9. Display the 3D imaging in the following instructions.
−
Tap , or , tap
Start
or press the
Freeze
key to display the 3D imaging in a full, dual or quad
display. The system automatically enters the 3D imaging in a quad display by default.
−
Tap
1
,
2
or
4
on the key panel of the touch screen to display the 3D imaging in a full, dual or quad display.
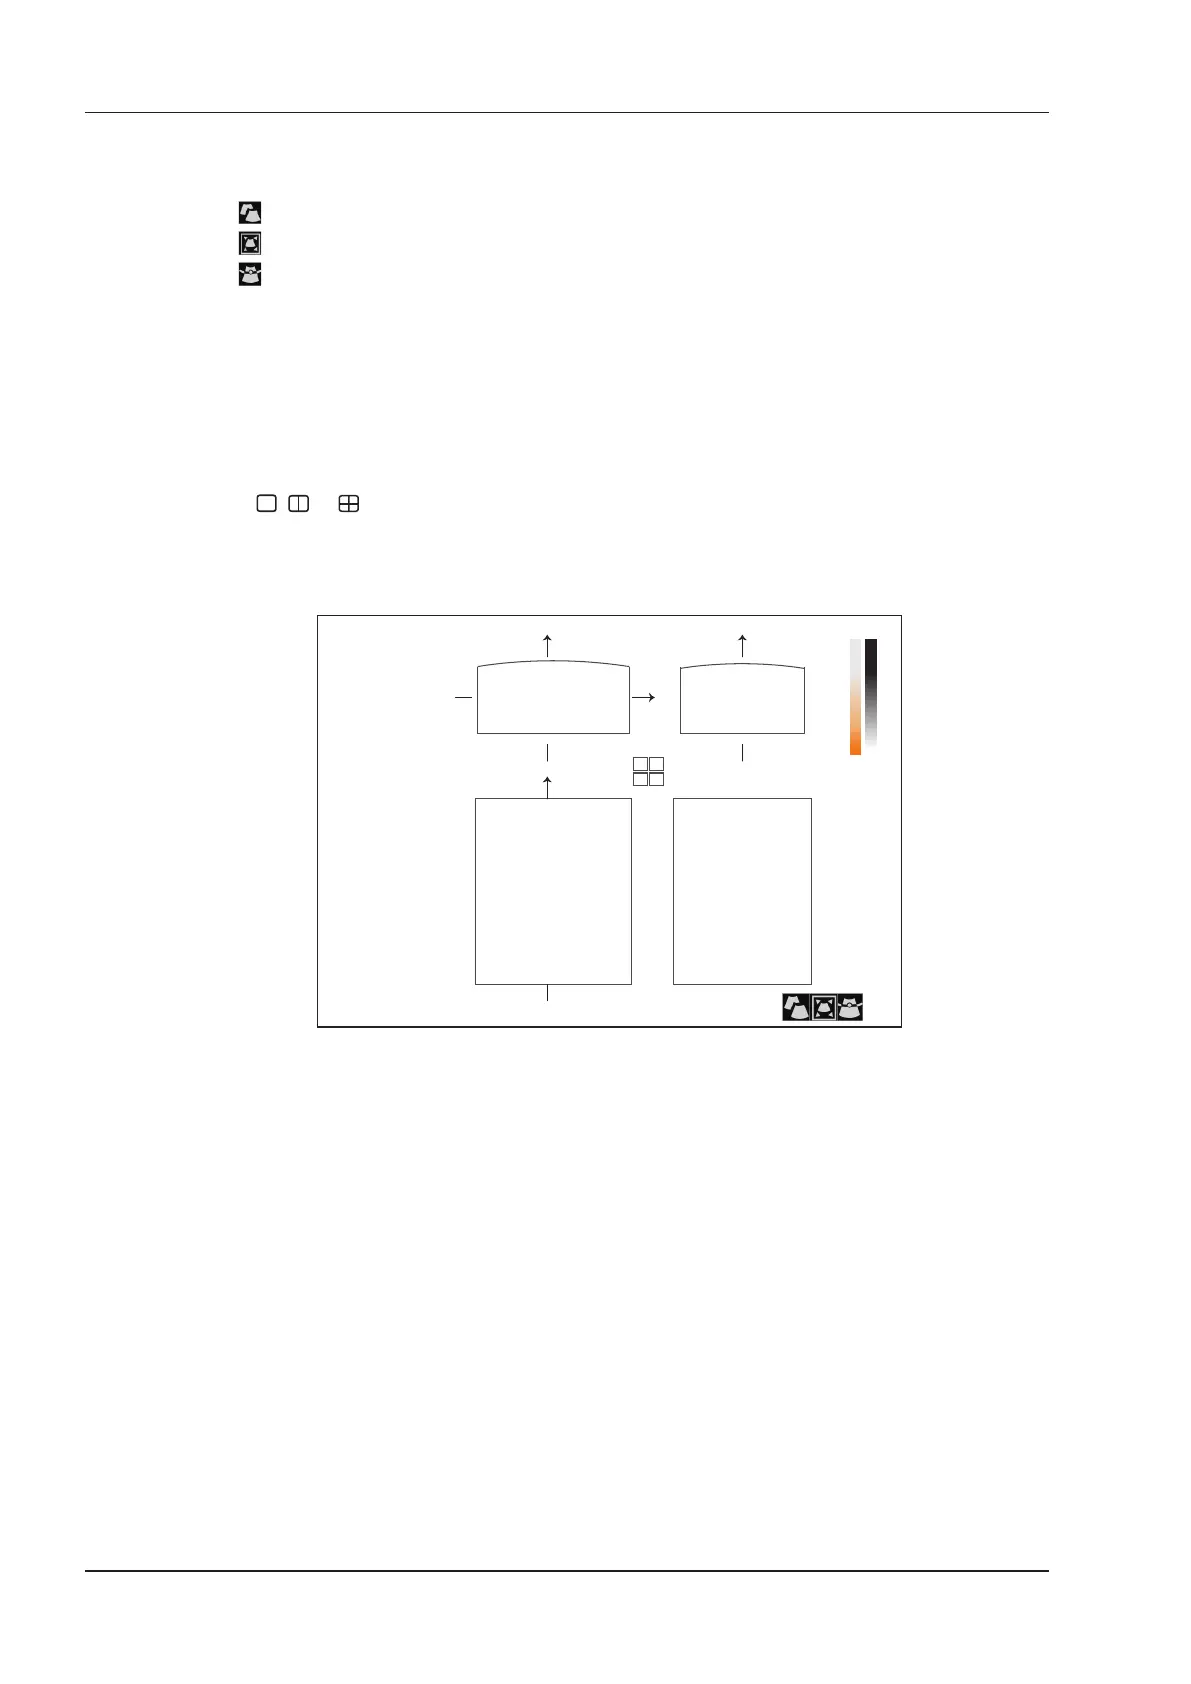
The imaging area of the screen is divided into 3 reference images and a 3D image by default.
FPS 47
D/G 3/1
GN 255
I/P 3/30
PWR 70
FRQ 3-4.8
D 16.5cm
Angle 55
Map 4
Quality H
Surface
View A
A
B
C
3D
View B
View C
3D Image
Figure 9-2 3D Imaging Screen
As the above gure shows,
●
View A on the top left shows the image on the X-axis.
●
View B on the top right shows the image on the Y-axis.
●
View C on the bottom left shows the image on the Z-axis.
●
The image on the bottom right shows the 3D image.
As Figure 9-3 shows, the touch screen displays all controls related to the 3D imaging.