5-43
3-3. SERVO AND RF SYSTEM ADJUSTMENTS
Before perform the servo and RF system adjustments, check that
the specified value of “27 MHz/36MHz Origin Oscillation
Adjustment” of “3-4. VIDEO SYSTEM ADJUSTMENT” is
satisfied.
Adjusting Procedure:
1. REEL FG adjustment
2. PLL f0 & LPF f0 Pre-adjustment
3. Switching position adjustment
4. AGC center level adjustment
5. APC & AEQ adjustment
6. PLL f0 & LPF f0 final adjustment
7. Hi8/standard 8 mm switching position adjustment
8. CAP FG offset adjustment
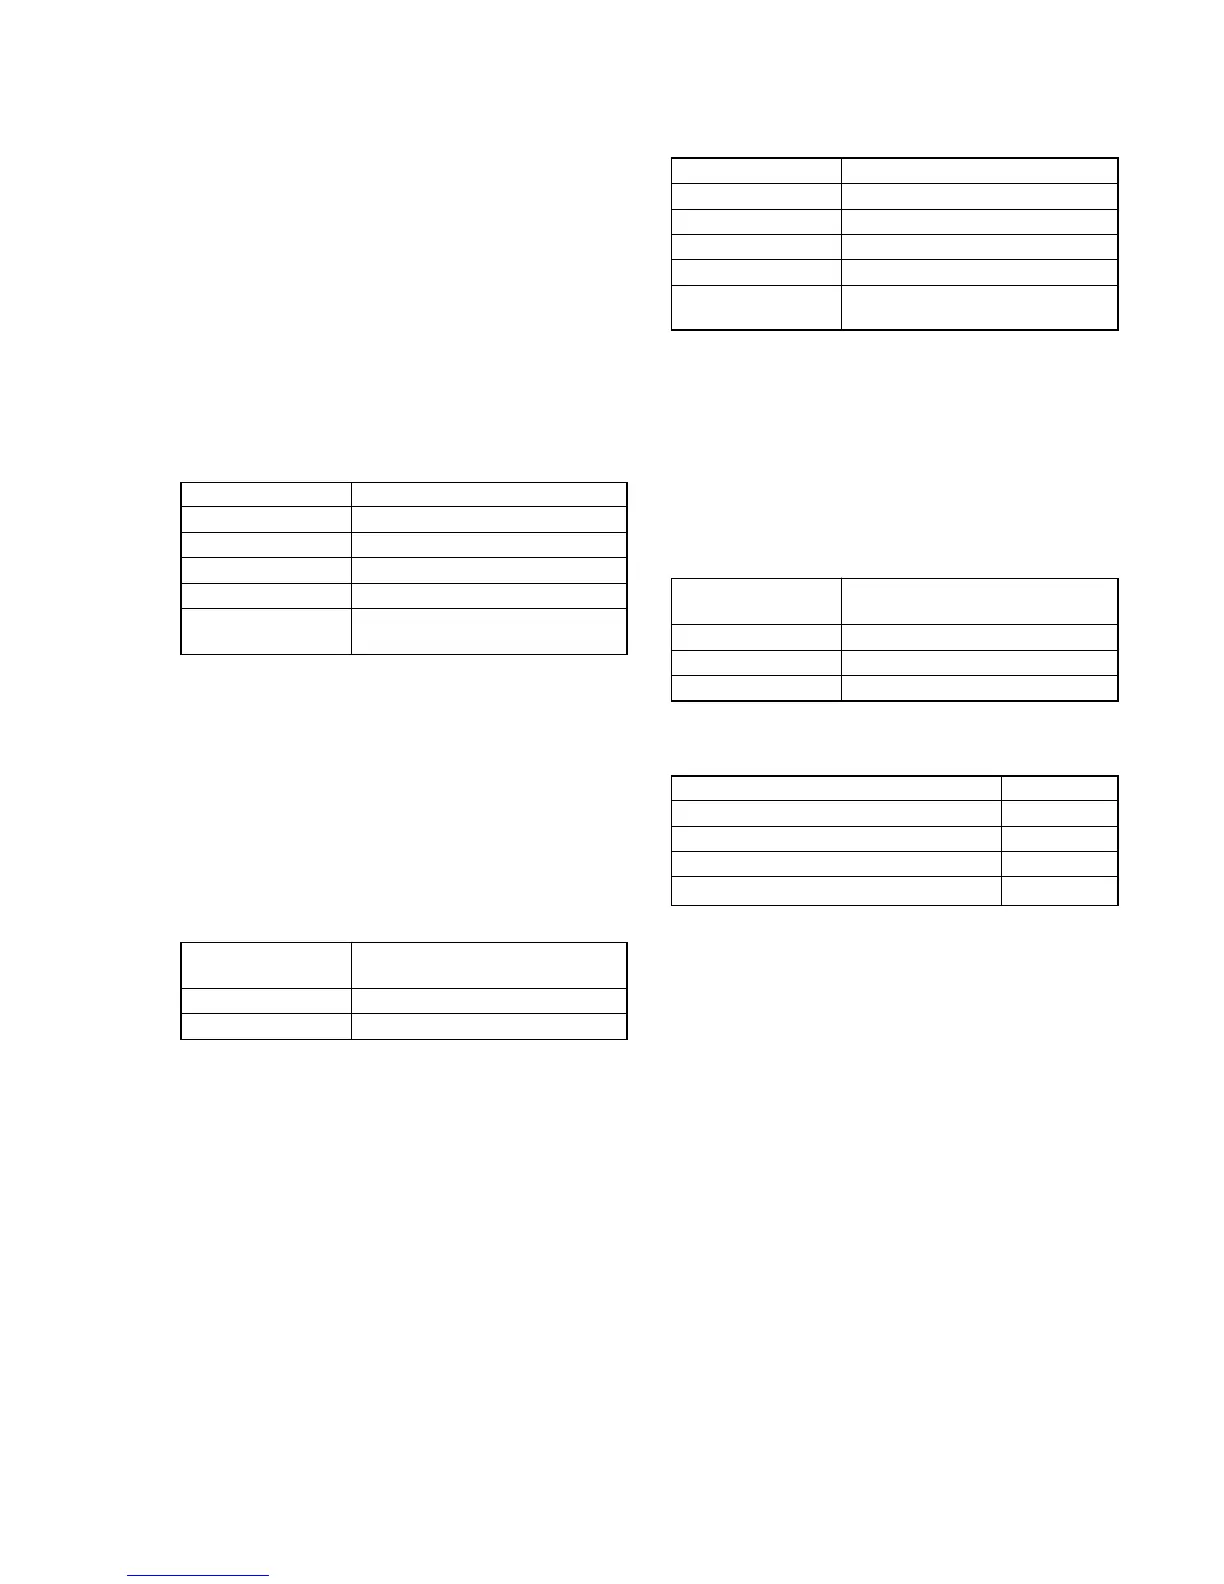
1. REEL FG Adjustment (VC-235 board)
Mode VTR stop
Measurement Point Display data of page: 3, address: 03
Measuring Instrument Adjustment remote commander
Adjustment Page C
Adjustment Address 17, 30
Specified Value Bit values of bit 1 and bit 3
are “0”
Adjusting method:
1) Close the cassette compartment without loading a cassette and
complete loading.
2) Select page: 0, address: 01, and set data: 01.
3) Select page: 3, address: 01, set data: 1C, and press the PAUSE
button of the adjustment remote commander.
4) Select page: 3, address: 02, and check that the data changes to
“00”.
5) Select page: 3, address: 03, and check that bit values of bit 1
and bit 3 are “0”.
If bit value of bit 1 and bit 3 is “1”, there are errors. For the
error contents, see the following table. (For the bit values, refer
to “5-4. SERVICE MODE”, “4-3. 3. Bit value discrimination”)
Bit value of page: 3,
Error contents
address: 03
bit 3 = 1 S REEL is defective
bit 1 = 1 T REEL is defective
6) Select page: 0, address: 01, and set data: 00.
2. PLL f
0
& LPF f
0
Pre-adjustment (VC-235 board)
Mode VTR stop
Measurement Point Display data of page: 3, address: 03
Measuring Instrument Adjustment remote commander
Adjustment Page C
Adjustment Address 1F, 20, 22, 29
Specified Value Bit values of bit 2, bit 3 and bit 6
are “0”
Adjusting method:
1) Select page: 0, address: 01, and set data: 01.
2) Select page: 3, address: 01, set data: 30, and press the PAUSE
button of the adjustment remote commander.
3) Select page: 3, address: 02, and check that the data changes to
“00”.
4) Select page: 3, address: 03, and check that bit values of bit2,
bit3 and bit6 are “0”.
If bit value of bit 2, bit 3 or bit 6 is “1”, there are errors. For the
error contents, see the following table. (For the bit values, refer
to “5-4. SERVICE MODE”, “4-3. 3. Bit value discrimination”)
Bit value of page: 3,
Error contents
address: 03
bit 6 = 1 LPF f
0
adjustment is defective
bit 3 = 1 PLL f
0
, fine adjustment is defective
bit 2 = 1 PLL f
0
, fine adjustment is defective
If bit value of bit 2 or bit 3 is “1”, select page: C, address: 21,
set the following data, and press the PAUSE button, and repeat
steps 2) to 4).
Setting data
When the data of page: C, address: 21 is “CA” CE
When the data of page: C, address: 21 is “CE” C6
When the data of page: C, address: 21 is “C6” D2
When the data of page: C, address: 21 is “D2” C2
5) Select page: 0, address: 01, and set data: 00.




 To Next Page