EasyManuals Logo

Sony DSLR-A200 Series User Manual

Sony DSLR-A200 Series
162 pages
To Next Page IconTo Next Page
To Previous Page IconTo Previous Page
Page #104 background imageLoading...
Page #104 background image
104
Viewing images on a TV screen
To view images recorded on the camera on a TV set, an HDMI cable (sold
separately) and an HD TV equipped with an HDMI connector are required.
Notes
Use an HDMI cable with the HDMI logo.
Use an HDMI mini connector on one end (for the camera), and a connector suitable
for connection to your TV on the other end.
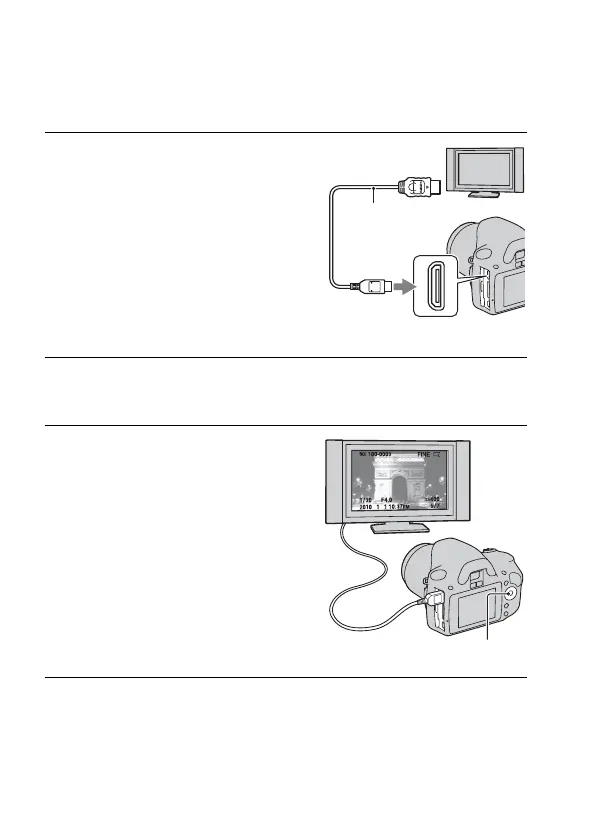
1 Turn off both your camera and the
TV, and connect the camera to the
TV.
2 Turn on the TV and switch the input.
See also the operating instructions supplied with the TV.
3 Turn on the camera.
Images shot with the camera appear on
the TV screen.
Select the desired image with b/B on the
control button.
The LCD monitor on the camera does
not turned on.
1 To the HDMI
connector
HDMI cable
(sold separately)
2 To the
HDMI terminal
Control button

Table of Contents

Questions and Answers:

Question and Answer IconNeed help?

Do you have a question about the Sony DSLR-A200 Series and is the answer not in the manual?

Sony DSLR-A200 Series Specifications

General IconGeneral
Sensor TypeCCD
Lens MountSony A-mount
Screen Size2.7 inches
Image StabilizationSensor-shift
LCD Resolution230, 400 dots
Viewfinder Coverage95%
Autofocus Points9
Sensor Size23.6 x 15.8 mm
Effective Pixels10.2 MP
Viewfinder TypePentamirror
Continuous Shooting Speed3 frames per second
Storage MediaCompactFlash (Type I or II)
Battery TypeNP-FM500H
Shutter Speed30 - 1/4000 sec
Battery Life750 shots

Related product manuals