19
Menu Displays and Detailed Settings
Menu hierarchy
Basic Menu Operations
1 Press the MENU SELECT button
repeatedly to select the menu.
Each time you press the MENU
SELECT button, the menu changes in
the following order:
UTILITY, RX1, TX1, RX2, TX2,
UTILITY
2 Press the + or – button repeatedly until
the function to be set appears.
Each time you press the + or – button,
the item to be set changes.
For details, see “Menu hierarchy” on
page 19.
3 Hold down the SET button until the
item to be set flashes.
4 Press the + or – button to change the
setting.
5 Press the SET button to enter the
setting.
When the tuner is turned off, the menus
corresponding to that tuner are not
displayed.
MENU SELECT
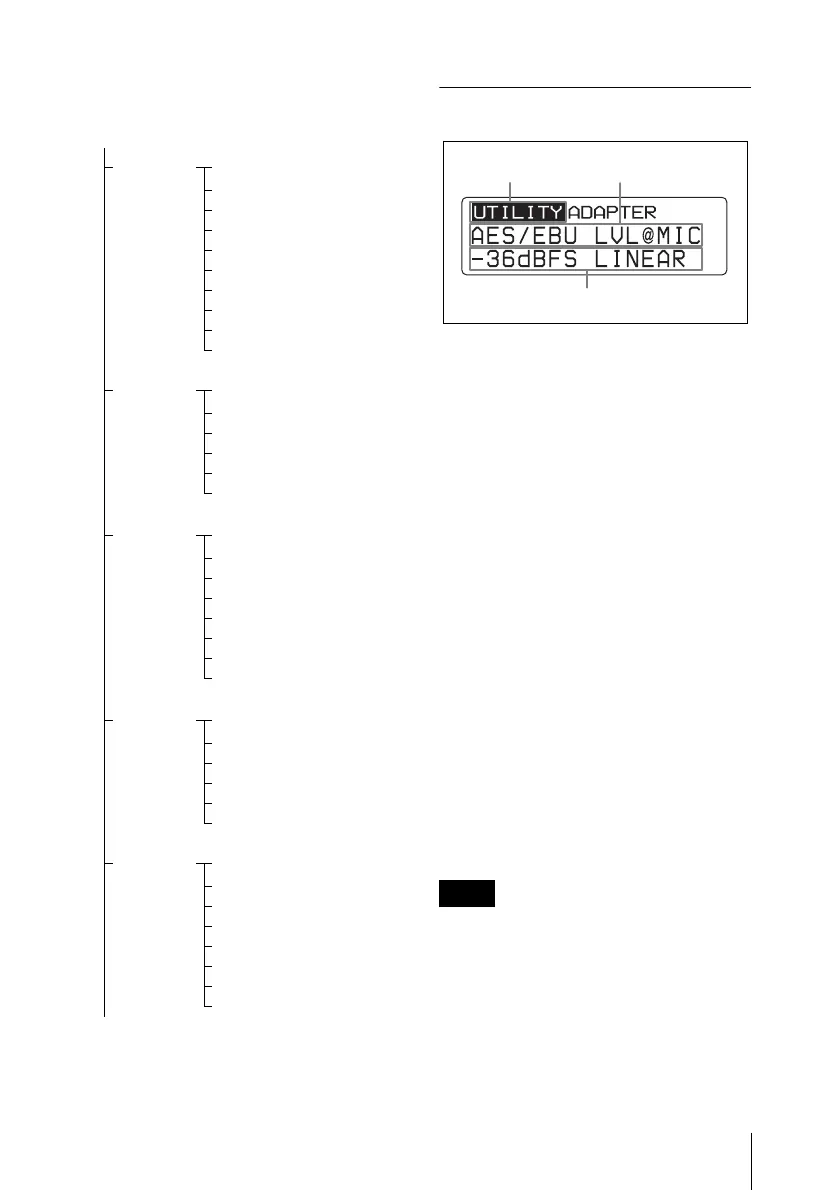
UTILITY
Meter indication
AES/EBU LVL@MIC
SYNC SOURCE
WORD SYNC 75ohm
ANALOG OUTPUT 1
TIME
BRIGHTNESS
DIMMER MODE
FACTORY PRESET
VERSION
RX1
GP/CH
ACT CH SCAN
CLR CH SCAN
RF SQUELCH
ENCRYPTION
SYSTEM DELAY
TX1
NAME
RF POWER
INPUT LEVEL
LCF
POWER SAVE
TIME
+48V
RF REMOTE
RX2
GP/CH
ACT CH SCAN
CLR CH SCAN
RF SQUELCH
ENCRYPTION
SYSTEM DELAY
TX2
NAME
RF POWER
INPUT LEVEL
LCF
POWER SAVE
TIME
+48V
RF REMOTE
To UTILITY menu
Note
Function name
Menu name
Item to be set
 Loading...