xiv
3. The process will be completed when you get the message “All Models
have been Copied Successfully”.
4. You may now delete the following derived files from the C drive to
save space in your computer.
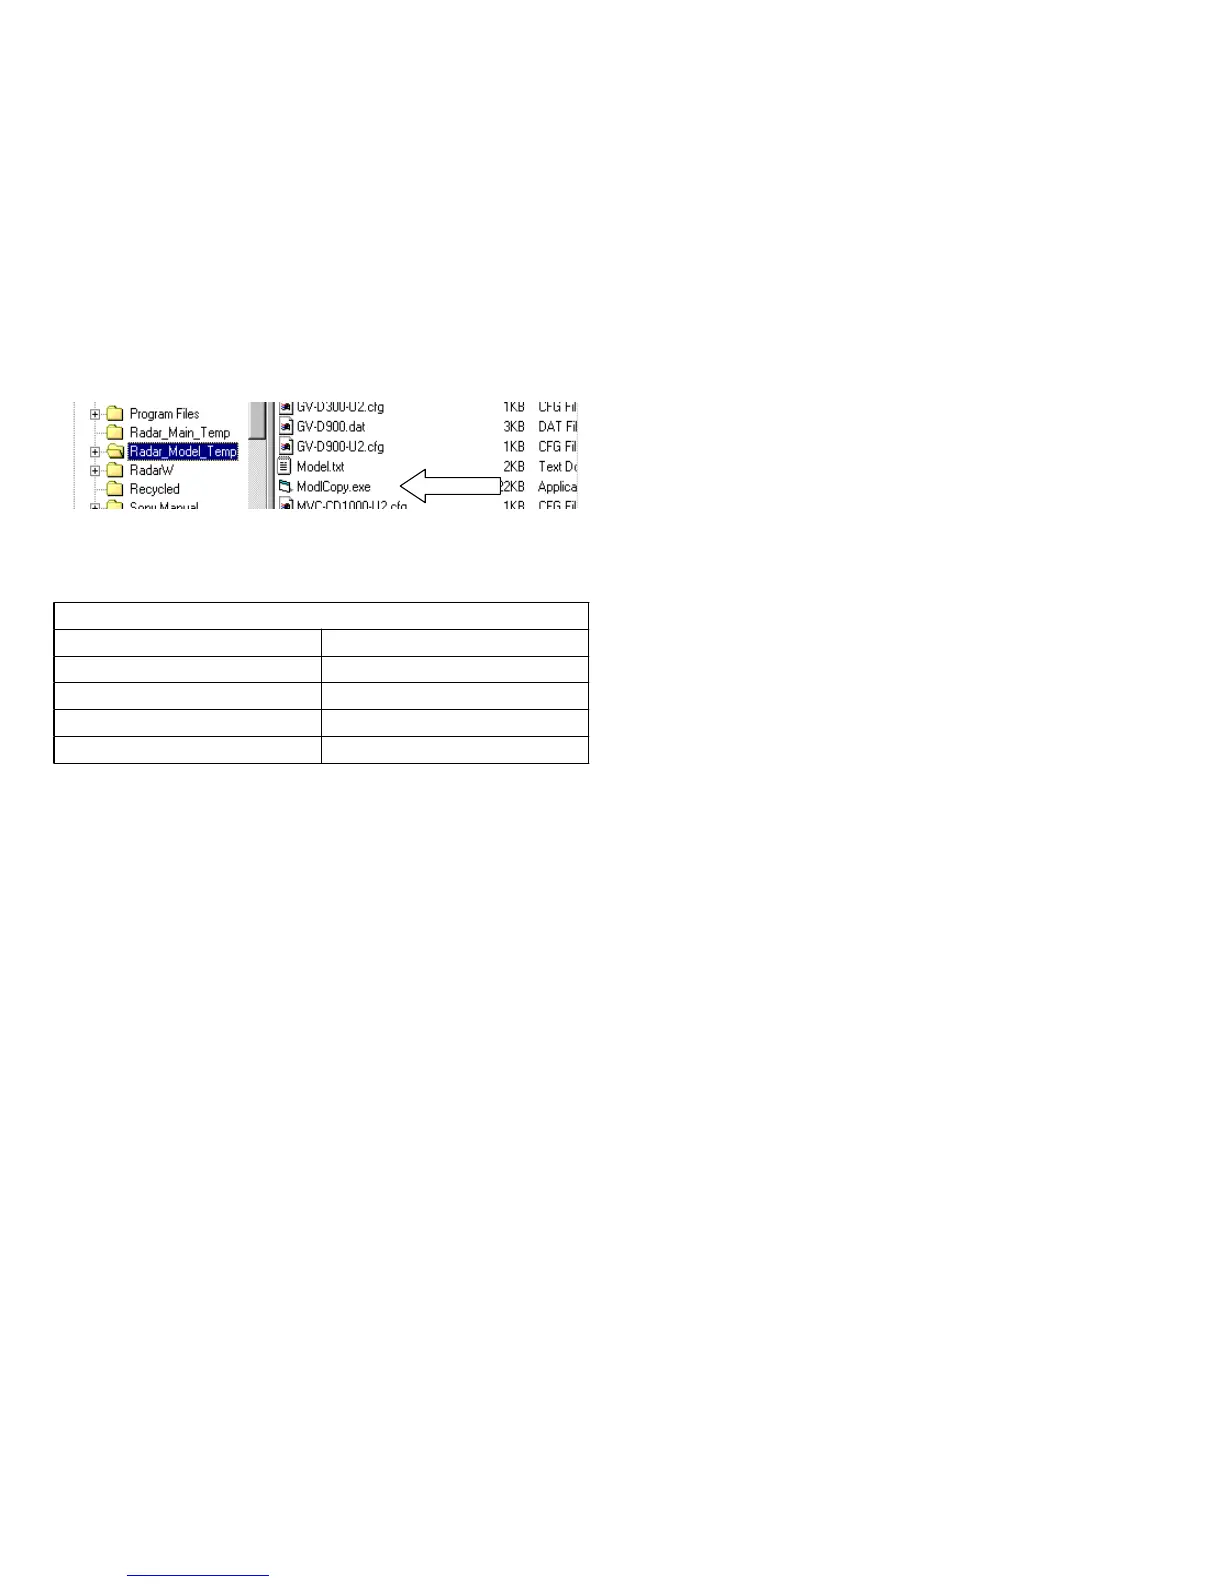
Derived Radar W files that are no longer needed
Location Name
C:\MyDownloads radar_main.exe
C:\MyDownloads radar_all_models.exe
C:\ radar_main_temp
C:\ radar_model_temp
Uninstalling the program
If you have a version of Radar W earlier than 2.1, uninstall it before in-
stalling this version.
1. Open Control Panel.
2. Select Add/Remove Programs.
3. Select Radar W.
4. Select Add/Remove to remove the program.
5. Delete the Folder “C:\Radar W\” from your Hard Drive. You have to
do this manually from the Windows Explorer.
Hardware Connection (Interface Unit)
The Radar hardware Jig (P/N = J 6082 429 A) consists of an interface
plug and a 3’ LANC cord with a 2.5mm plug at each end.
1. Connect the 25 pin male connector of the interface to your PC parallel
port. This is the same port that is commonly used for a printer.
2. Connect the 3’ LANC cable to the interface plug at one end and the
2.5mm jack on the camera or the CPC-12 adapter.
3. The 7-pin connector from the interface plug is for future use and should
not be connected.
4. It is very important that the parallel port be set to Bi-Directional mode.
Changing this port setting in the PC’s BIOS Setup Routine would do
this. If it is not set correctly, all data will show as “xx” in the table after
a data upload to the computer.

 Loading...


