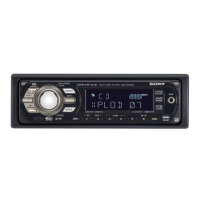
38
4. Car Music Storage Unit
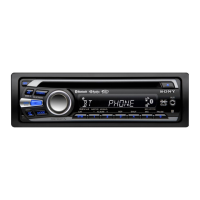
1. Press the “Source” button repeatedly
until the name of the source appears in
the display panel.
Display panel changes to show inputs
available.
2. Press the R knob when the desired
source appears (CD).
The display will enter a sub menu, showing
the first CD track being played.
3. Press the front panel “Rec” button to
begin the process but not record yet.
The “Rec” button color will change from
blue to orange. The display will change so
you can select CD songs (bottom) and
choose a HDD destination for these songs.
For example, the display will change to:
4. Next you will select the folder and
song(s) you want to store the music in.
The display panel will show all created
folders. See the previous step example.
5.
Two folders are shown in the example.
Use the R knob to select the folder and
press the knob to select.
The display panel changes to just show the
folder chosen. Underneath is displayed
the number of songs on the CD.
6. To shorten the recording time, you will
de-select all the 15 of the 16 songs.
Use the R knob to select the bottom
line (e.g. 16 / 16 54 mins) that selects
the song(s) to be recorded. Deselect
the check marks on the songs you do
not want recorded.
Selecting the bottom line changes the
display to list all the songs. In this
example there will be 16 lines
corresponding to 16 songs, all check
marked at the left, meaning all were
selected. Press F2 to de-elect all. Then
use the R knob to select a song / track and
press to enter.
7. Press Rec button. The Rec button’s color will change from
orange to red and return to blue when all
songs have been recorded.
Folder 001
Folder 002
16 / 16 54 (mins)
Display
panel



 To Next Page