14
)0P
+=p
·
·ª
·ª
·
p
=/+
V
v
bB
VOLUME +/–
–
+
0
g
)
≠ +
–
+
VOLUME
STEREO/MONO
–/+
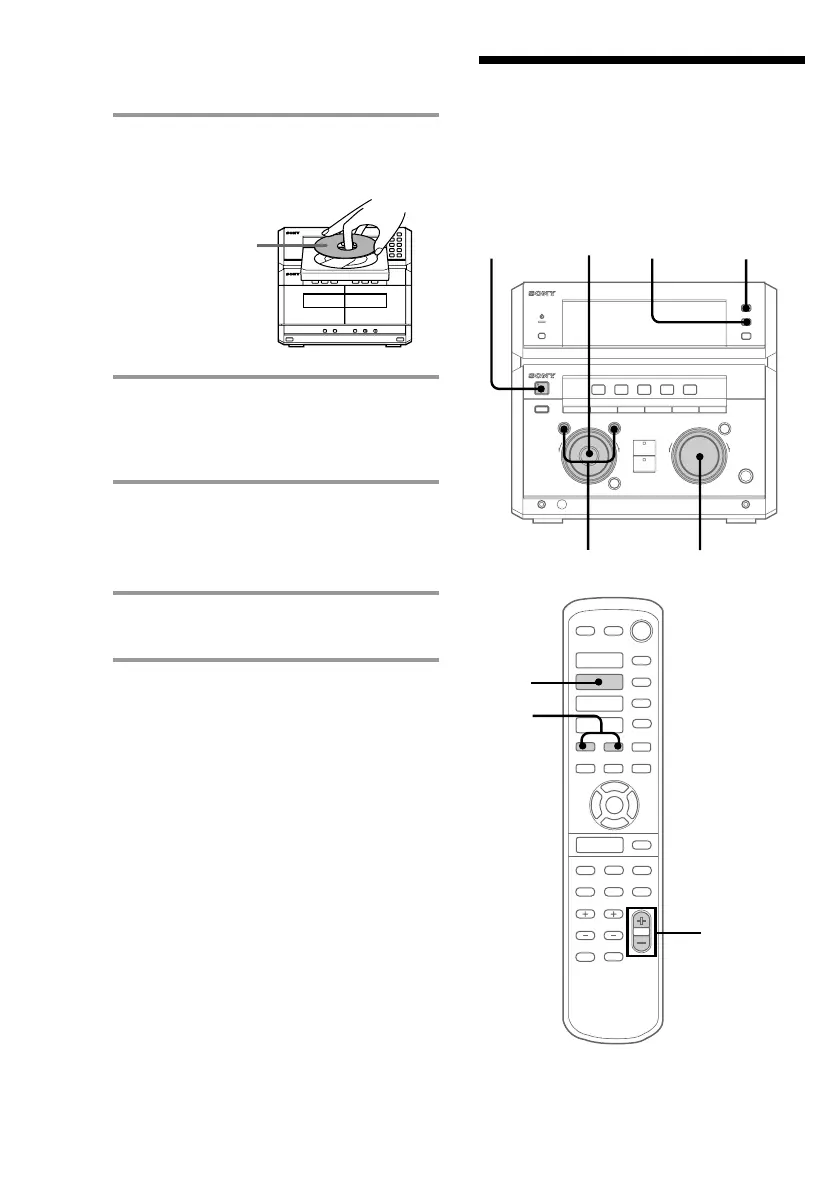
2 Press one of the CD 1~5 § buttons
and place a CD.
Then press again to close the disc tray.
3 Press CD SYNC.
Deck B stands by for recording and the
CD player stands by for playback. ·
(for front side) lights up.
4 Press DIRECTION repeatedly to
select A to record on one side.
Select ß (or RELAY) to record on
both sides.
5 Press REC PAUSE/START.
Recording starts.
To stop recording
Press π on deck B or on the CD player.
Tips
• If you want to record from the reverse side, press
ª so that ª (for reverse side) lights up.
• When you record on both sides, be sure to start
from the front side. If you start from the reverse
side, recording stops at the end of the reverse side.
• When you want to reduce the hiss noise in low-
level high-frequency signals, press DOLBY NR so
that “DOLBY NR” appears after pressing CD
SYNC.
Notes
• You cannot listen to other sources while recording.
• Dolby NR is off and DIRECTION (A or RELAY)
is ß when the mains AC power supply is
switched off.
Listening to the radio
–– Preset Tuning
With the label
side up. When
you play a CD
single, place it
on the inner
circle of the tray.
Preset radio stations in the tuner’s memory
first (see “Step 4: Presetting radio stations”).
1
2
Recording a CD (continued)
1/u
(Power)
1
1
2
3
4
5
§
§ §
·
ª · π ª · π
∏
π
 Loading...