Part Identification
13
Overview
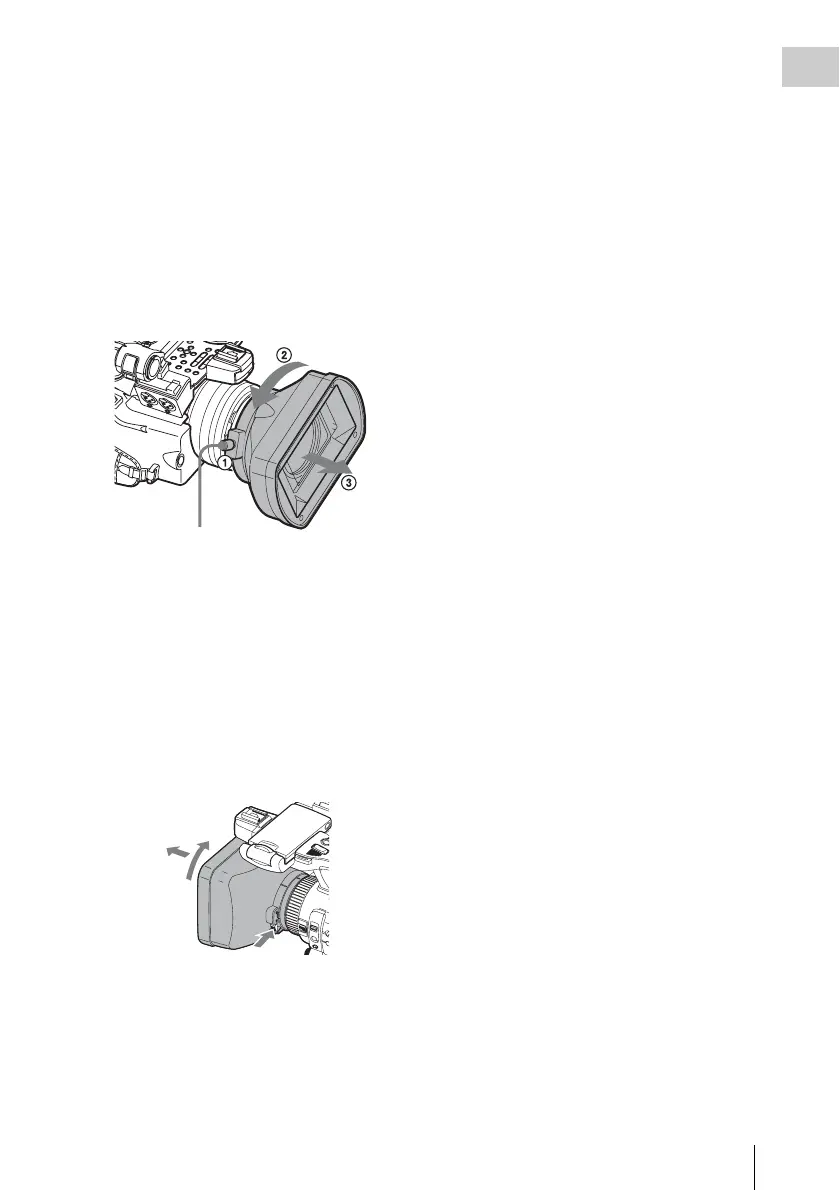
1. Lens hood
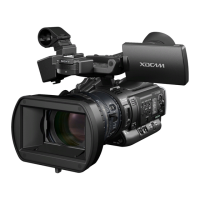
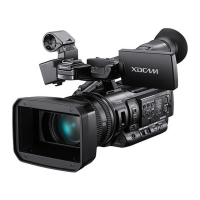
PMW-200
Attach
Insert the hood by aligning it with the mark on
the camcorder and hood, and turn the hood
clockwise while facing the front of the
camcorder (in the opposite direction of the
arrow at 2 in the illustration below), then
tighten the hood fixing screw 1.
Detach
1 Loosen the hood fixing screw, 2 turn the
hood in the direction of the arrow, 3 then
withdraw it.
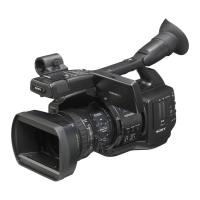
PMW-100
Attach
Insert the hood by aligning it with the mark
on the camcorder, then turn the hood
clockwise while facing the front of the
camcorder (opposite the direction at 2 in the
illustration below) to secure it.
Detach
1 Press and hold the hood release button, 2
turn the hood in the direction of the arrow, 3
then pull it out.
When attaching the optional wide-
conversion lens, use the lens hood supplied
with the wide-conversion lens.
2. Headphone connector (stereo mini jack)
(page 45)
3. Rear IR remote control receptor
4.Power switch (page 22)
5.BATT RELEASE button (page 21)
6.Eyepiece focusing knob (PMW-100 only)
(page 23)
7.DC IN connector (page 22)
8.Battery pack receptacle (page 21)
9.WHITE BAL (automatic white balance
adjustment) button (PMW-200) (page 38)
10. EXPOSURE dial/button (PMW-100)
(page 41)
11. FOCUS/ZOOM switch (PMW-100 only)
(page 41)
12. Lens operation ring (PMW-100 only)
(page 42)
13. Lens cap open/close lever (PMW-200 only)
(page 35)
Hood fixing screw
1
2
3
 Loading...