20
Turn the VALUE knob to set the value.
Turning clockwise increases the value,
and turning counterclockwise decreases
the value.
When finished making all settings, turn
the SELECT knob to move the cursor to
KEEP IP.
Turn the VALUE knob to change NOT
EXEC to EXEC, then press the VALUE
button.
A “WAIT FOR A FEW SECONDS” message
is displayed on the screen.
When the message disappears, turn
the VALUE knob to change NO to YES,
then press the VALUE button.
To add cameras
Perform the configuration again using AUTO IP
SETUP >SETUP IP or AUTO IP SETUP >ASSIGN
CAM. Assigned cameras are added to the bottom
of the camera table.
For details, see “Assignment using AUTO IP
SETUP >SETUP IP” (page 18) or “Assignment using
AUTO IP SETUP >ASSIGN CAM” (page 19).
To clear the camera table
You can clear all the camera information stored in
the camera table.
Note
The camera table cannot be restored once it has
been cleared.
1
Press the RM MENU button, turning it on
(button is lit yellow).
The RM menu top menu appears.
2
Turn the SELECT knob to move the cursor
to AUTO IP SETUP.
3
Press the SELECT button.
The AUTO IP SETUP menu appears.
4
Turn the SELECT knob to select CLEAR
TABLE, and press the SELECT button.
The CLEAR TABLE menu appears.
5
Turn the VALUE knob to change NOT EXEC
to EXEC, then press the VALUE button.
6
Turn the VALUE knob to change NO to YES,
then press the VALUE button.
To swap camera numbers
You can change the camera numbers after IP
addresses have been configured automatically.
1
Press the RM MENU button, turning it on
(button is lit yellow).
The RM menu top menu appears.
2
Turn the SELECT knob to move the cursor
to AUTO IP SETUP.
3
Press the SELECT button.
The AUTO IP SETUP menu appears.
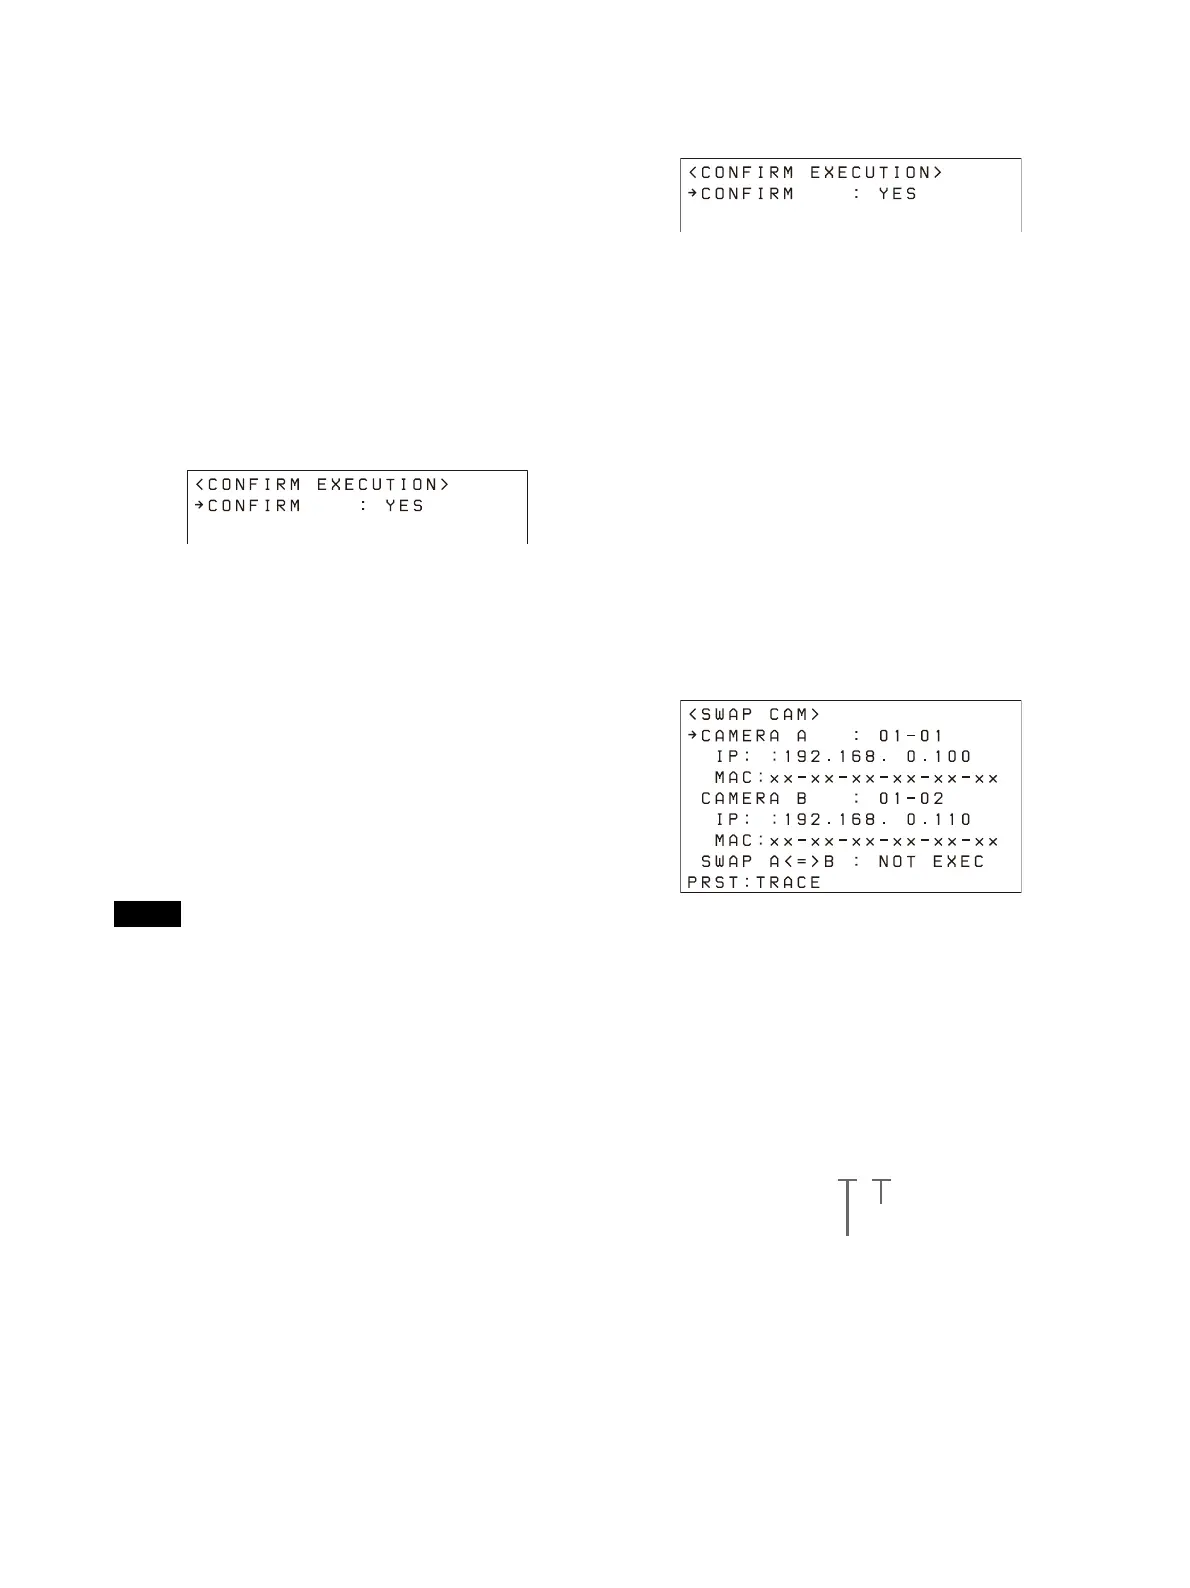
4
Turn the SELECT knob to select SWAP CAM,
and press the SELECT button.
The SWAP CAM menu appears.
This screen is used to swap the camera
i
nformation of CAMERA A and CAMERA B.
5
Turn the SELECT knob to move the cursor
to CAMERA A.
6
Turn the VALUE knob to change the camera
group number and the camera number of
the camera to swap.
The IP address and MAC address of the
co
rresponding camera are displayed in IP
and MAC, respectively.
7
Turn the SELECT knob to move the cursor
to CAMERA B.
Camera number
Group number