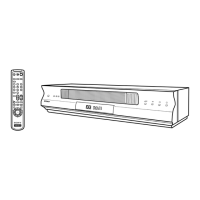
Getting Started
5Getting Started
Step 2
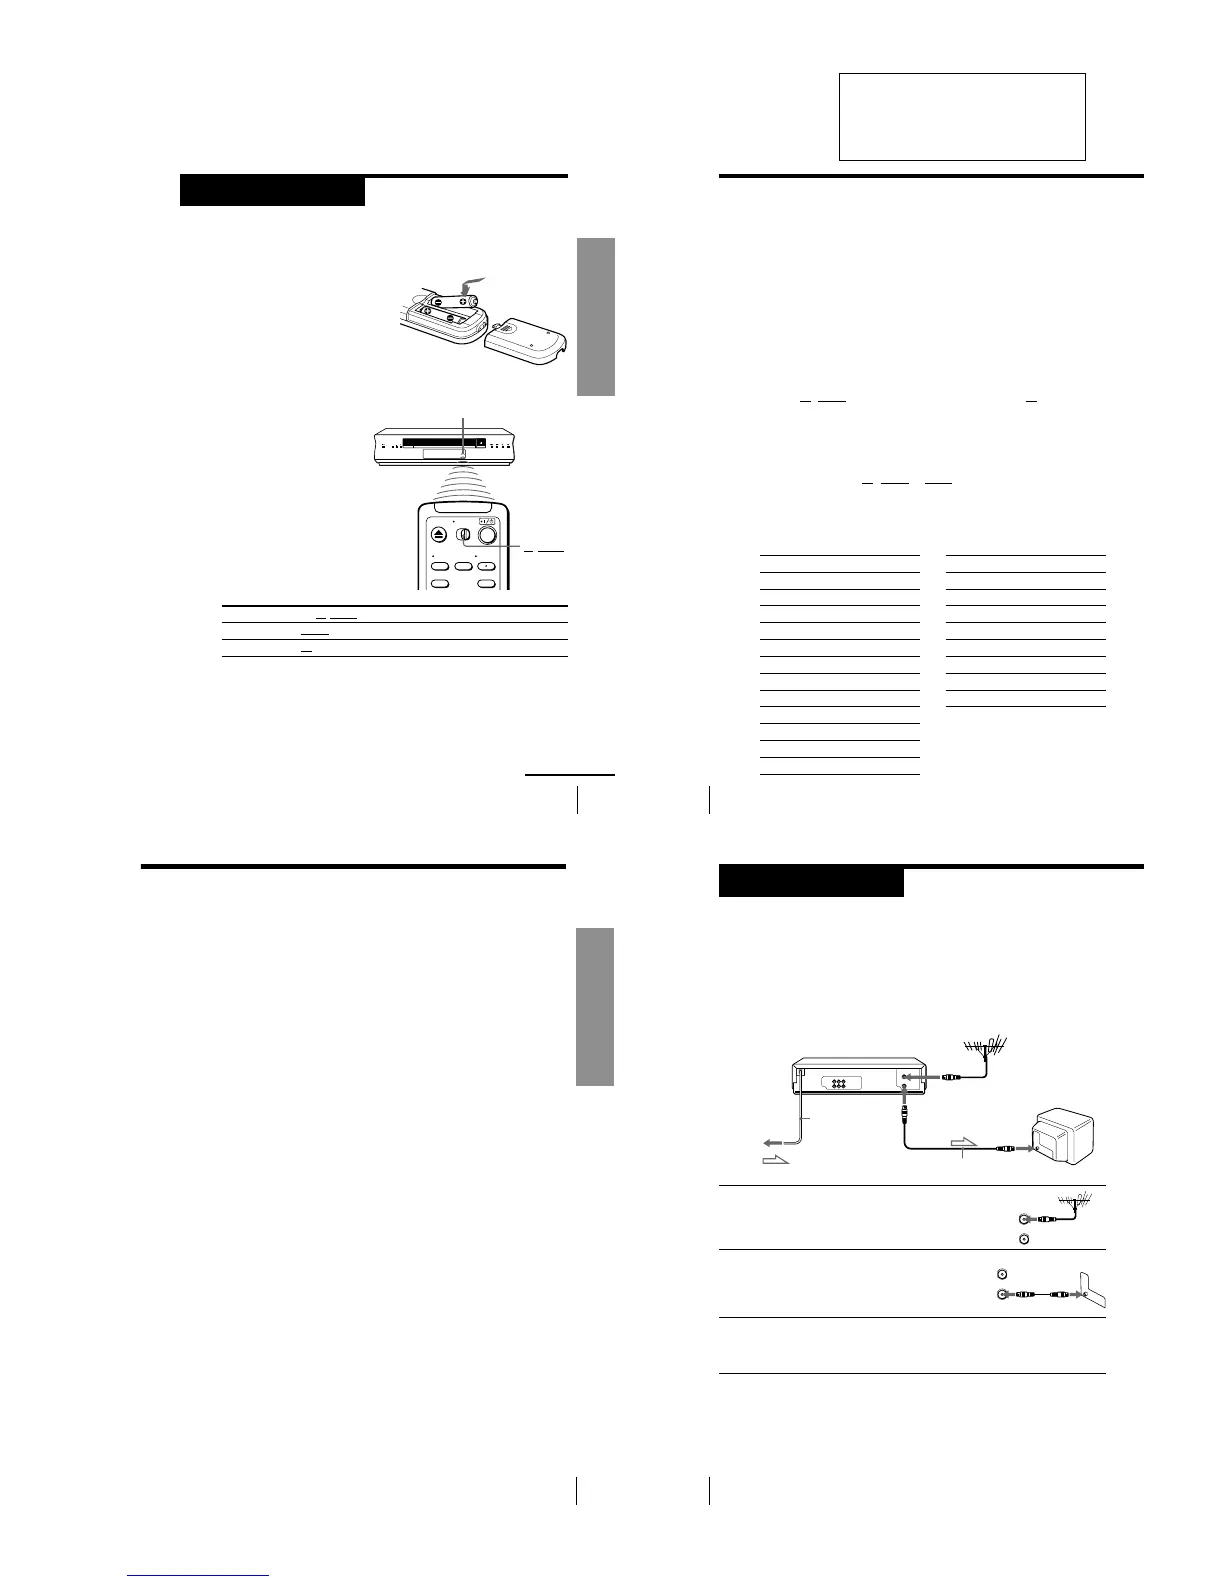
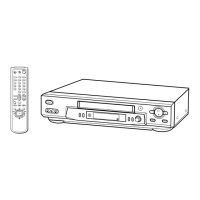
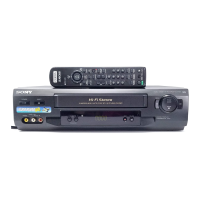
Setting up the remote commander
Inserting the batteries
Insert two R6 (size AA) batteries by
matching the + and – on the batteries
to the diagram inside the battery
compartment.
Insert the negative (–) end first, then
push in and down until the positive
(+) end clicks into position.
Using the remote commander
You can use this remote
commander to operate this
VCR and a Sony TV. Buttons
on the remote commander
marked with a dot (•) can be
used to operate your Sony TV.
If the TV does not have the g
symbol near the remote sensor,
this remote commander will
not operate the TV.
To operate
the VCR
a Sony TV
Set
TV/VIDEO
to
VIDEO
and point at the remote sensor on the VCR
TV
and point at the remote sensor on the TV
Remote sensor
TV/VIDEO
continued
Getting Started
6
Notes
• The TV/VIDEO button selects the TV’s input source (either aerial in or line in). The
button does not control this VCR.
• With normal use, the batteries should last about three to six months.
• If you do not use the remote commander for an extended period of time, remove
the batteries to avoid possible damage from battery leakage.
• Do not use a new battery with an old one.
• Do not use different types of batteries.
Controlling other TVs with the remote commander
The remote commander is preprogrammed to control non-Sony TVs. If your
TV is listed in the table below, set the appropriate manufacturer’s code
number.
1 Set
at the top of the remote commander to
TV
.
2 Hold down ?/1, and enter your TV’s code number(s) using the
programme number buttons. Then release ?/1.
Now you can use the ?/1, VOL +/–, PROG +/–, programme number
buttons, ? (ten’s digit) and TV/VIDEO buttons to control your TV. You
can also use the buttons marked with a dot (•) to control a Sony TV. To
control the VCR, reset
TV/VIDEO
to
VIDEO
.
Code numbers of controllable TVs
If more than one code number is listed, try entering them one at a time until
you find the one that works with your TV.
Step 2: Setting up the remote commander (continued)
Manufacturer Code number
Sony 01*
1
,02
Akai 68
Blaupunkt 10
Ferguson 52
Grundig 11*
1
Hitachi 24
ITT/Nokia 15,16,69*
3
JVC 33*
Loewe 45
Mivar 09, 70
NEC 66
Panasonic 17*
1
,49
Manufacturer Code number
Philips 06*
1
,07*
1
,08*
1
Saba 12,13
Samsung 22,23
Sanyo 25
Sharp 29
Telefunken 36
Thomson 43*
2
Toshiba 38
Getting Started
7Getting Started
Notes
• If the TV uses a different remote control system from the one programmed to work
with the VCR, you cannot control your TV with the remote commander.
• You may not be able to use some buttons to control non-Sony TVs due to the remote
commander’s signal limitations.
• If you enter a new code number, the code number previously entered will be erased.
• When you replace the batteries of the remote commander, the code number may
automatically reset to 01 (Sony). If your TV is not a Sony, it is recommended to
manually set the appropriate code number every time you replace the batteries.
• If you set your TV’s code number correctly while the TV is turned on, the TV turns
off automatically.
SECTION 1
GENERAL
This section is a translated
version of Instruction Manual
SLV-LF1AS model.
Part number: 3-067-158-11
Getting Started
8
Step 3
AERIAL IN
AERIAL IN
Mains lead
to mains
AERIAL OUT
Aerial cable (supplied)
: Signal flow
1 Disconnect the aerial cable from your TV
and connect it to AERIAL IN on the rear
panel of the VCR.
2 Connect AERIAL OUT of the VCR and
the aerial input of your TV using the
supplied aerial cable.
3 Connect the mains lead to the mains.
If the 3-pin plug does not fit into the mains outlet, detach the plug
by loosening the screw, then use the 2-pin plug inside.
Connecting the VCR
Connect the aerial to your VCR and TV as shown below to watch TV
programmes and VCR pictures on your TV. In addition, if your TV has
audio/video (A/V) input jacks, we recommend you connect the VCR to
your TV using an audio/video cable to get a better picture and sound.
Connecting the aerial