33
GB
Connection and Preparation
• Depending on the characteristics of the
subwoofer you are using, the setup distance
value may be different from the actual position.
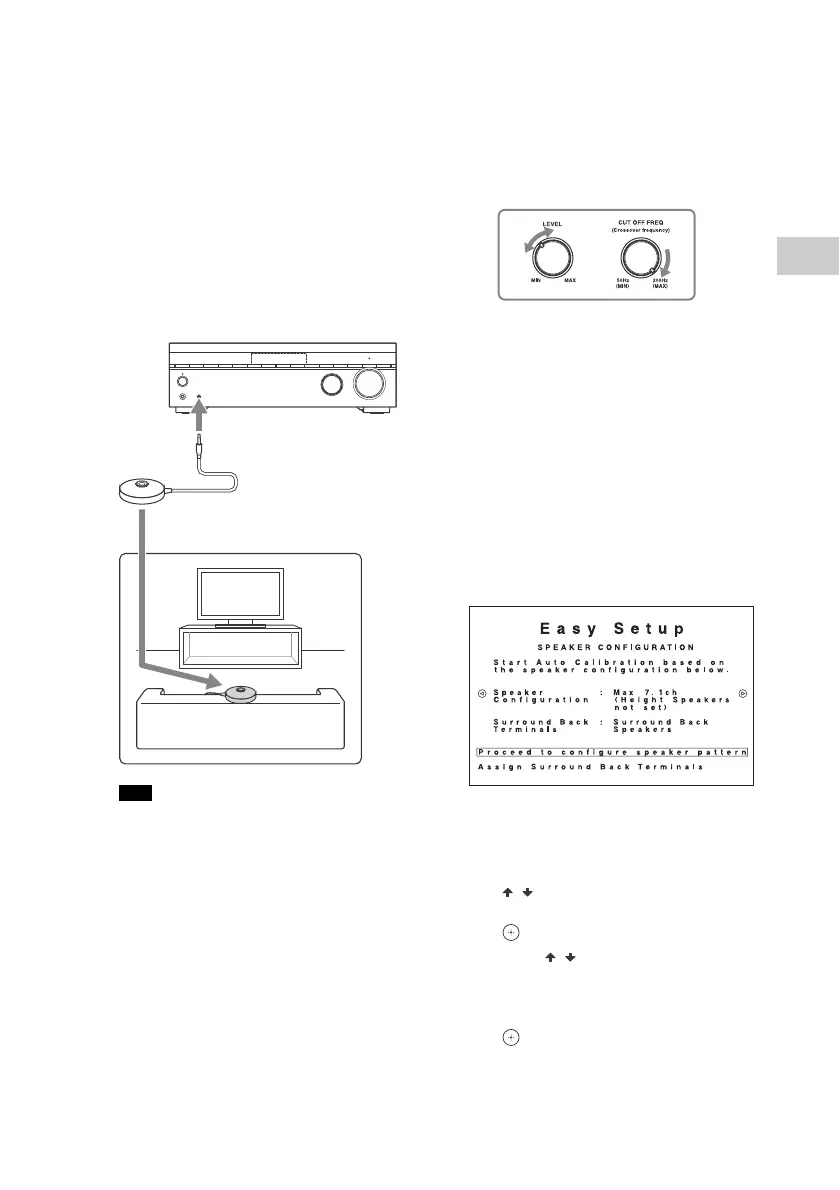
1 Connect the supplied
calibration microphone to
CALIBRATION MIC jack. Then,
place the calibration
microphone at your listening
position.
Be sure to set the calibration
microphone at the same height as
your ears.
• Insert the plug of the calibration
microphone all the way into the
CALIBRATION MIC jack. If the calibration
microphone is not connected securely,
measurements may not be made properly.
• Remove any obstructions between the
calibration microphone and the speakers.
2 When a subwoofer is
connected, turn on the
subwoofer and turn up the
volume.
Adjust and set the subwoofer as
follows:
• Turn the LEVEL to just before the
mid-point.
• If you connect a subwoofer with a
crossover frequency function, set the
value to maximum.
• If you connect a subwoofer with an
auto standby function, set it to off
(deactivated).
For details, refer to the operating
instructions of the subwoofer.
3 Set the measurement
conditions.
When speakers are connected to
the SPEAKERS SURROUND BACK/
HEIGHT(FRONT B/BI-AMP)
terminals of the receiver, press
/ to select [Assign Surround
Back Terminals], and then press
.
Press / to assign the surround
back terminals by referring to
“Speaker systems described in this
manual” (page 15), and then press
.
Note
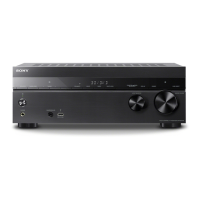
To CALI BRATION MIC jack
Calibration
microphone
(supplied)