11
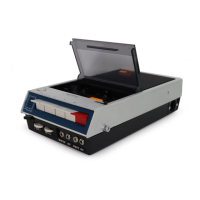
TC-S3
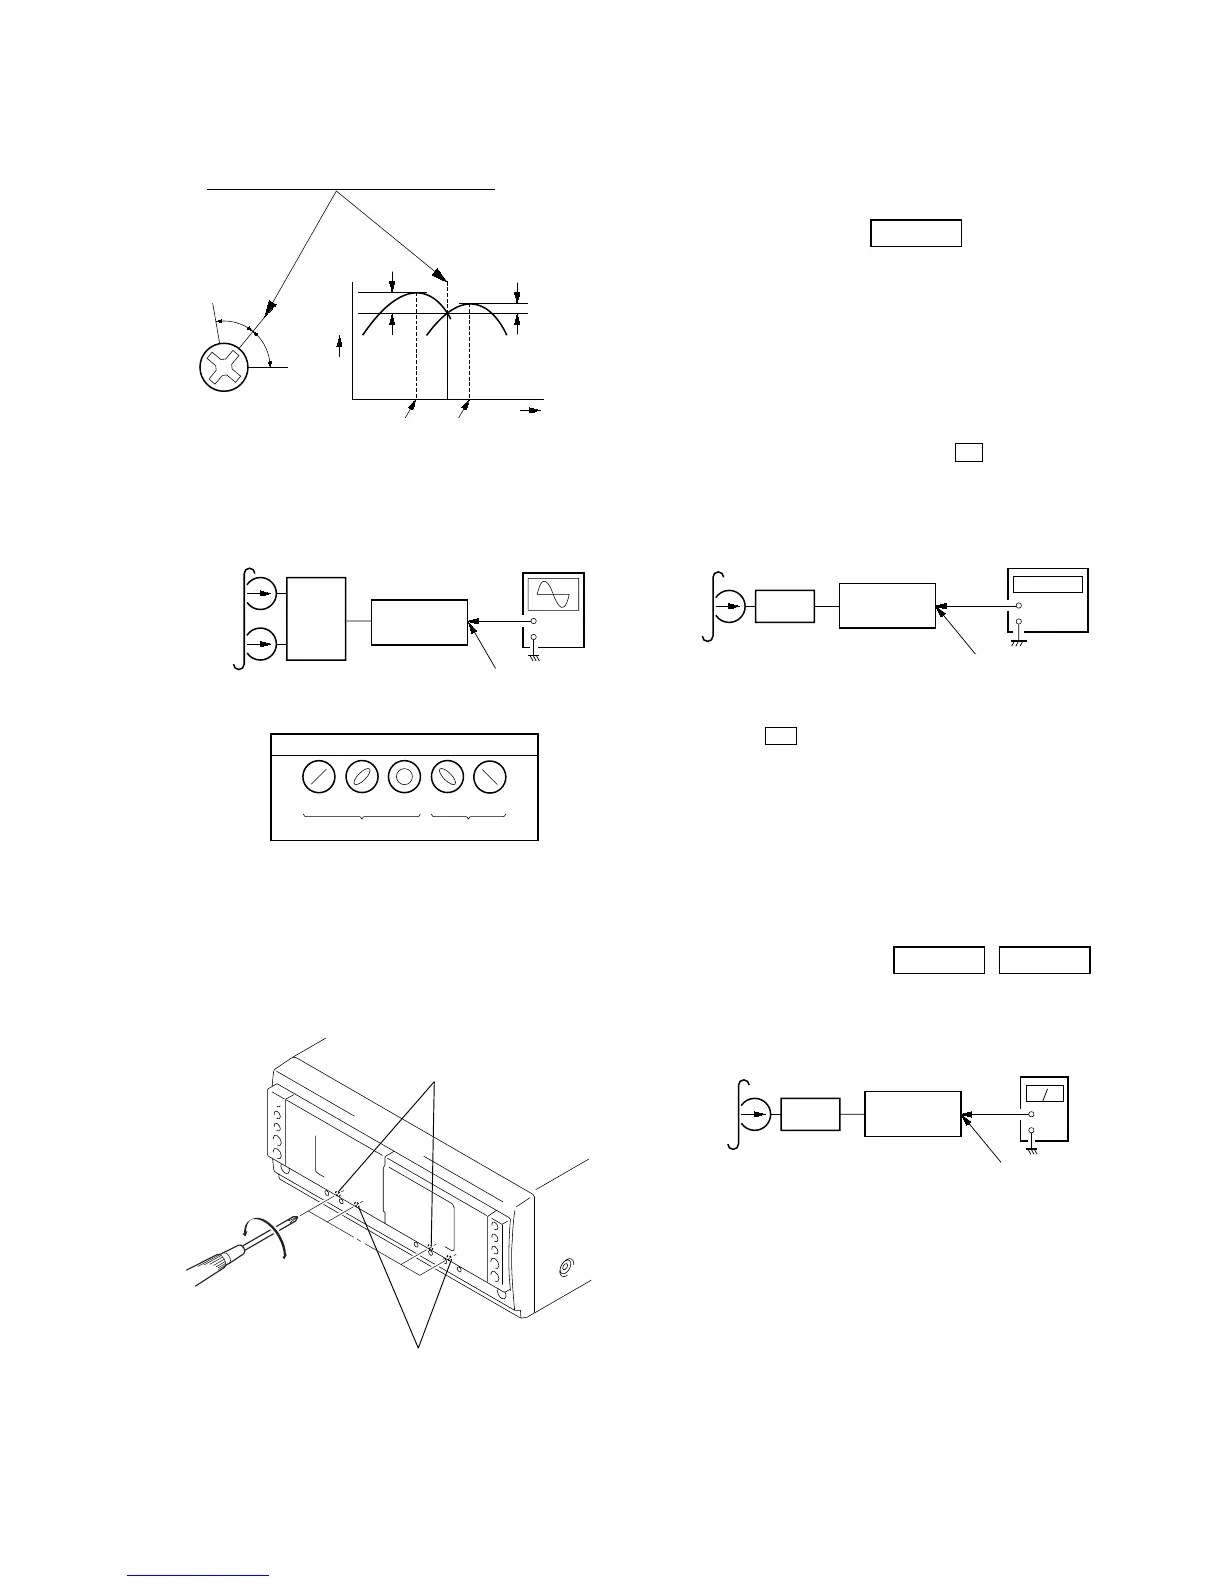
2. Turn the adjustment screw and check output peaks. If the peaks
do not match for L-CH and R-CH, turn the adjustment screw
so that outputs match within 1dB of peak.
3. Mode: Playback
4. After the adjustments, apply suitable locking compound to
the pats adjusted.
Adjustment Location: Playback Head (Deck A).
Record/Playback/Erase Head (Deck B).
Note: Use following buttons in the test mode.
no mark : Button of Tape unit (TC-S3)
*1 : Button of amplifier unit (TA-S7AV or TA-S3)
*2 : Button of CD unit (CDP-S3)
Tape Speed Adjustment DECK B
Note: Start the Tape Speed adjustment as below after setting to the test
mode.
In the test mode, the tape speed is high during pressing the
[HI-DUB] button.
Procedure:
1. Turn the power switch on.
2. While pressing the both [PLAY MODE]*
2
and [ ]*
2
buttons,
press the [DISC 3]*
2
button.
(The “GROOVE” on the fluorescent indicator tube display
while in the test mode.)
To exit from the test mode, press the ?/1 *
1
button.
Mode: Playback
1. Insert the WS-48B into the deck B.
2. Press the N button on the deck B.
3. Press the [HI-DUB] button in playback mode.
Then at HIGH speed mode.
4. Adjust RV1001 on the LEAF SW board so that frequency
counter reads 6,000 ± 30 Hz.
5. Press the [HI-DUB] button.
Then back to NORMAL speed mode.
6. Adjust RV1002 on the LEAF SW board so that frequency
counter reads 3,000 ± 15 Hz.
Adjustment Location: LEAF SW board
Playback level Adjustment DECK A DECK B
Procedure:
Mode: Playback
1. Confirm that level difference between the channels is with ±
0.5 dB.
2. After check, adjust the following RVs.
Deck A is RV302 (L-CH), Deck B is RV303 (L-CH) so that
adjustment within adjustment level as follows.
Adjustment Level:
MD OUT jack (J601) PB level: 334.4 to 748.7 mV
(–6.8 ± 0.5 dB)
Adjustment Location: MAIN board
Sample Volue of Wow and Flutter: 0.3% or less W. RMS
(WS-48B)
Screw
position
L-CH
peak
within
1dB
Output
level
L-CH
peak
R-CH
peak
within
1dB
Screw
position
R-CH
peak
set
test tape
P-4-A100
(10 kHz, –10 dB)
oscilloscop
 Loading...